 EN
EN
 English
  русский
  Español
  Deutsch
  عربى
عربى 
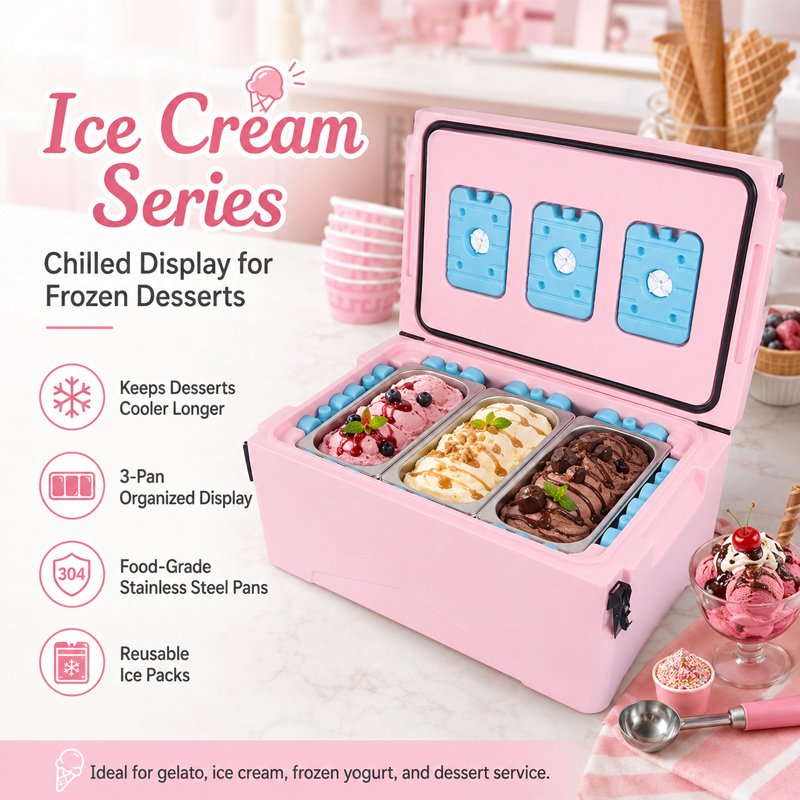
This mobile insulated ice cream display cooler is fitted with three stainless-steel pans, each approximately 6.6L / 7QT, in an overall body of about 69.5 × 44.5 × 32 cm. The separate pans allow differ...
See Details
How to Pack a Cooler Box for Maximum Ice Retention and Longer Cold Hours
2026-10-01
Most people do not fail at packing a cooler box because they own the wrong model. They fail because they leave air pockets, load warm food, and open the lid too often. Heat enters through every open space and every warm container. The fix is not a more expensive cooler; it is a more disciplined packing sequence. Pack in cold, pack in dense, and pack in layers.
Start with the Right Cold Source
The type of ice you use determines how evenly the cooler box performs. Cubed ice chills cans and sealed containers quickly because it touches more surface area, but it melts fast. Block ice and molded ice sheets last longer because they expose less surface area. Frozen water bottles are the quiet workhorse of a well-packed cooler: they provide direct contact cold, do not create a puddle, and turn into drinking water after they thaw.
| Cold source | Best use | Main trade-off |
|---|---|---|
| Cubed or crushed ice | Filling gaps and initial chilling | Melt quickly and create meltwater |
| Block ice or ice sheets | Multi-day trips and constant bottom cooling | Slower to cool warm food |
| Frozen water bottles | Clean, reusable, drinkable cold source | Needs freezer space before the trip |
| Gel packs | Separating layers without mess | Less efficient than direct ice contact |
| Dry ice | Extreme cold and long fishing or transport trips | Safety risk and requires ventilation |
For most weekend use, combine block ice or frozen bottles with a small amount of cubed ice to fill the spaces. One cold source alone tends to create either a fast-melting puddle or large pockets of non-circulating air.
Pre-Chill Everything Before Loading
A warm cooler box eats ice before you leave the driveway. The inside of a box stored in a garage or car trunk can be far above ambient room temperature, and every degree of that warmth has to be removed by the ice. Pre-chill the empty cooler box for two to three hours with a bag of ice or frozen packs. Then remove that preparatory ice or keep it as the bottom layer.
Pre-chill the food as well. Marinated meat in a sealed pouch, cans, and leftovers should go into the cooler already as cold as possible. A single batch of warm drinks can raise the interior temperature by several degrees and reduce the daily usable ice life. For a more technical breakdown of how insulation thickness and lid design affect the process, see our article on how long ice lasts in a cooler box.
Use a Two-Zone Layout
Separate drinks from food if you can. A drinks cooler gets opened constantly, and every open lid lets cold air escape. A food cooler should stay closed until meal time. When you have two cooler boxes, make one the beverage box and the other the dedicated food box. When you have only one, divide it into a wet zone and a dry zone.
- Wet zone: the bottom layer of ice, block ice, or frozen bottles.
- Dry zone: the middle layer of food in sealed plastic containers or leak-proof bags.
- Raw meat: place on the bottom, underneath the dry zone, in a separate leak-proof container so juices cannot touch other food.
- Ready-to-eat food: keep above the raw meat, separated by a waterproof barrier.
- Frequently used drinks: place near the top only for quick access, and replace them with chilled bottles when possible.
This layout keeps cold air in contact with the items that need it most and reduces the risk of cross-contamination. A mid-size box is enough for a two-person weekend trip when the space is divided and every gap is filled.
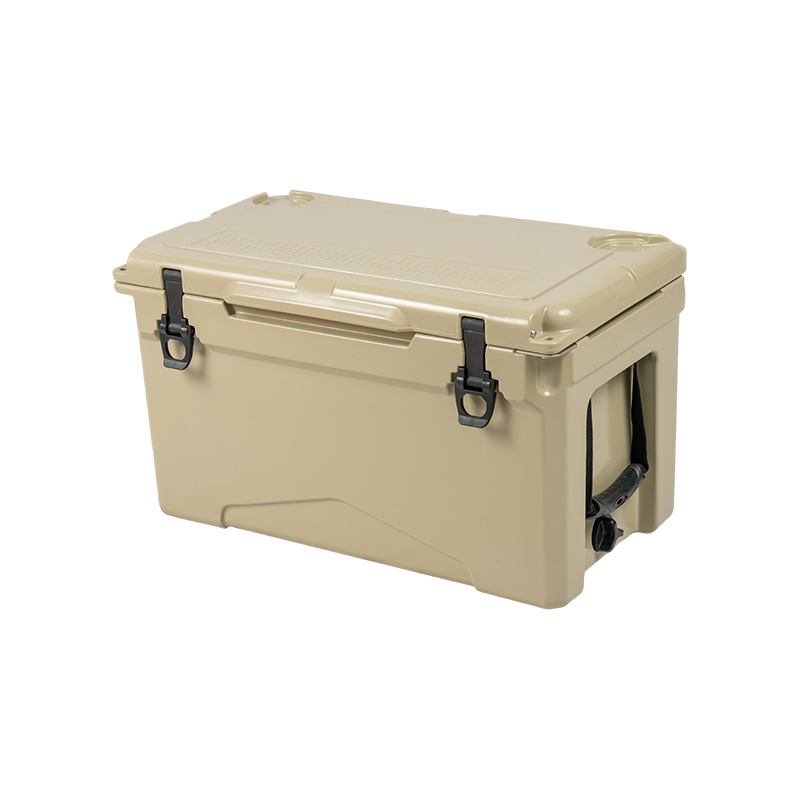 35QT Rotomolded Cooler with Bluetooth Speaker and WheelsThis 35QT rotomolded cooler features PU foam insulation, two wheels, a Bluetooth speaker, LED light, bottle opener, and ergonomic handle. It suits camping and beach trips where mobility and entertainment add value.View Product →
Pack in Dense Layers, Not a Single Pile
Air is the enemy of ice retention. A partially filled cooler box has warm air moving around, carrying heat to the ice and melting it faster. Dense packing with ice or frozen bottles fills those air pockets and keeps each food item surrounded by cold surfaces.
- Place a layer of frozen bottles or block ice on the bottom.
- Put the most perishable food directly above that layer in sealed containers.
- Pour a layer of cubed ice over and around the food.
- Add another layer of food only if the container can stay closed without crushing lower items.
- Finish with a top layer of frozen bottles, a gel pack, or a folded cold fabric if available.
- Close the lid slowly to push out excess air, then latch it tight.
When you use this order, every food item except the top drink layer is in direct contact with a cold mass. If you must store bread, tortillas, or produce, put them in a separate hard-sided container so ice and meltwater do not touch them.
Keep It Closed and Keep It Shaded
Once the cooler box is packed, the most important action is to leave it alone. Every opening releases cold air and pulls in warm ambient air, especially in direct sunlight. Place the cooler in the shade, not on hot pavement or a warm vehicle floor. A wet towel draped over the lid, or a reflective car shade over the whole box, adds a small but meaningful barrier against radiant heat.
Keep the drain plug closed unless you are carrying the cooler over a long distance and need to reduce weight. The meltwater inside the box is still cold, so leaving it in place helps maintain temperature and prevents warm outside air from entering through the drain.
For Long Trips, Separate Ice From Food
On a trip longer than two days, plan for ice management rather than only packing. A dedicated ice-only cooler box gives you a place to store spare block ice and replace melted ice in the main cooler each morning. The main cooler should never become empty of ice because there is no backup.
Divide meals by day and label containers. Put the day-one food near the top and the day-three food at the bottom against the ice. This reduces the amount of time the lid stays open while people search for food.
Dry Ice Considerations
Dry ice can keep a cooler below freezing for a long trip, but it must be handled with care. Do not touch dry ice with bare skin, do not seal the cooler air-tight, and use it in a ventilated vehicle. Confirm that the manufacturer allows dry ice in the model you carry. For a large group or a marine fishing trip, a high-capacity cooler with strong handles and wheels is the practical choice.
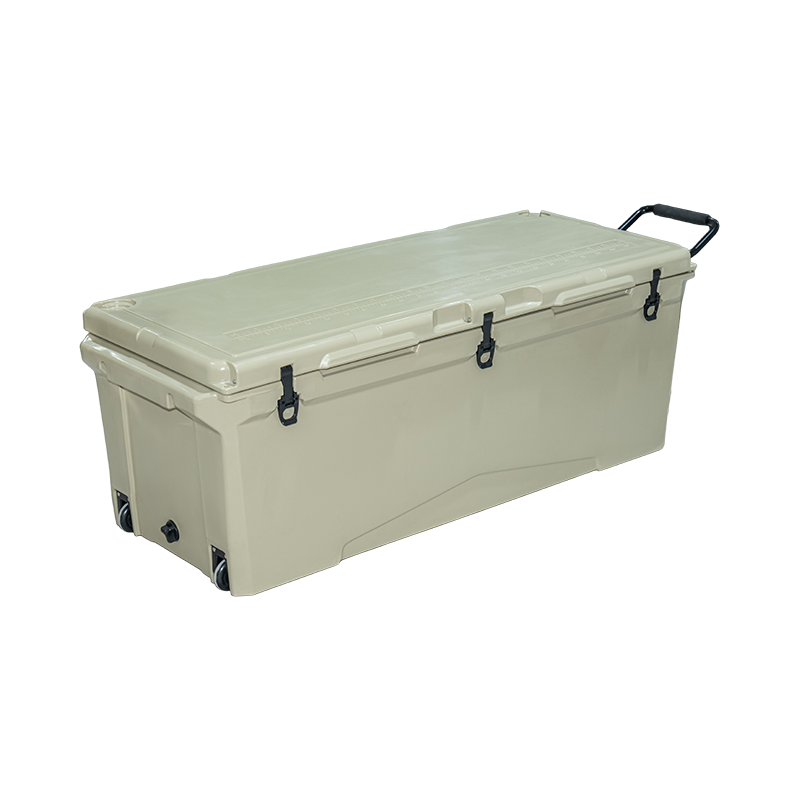 240QT Extra-Large Marine Rotomolded Cooler for FishingWith roughly 124 × 43.5 × 40 cm interior space, this 240QT heavy-duty rotomolded cooler handles large catches and team supplies. PU insulation and commercial-grade construction make it practical for boats and tournaments.View Product →
Match Cooler Box Capacity to the Trip Length
A fuller cooler box performs better than a half-empty one because the thermal mass of ice and cold food outweighs the warm air inside. If you have a 55-litre box with only a few cans at the bottom, the empty space creates a heat buffer and forces the ice to cool nothing but air. Downsize instead.
- Solo day trip: 10 to 18 qt, with no extra space.
- Weekend for two people: 25 to 45 qt, depending on meals and drinks.
- Week-long trip for two or more: 60 to 75 qt plus a second box dedicated to ice.
- Group or fishing use: 100 qt and above, preferably with wheels or large handles for moving after loading.
Choose the smallest box that can still be packed full. On a solo drive, a compact unit keeps a lunch, drinks, and snacks within reach without letting a huge empty volume warm the contents.
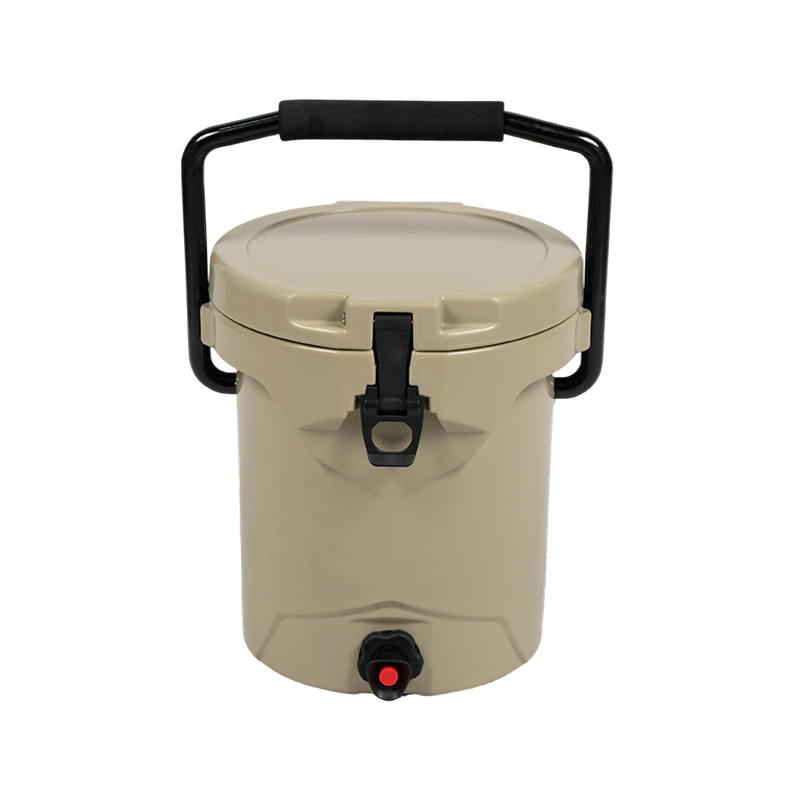 10QT Compact Bucket-Style Rotomolded CoolerThis small 10QT bucket-style cooler has a compact footprint ideal for personal lunches, kayaking, paddleboarding, or short outings. Rugged rotomolded construction and custom logo options suit individual and retail use.View Product →
Clean and Air Out the Cooler Before Storage
At the end of the trip, drain the meltwater and wash every interior surface with warm soapy water. Dry the interior with a cloth, then leave the lid propped open for a few hours. A closed, damp cooler box develops mildew quickly, and the odor transfers to food on the next trip. This final step is easy to skip, but it is the reason some coolers last for years and others do not.
Our R&D team has over 15 years of rich experience in the field of rotational molding products and has applied for 6 product patents. The number of factory employees has exceeded 100. Strict management and quality control have enabled us to take the leading position in the industry. In addition, the experienced sales team can provide customers with a variety of solutions and high-quality services.
Related products
-
-
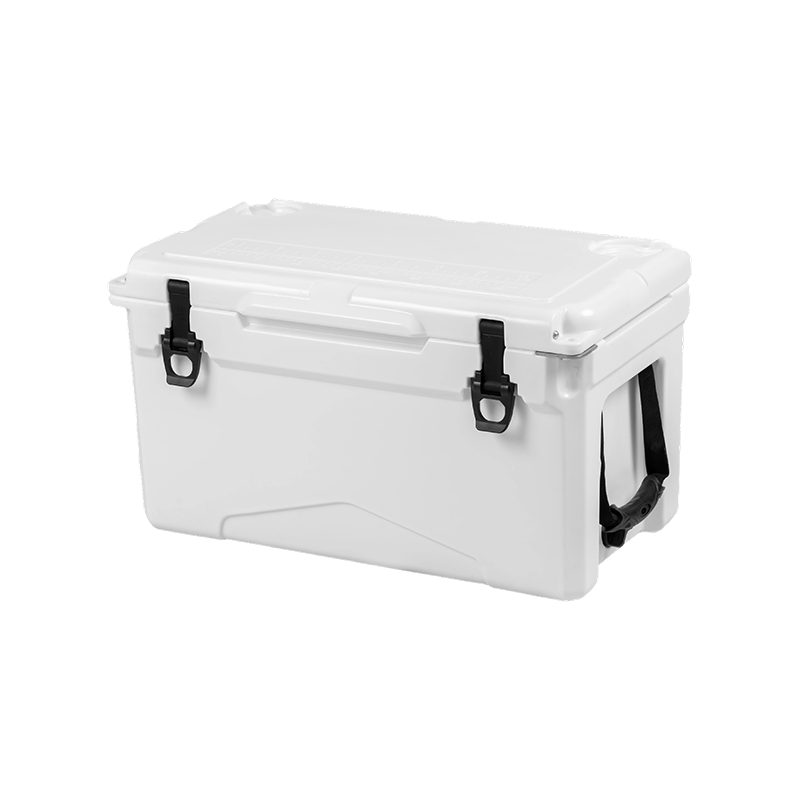
The 30QT NL-30 stands out for its elongated body, with an interior of about 46.2 × 23.6 × 26.1 cm. At this capacity, the extra usable length is particularly helpful for fish, long bottles and elongate...
See Details -
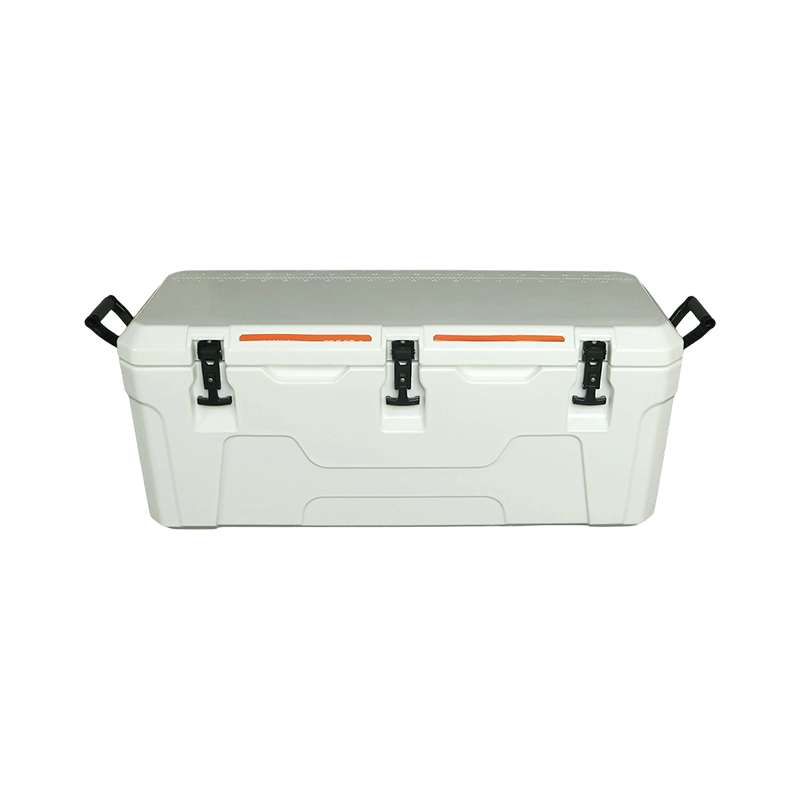
The 140QT NL-140 has an interior of about 105 × 32 × 38 cm, and its more-than-one-meter usable length is the key advantage of this model. It is better suited to larger fish, longer catch and supplies ...
See Details -
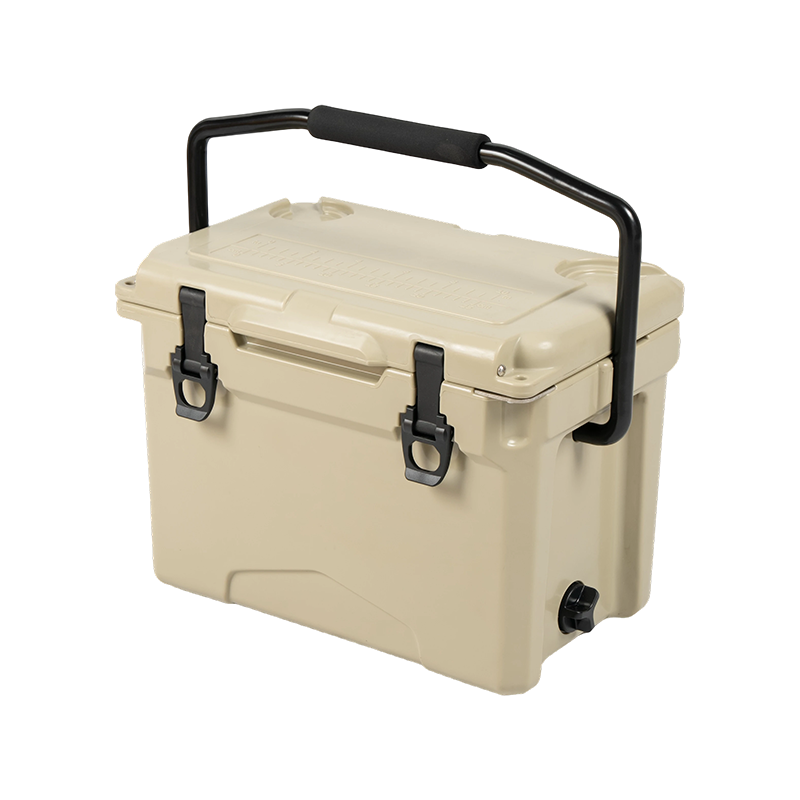
The 18QT NL-18 has an interior of about 35.3 × 21.7 × 25.8 cm, giving it noticeably more room than a personal lunch cooler without moving into bulky territory. It can carry ice, drinks and food for a ...
See Details -
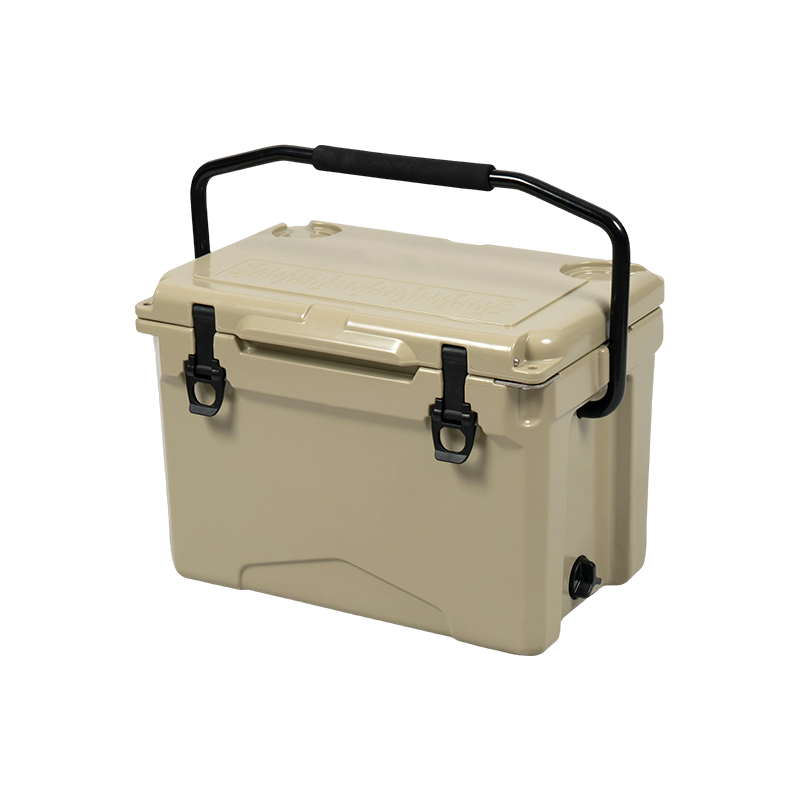
The 25QT NL-25 has an interior of about 38.5 × 23.4 × 28.3 cm, a useful size for individual anglers who need more room for catch and supplies than a 10–18QT cooler but do not want a large offshore box...
See Details -

This 35QT model combines a one-piece rotomolded body with PU foam insulation for buyers who want a tougher cooler with additional outdoor features. It measures approximately 62 × 35.5 × 37.5 cm extern...
See Details
Related News
-
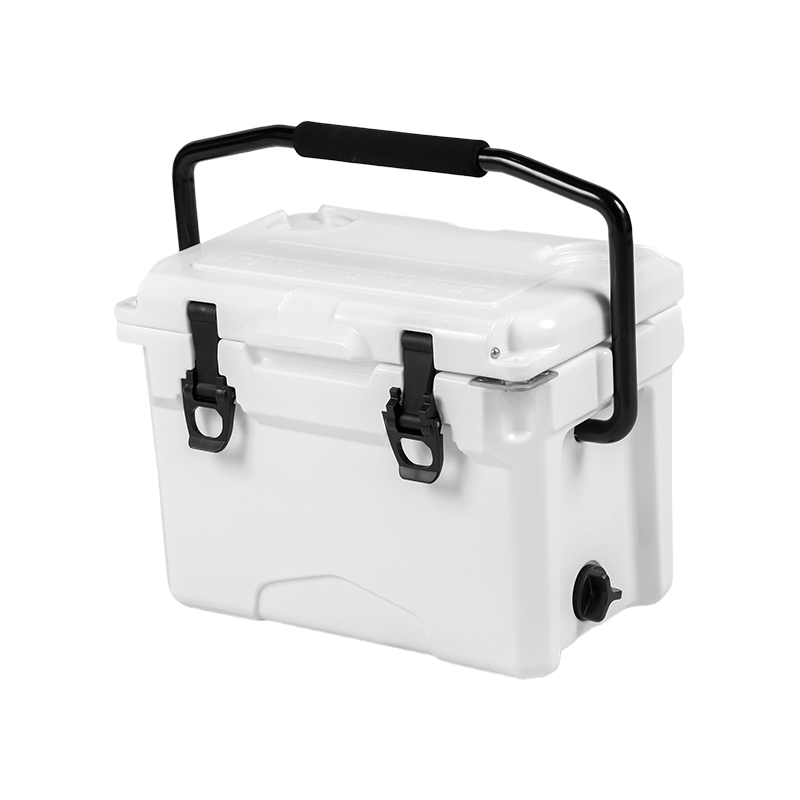
Why Choose a Rotomolded Cooler? Rotomolded Coolers: A Brief Introduction The Pinnacle of Portable Cooling Technology The modern era of outdoor recreation and de...
See Details -
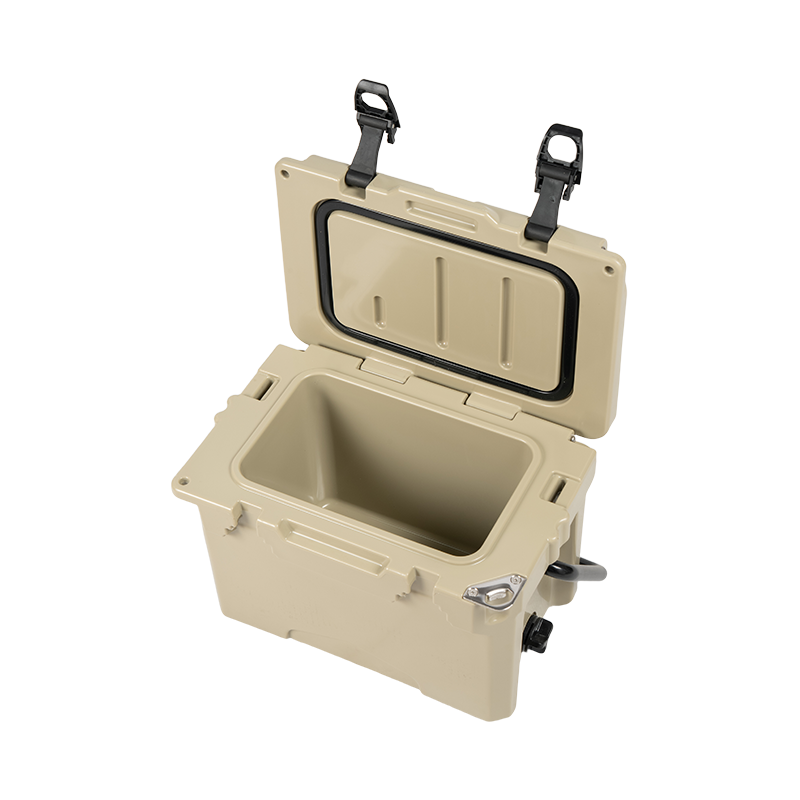
Introduction to Insulated Fish Tubs When you're out on the water, whether it's a deep-sea fishing trip or a relaxing day at the lake, the freshness of your catc...
See Details -
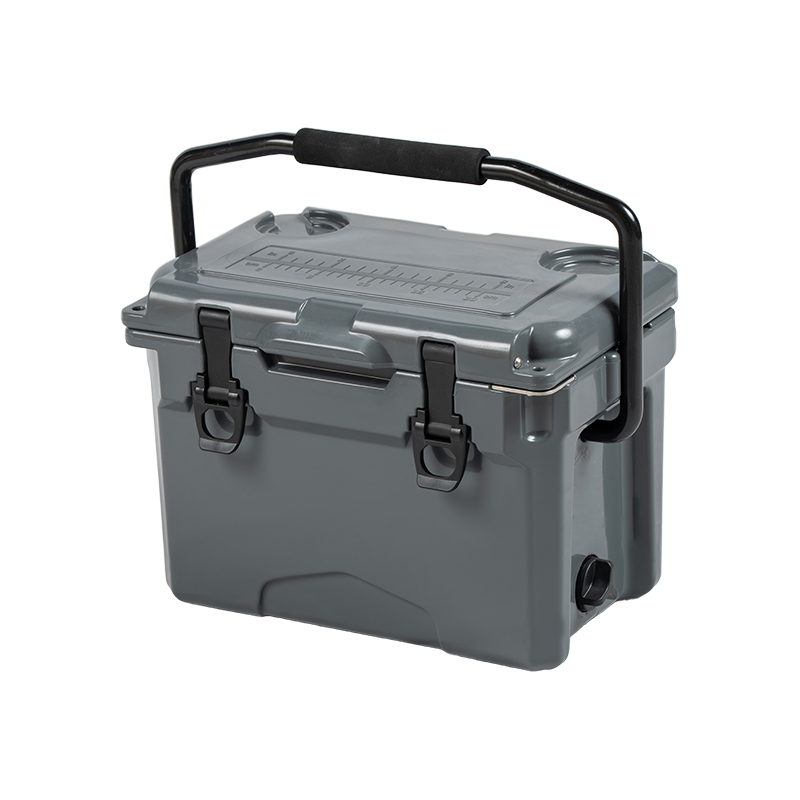
1. Insulation Quality in Outdoor Cooler Boxes When choosing an outdoor cooler box, one of the most critical factors to consider is insulation quality. The insul...
See Details -
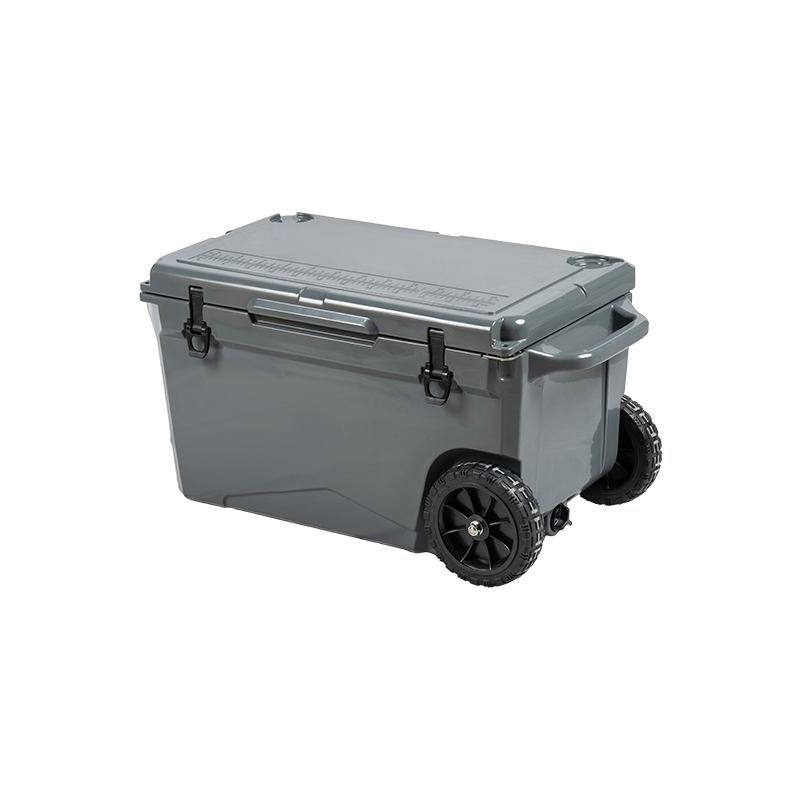
The Unmatched Advantage of ROTOMOLDING COOLER BOX Defining the Premium Standard: What exactly is a ROTOMOLDING COOLER BOX? The ROTOMOLDING COOLER BOX is not mer...
See Details
Be the First to Know
For exclusive deals and the latest offers, sign up by entering your email address below.


Contact Info
 No. 6, Guantong Road, South Zone, Xiaocaoe Town Industrial Park, Ningbo, Zhejiang, China
 +86 13736107260
  [email protected]
 Qr Code



Copyright © Ningbo Nelgreen Outdoor Products Co., Ltd. All Rights
Reserved
 OEM/ODM Seafood Insulated Boxes Manufacturers