 EN
EN
 English
  русский
  Español
  Deutsch
  عربى
عربى 
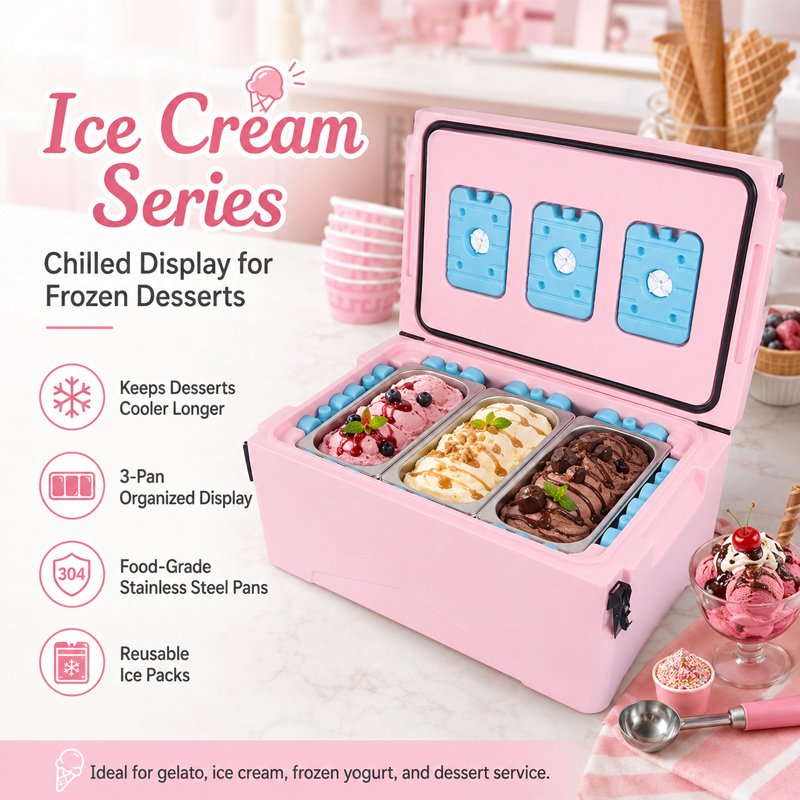
This mobile insulated ice cream display cooler is fitted with three stainless-steel pans, each approximately 6.6L / 7QT, in an overall body of about 69.5 × 44.5 × 32 cm. The separate pans allow differ...
See Details
How to Build an Outdoor Cooler Box: Frame, Insert, Insulation & Ice Retention Guide
2026-09-22
It usually starts with a cooler that lets you down. You carry a cheap plastic box onto the patio, load it with drinks, and within a few hours the ice is gone and the cans are floating in lukewarm water. So you search for a solution, and the first ideas that come up are wooden enclosures built around coolers. Those projects photograph well, but most of them miss the point. An outdoor cooler box is a cooling system. The insert has to hold cold, the lid has to seal, the drain has to function, and the frame has to protect all of that from sun, rain, and everyday abuse. Get the order of operations right and the build will last for years. Get it wrong and you will be rebuilding it next summer. The conclusion up front: choose the cooling core first, then design the frame around it.
What an Outdoor Cooler Box Actually Needs to Do
Before you buy a single board, define what the finished piece must deliver. Three things matter more than appearance: ice retention, outdoor durability, and everyday usability. If any one of those fails, the project fails regardless of how good it looks from across the yard.
Ice retention is the primary job. The wooden shell does not insulate by itself. It shields the insert from direct sunlight and adds a layer of still air, but the cold that keeps drinks cold comes from the insert's walls and its insulation foam. If you place a thin-walled cooler inside a thick wooden frame, you still get a thin-walled cooler. The ice will melt at the same speed it always did.
Outdoor durability means the materials have to survive UV exposure, rain, temperature swings, and insects. A cooler box on a deck does not get a climate-controlled life. The wood needs a proper exterior finish, the hardware needs to be stainless steel or coated against rust, and the insert needs to resist cracking when it expands and contracts in the sun.
Usability decides whether the box gets used or becomes furniture that people walk past. A lid that needs two hands and a wedge to stay open gets left lying open. A box that hides the drain makes cleaning painful. A frame that is slightly too small for the cooler's handles makes every lift an awkward struggle. These small details determine the difference between a build you use weekly and a build you regret.
Start With the Cooling Core, Not the Frame
Most DIY plans begin with the wood, which puts the whole project backwards. The insert is what determines performance, so it must be chosen first and measured precisely. Experienced builders choose the cooler, confirm its external dimensions, and only then sketch a frame. The insert sets the width, depth, height, and lid position; the frame adapts to it, not the other way around.
For a build that will live outdoors and hold ice for more than a single day, a rotomolded cooler is the right starting point. Rotational molding heats food-grade LLDPE powder inside a rotating mold, producing a seamless shell with thick, uniform walls. There are no weak weld lines or thin corners. The cavity between the inner and outer walls is then filled with insulating foam under pressure. The result is a box you can sit on, drop, and load with ice without worrying about leaks.
Injection molded coolers, by contrast, are made by forcing melted plastic into a steel mold. They are lighter, cheaper, and faster to produce, which is why most budget coolers use the process. The tradeoff is thinner walls and limited room for insulation foam, so ice generally melts faster. An injection molded insert is still a sensible option for a patio box that only needs to keep drinks cold for a few hours, especially if the price difference matters to you. For a detailed technical look, read our comparison of rotomolded and injection molded cooler boxes.
How do the two construction processes compare where it counts? This table summarizes the practical differences.
| Attribute | Rotomolded | Injection molded |
|---|---|---|
| Wall thickness | Typically 3 to 6 mm, uniform | Typically 1.5 to 3 mm, varies |
| Insulation foam | Full polyurethane fill | Limited fill or none in budget models |
| Ice retention | 3 to 7 days in many models | Usually 12 to 48 hours |
| Impact resistance | Very high, seamless body | Moderate, may crack on hard drops |
| Weight | Heavier | Lighter |
| Typical price range | Higher | Lower |
| Best application | Camping, fishing, hot climates | Day trips, patio serving, budget builds |
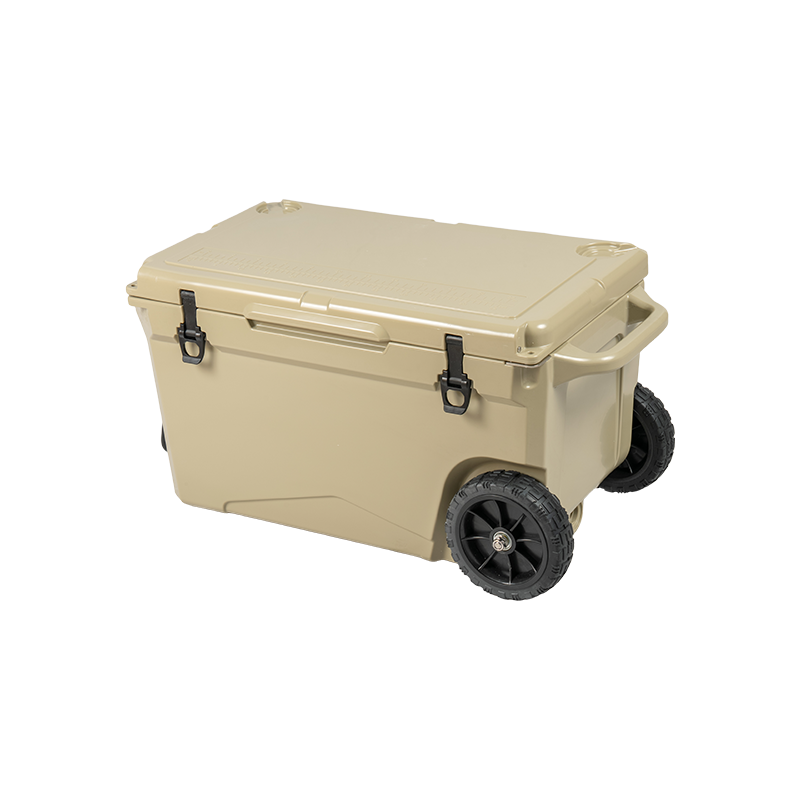 60QT Outdoor Rotomolding Cooler BoxFeatures: Wheeled design | 60QT capacity | Rotomolded body | PU insulation | Camping/beach/event/dock use | OEM/ODMView Product →
A 60 qt rotomolded cooler covers most household outdoor needs, which is why it is the sweet spot in our own lineup. The molding pattern varies by brand, but the engineering principle stays the same: a seamless shell, dense foam, and a lid that seals under its own weight.
Insulation Physics: How Much Foam Is Enough
Insulation is the single biggest factor in ice retention. The cold in a cooler is simply a store of ice that melts as heat leaks in. Heat enters through the walls, the lid, and the drain area. The only thing that slows that leak is insulation, and thickness matters more than any other variable.
Quality coolers use polyurethane foam, injected as a liquid that expands inside the cavity. Polyurethane has a higher R-value per centimeter than EPS bead board, so a smaller volume of it does more work. Budget coolers often leave the walls hollow or use thin sheets of EPS, which is why they lose ice quickly. When you are evaluating an insert, look for one that specifies injected polyurethane foam rather than an air gap.
How long should ice last? In our testing and field reports, a well-insulated rotomolded cooler keeps ice for three to five days in normal summer conditions, and larger premium models can push past seven days when opened rarely and kept in the shade. A standard injection molded cooler gives you 12 to 48 hours. Claims vary because ambient temperature, initial ice temperature, and how often the lid opens all change the result. You can find a detailed breakdown of how long ice actually lasts in a cooler box in our insulation guide.
The frame influences insulation in two ways. First, the wooden shell keeps sunlight off the insert, and shade is worth more than people assume. Second, a gap between the frame and the insert can be filled with rigid foam board, adding an extra layer of protection. Use 25 to 50 mm of XPS or EPS foam board around the sides and bottom if the frame has room. Do not leave large air pockets, because air inside a closed gap encourages convection, which carries heat toward the insert.
One more point: the lid is the weak point. Heat rises, and the top of a cooler gets hit by both ambient air and direct sun. When you build a frame, make sure nothing obstructs the cooler's own lid from seating fully. If the frame top presses down on the lid's seal, or if a wooden lid sits directly on top without a gasket, cold air will leak out along the edge.
Sizing the Outdoor Cooler Box
Sizing is where most first-time builders guess and get it wrong. A box that is too small runs out of drinks by early afternoon. A box that is too large wastes space, costs more, and forces a bigger volume of ice to stay cold. The right size depends on who is using it, for how long, and in what conditions.
For two people on a weekend patio gathering, a 20 to 35 qt insert is comfortable. For a family camping trip where the cooler serves breakfast, lunch, and drinks all day, plan for 40 to 60 qt. For a dock, a boat, or a long beach day with fish and drinks, 65 to 75 qt works better. Large rotomolded containers in the 140 to 240 qt range are really for parties, large families, or users who buy ice by the block rather than by the bag.
There is a simple rule of thumb for drinks: count roughly one 355 ml can per person per hour on a hot day, then add 20 percent for safety. A 20 qt cooler holds about 18 to 20 cans with the necessary ice. A 50 qt cooler handles around 45 to 55 cans. A 75 qt cooler takes 70 to 80 cans plus food containers. If food is in the box, subtract a third from the can count.
| Insert volume | Best for | Typical load with ice |
|---|---|---|
| 10 to 12 qt | Personal day trips, small fishing sessions, drinks for two | 8 to 10 cans |
| 20 to 35 qt | Patio evenings, small camping groups, tailgates | 18 to 30 cans |
| 40 to 60 qt | Family camping, weekend fishing, road trips | 35 to 55 cans |
| 65 to 75 qt | Dock and boat sessions, larger groups | 55 to 70 cans plus food |
| 140 qt and above | Party scale, bait and catch storage, commercial use | Bulk ice blocks and large items |
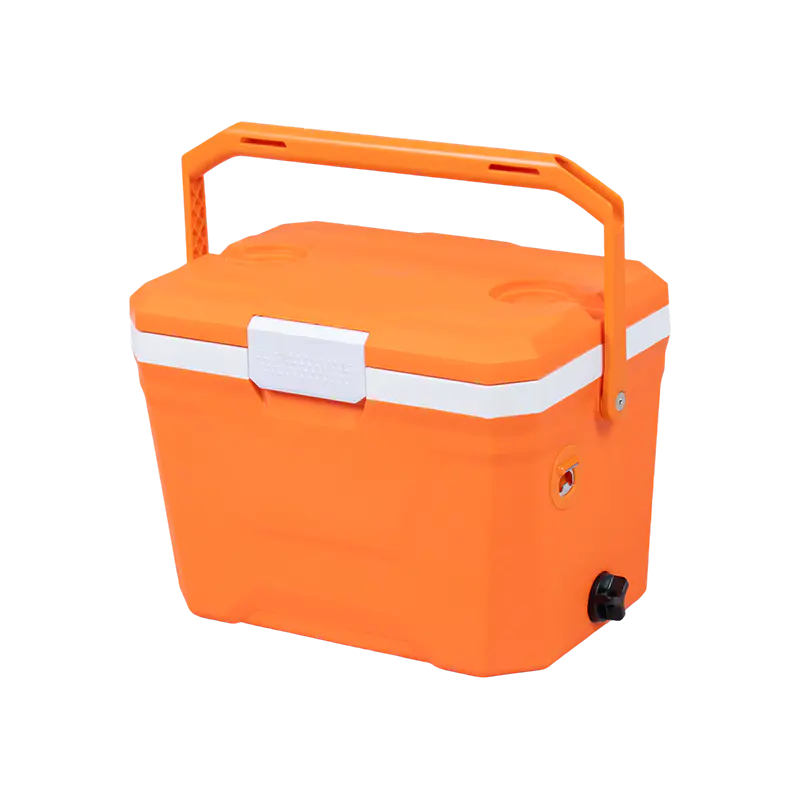 20QT PP Injection Mold cooler boxFeatures:Injection-molded outer shell | PU foam insulation | 20QT capacity | Top carry handle | Optional water tap | Optional backpack strap | Approx. 46.7 × 31.1 × 32...View Product →
If the cooler will sit permanently inside a frame and never need to be carried far, a lighter injection molded insert is worth considering, and our 20 qt injection molded cooler box fits that role neatly. It is compact, easy to lift, and inexpensive enough that the frame design can focus on looking good. Just remember that small means limited; a 20 qt insert will not survive a full day of heavy use by more than two or three people.
Choosing the Wood and Designing the Frame
Wood choice matters more than any joinery detail. The frame lives outdoors, so the wood has to tolerate moisture without rotting and sun without warping. Cedar is the classic option: light, naturally rot resistant, and easy to cut. Teak is denser and effectively waterproof because of its natural oils, but it is expensive and dulls blades quickly. Ipe is extremely durable and extremely hard, which means you need carbide blades and pre-drilled holes. Pressure-treated pine is a budget option, but it can check and splinter as it dries, and you should use stainless steel fasteners to avoid corrosion from the treatment chemicals. For painted frames, exterior-grade plywood with sealed edges gives you a smooth, stable surface.
Design the frame around the cooler's exact dimensions. Measure the insert from the widest point, including handles and the drain spigot. Add clearance for insulation if you plan to line the cavity with foam board. If the insert has a lid that opens on hinges, make sure the frame does not block the hinge arc or the open lid. Set the top of the frame slightly below the top edge of the insert so the air around the lid stays sealed.
Joinery for a cooler box does not need to be cabinet-grade. Butt joints reinforced with pocket screws and waterproof wood glue are strong enough for a box that will sit in one place. A mitered top frame looks cleaner because the corner joints meet at 45 degrees, but it requires a miter saw. Whichever you choose, pre-drill all screw holes, countersink the heads, and clamp until the glue sets.
Also plan the bottom. If the box sits directly on concrete, water will sit under it and speed up rot. Raise it 10 to 15 cm on legs or a low plinth so air can move underneath. A bottom shelf doubles as storage for extra ice bags or a drip tray, and it gives the whole structure rigidity.
Building the Frame: Step-by-Step Sequence
The sequence below assumes a simple rectangular frame around a standard cooler insert. It works for any size, from a compact 20 qt side table to a 75 qt outdoor serving station. Adjust the dimensions to your insert and to the wood you have chosen.
- Prepare the insert. Clean it, dry it, and set it in the spot where the finished box will live. Remove any handles that protrude beyond the sides if they interfere with the frame.
- Record the exact dimensions. Measure the length, width, and height of the insert at its widest points, including the drain. Add 10 to 15 mm per side if you want a ventilation gap, or 25 to 50 mm if you plan to install foam insulation.
- Cut the legs. Use four legs from 50 by 100 mm or 70 by 70 mm treated lumber. Cut them to the total box height minus the top frame thickness. Chamfer or round the feet so they do not split when the box is dragged.
- Build the short sides. Screw one rail between each pair of legs using two pocket screws per joint and a layer of wood glue. Pre-drill before driving screws.
- Attach the long sides. Clamp the two short-side assemblies together with the longer rails. Check the frame for square by measuring both diagonals; they should be equal. Let the glue set completely.
- Add the bottom shelf. A shelf made of slats or a plywood panel sits a few centimeters above the ground and ties the legs together. It also gives you a place to store a drip tray or a bag of ice.
- Build the top frame. Use four boards with 45-degree mitered corners, sized so the inner opening matches the insert dimensions exactly. The top frame carries the insert, so it has to be flat and square.
- Test fit the insert. Lower the cooler into the frame. Confirm the lid opens fully, the drain is reachable, and the top of the cooler sits flush with or just below the top of the frame.
- Cut the access opening if needed. If you use a full-skirt design that hides the cooler completely, cut a rectangular opening in the front so the cooler can be pulled out for cleaning.
- Build the lid. Use a plywood panel with a routed edge or a frame-and-panel construction. The lid should overhang the frame by 10 to 15 mm so water runs off instead of dripping inside.
- Attach the hinges. Use two stainless steel gate hinges or a continuous hinge, positioned so the lid closes with the cooler's own seal intact. Add a third hinge for lids wider than one meter.
- Install the latches and handles. A pull latch or a magnetic catch keeps the lid shut in wind. Two fixed handles on the frame sides make the whole assembly portable.
- Cut the drain access hole. Align a hole in the front panel with the insert's drain spigot so you can drain without removing the cooler.
- Apply the finish. Use two or three coats of spar urethane or exterior paint on every exposed surface, including the underside. Sand lightly between coats.
The Lid: Hinges, Seal, and Everyday Handling
The lid is the most used part of an outdoor cooler box, and it is where most cheap builds fail. A lid that is heavy, unbalanced, or badly sealed makes every use annoying, and it lets cold air escape all day long. Build it carefully and the whole project feels different in daily use.
Use gas springs or torsion hinges for lids that weigh more than a few kilograms. A wooden lid with a plywood panel can easily weigh 4 to 6 kg, and holding it open with one hand while pulling out a drink with the other gets tiring quickly. Install two gas struts, one on each side, rated for about 60 percent of the lid's weight. That way the lid stays open on its own and closes with a light push.
The seal matters more than the hardware. The cooler's own lid gasket is the primary barrier, so do not build a frame that presses down on it. If the wooden lid sits directly over the cooler's top, add a strip of EPDM weatherstripping around the frame's inner edge. This stops warm air from washing over the cooling core. Test the seal with a piece of paper: close the lid, pull the paper out; there should be light resistance.
Direction matters too. A forward-opening lid lets you use the box from the front, which is natural on a patio. A side-opening lid is easier to keep out of the way of a grill work surface. Decide based on where the box will actually sit, and position the hinges so the open lid does not hit a wall or a railing.
Drainage, Ventilation, and Cleaning
Melting ice creates water, and water will find every crack in your frame if you do not give it a way out. The insert's drain is the intended exit, so the frame must keep it reachable and unblocked. Cut a hole in the front panel at the same height as the spigot, or better, install a removable front panel so you can reach the drain without tools.
If the cooler insert has a plug drain rather than a spigot, plan for a small basin underneath or a short hose that routes outside the frame. Do not let the drain empty straight onto the wood inside the frame; water will pool, soap will collect, and the plywood will swell.
Ventilation is a balancing act. A completely sealed frame traps moisture against the cooler's outer shell, which can promote mold in humid climates. Small vents at the bottom and top of the frame let air move behind the cooler without significantly reducing insulation. Cover the vents with insect mesh so leaves and bugs stay out. If you filled the cavity with foam board, skip the vents and rely on the foam to keep the shell dry.
Cleaning is simple if the design allows it. Once a month, pull the insert out, wipe the frame interior with a damp cloth and mild soap, and dry it completely. Flush the insert with clean water, wipe the gasket, and let it air out with the lid open. Avoid pressure washers, which can push water under the seal and wash lubricant away from the hinges.
What a Factory-Grade Cooler Does Differently
If you have ever compared a budget cooler to a serious one, you know the difference is not just insulation. Factory-grade coolers are engineered around a set of details that DIY builds cannot easily copy, and those details are worth knowing whether you are building a one-off box or sourcing products for a brand.
Material is the first difference. Quality coolers use food-grade LLDPE, which resists UV light, stays flexible in cold weather, and does not leach odor or taste into food and drinks. The resin has to meet FDA food-contact standards, so a supplier that documents its materials is immediately more trustworthy than one that only shares a price list.
Wall thickness is the second difference. Rotomolding produces walls that are thick and consistent across the body. A poorly operated machine can leave thin spots at corners, and those thin spots become heat leak regions. When you evaluate a supplier, ask about molding process control and wall thickness uniformity. Manufacturers like Nelgreen, which specialize in rotomolding with dedicated tooling, can hold that uniformity because the mold and machine cycle are designed together, not adapted from a generic process.
The third difference is the lid system. The best coolers have a molded lid with a rubber gasket that compresses when closed, a locking latch, and a hinge that opens wide enough for a quick grab. Add integrated features like a fish ruler on the lid, tie-down slots, or a molded cup holder, and the box becomes a tool rather than just a container.
For buyers working with a manufacturer, the checklist is short: confirm the resin is food-grade, ask for the mold's wall thickness range, request documentation of quality and food-contact standards, and test the gasket compression with a sample unit under sunlight. These checks take minutes and prevent months of field failures. Our multifunction folding table cooler box is a good example of combining a molded cooler with a useful frame function: it gives you a stable table and two stools without any woodworking. When you do not want to build the frame at all, a product like that removes the project completely.
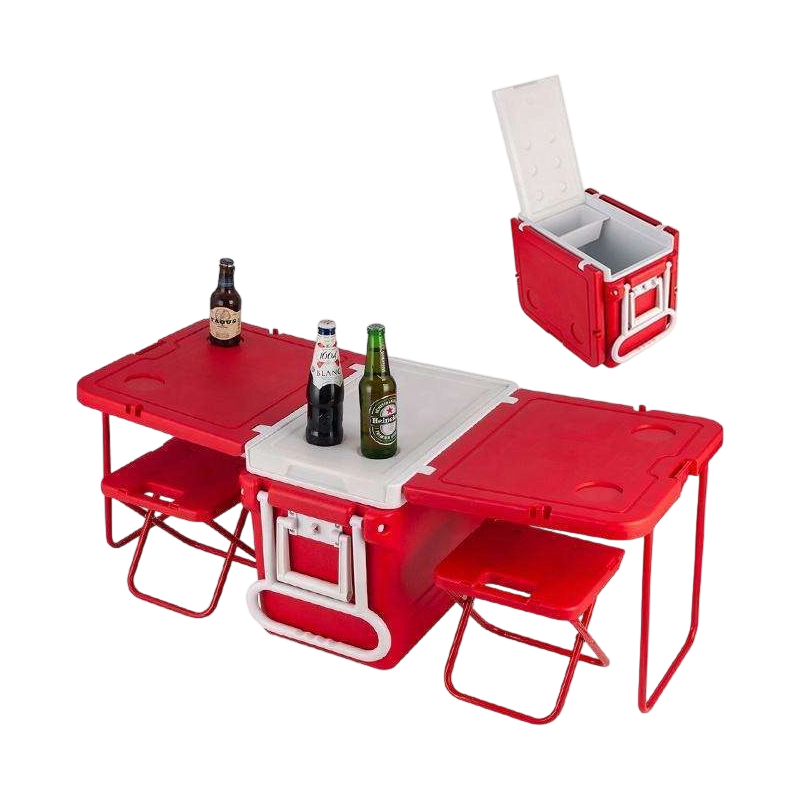 Multi-Function Folding Table Injection Mold Cooler Box with StoolsFeatures: Tall-body design | Rotomolded construction | PU foam insulation | Bottle-friendly vehicle storage | Branding optionsView Product →
Finishing and Maintenance That Make the Build Last
Finishing is not cosmetic. A cooler frame that stays outside year-round gets rained on, baked in the sun, and splashed with grill grease. The finish is the only thing standing between the wood and rot.
Spar urethane is the best general-purpose finish for outdoor wood because it flexes with the wood as temperature changes. Apply at least three coats, sanding lightly with 220 grit between coats. Exterior paints work well on plywood frames, but they chip at corners and need touch-up every couple of seasons. Teak oil is right for teak, and not much else; oil finishes generally require reapplication every few months.
Stainless steel hardware removes one entire class of problems. Zinc-plated screws corrode quickly in coastal air, and rust bleeds into the wood. Use 304 stainless screws, hinges, and latches from the start. Re-check the hinge screws once a season; wood expands and contracts, and screws can work themselves loose.
In the off-season, store the box with the lid cracked if it lives under a roof, or fully closed if it stays in the weather. Wipe snow and fallen leaves off the top promptly, because trapped moisture against the lid seal accelerates wear. Once a year, clean the gasket and apply a dry silicone spray to the hinges to keep them quiet.
Final Thoughts
Build an outdoor cooler box in the right order and you end up with something that delivers cold drinks all weekend and looks good on the patio for years. Choose the insert first, use a rotomolded model when ice retention matters, add foam insulation in the frame cavity, and seal the lid properly. Then cut the wood, keep the drain reachable, and finish everything with spar urethane.
If you are building for personal use, the steps above are enough. If you are considering making cooler boxes as a product line for a brand, the same logic applies at a larger scale: pick a manufacturing partner with mature rotomolding capability, verify its quality and food-contact certifications, and let it handle the mold design while you focus on the market. If you are evaluating that route, talk to the Nelgreen team about tooling and lead times. The best outdoor cooler box is not necessarily the biggest or the most expensive. It is the one that keeps ice the longest, survives the weather, and earns its place on your patio every single day.
Our R&D team has over 15 years of rich experience in the field of rotational molding products and has applied for 6 product patents. The number of factory employees has exceeded 100. Strict management and quality control have enabled us to take the leading position in the industry. In addition, the experienced sales team can provide customers with a variety of solutions and high-quality services.
Related products
-
-
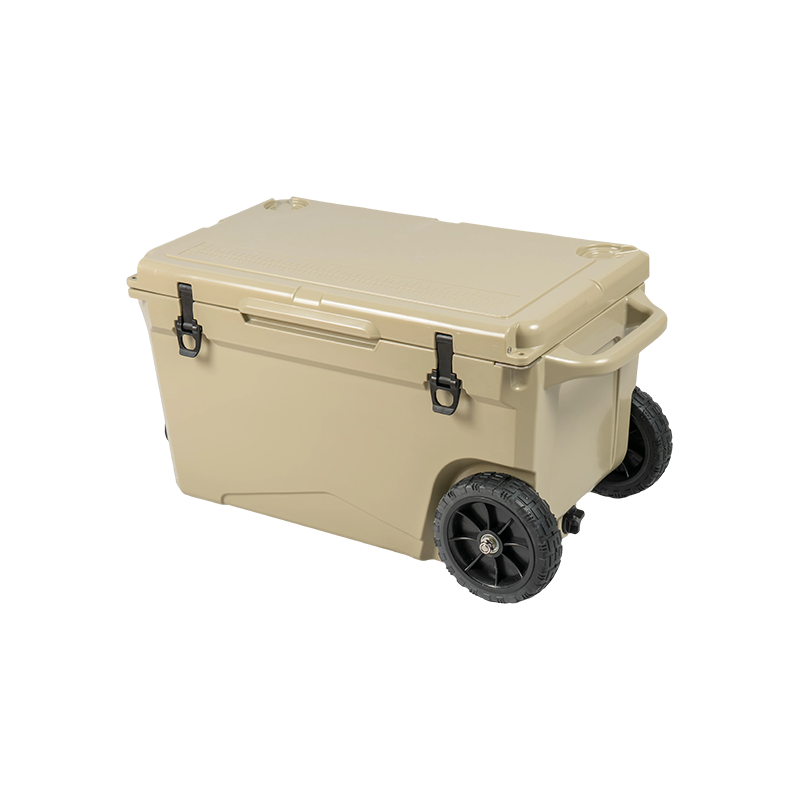
The 75QT NL-75 is a large wheeled model with an interior of about 66.2 × 34.1 × 35.8 cm. It is suited to offshore fishing, boating, family barbecues and group events where more ice, drinks, food or ca...
See Details -
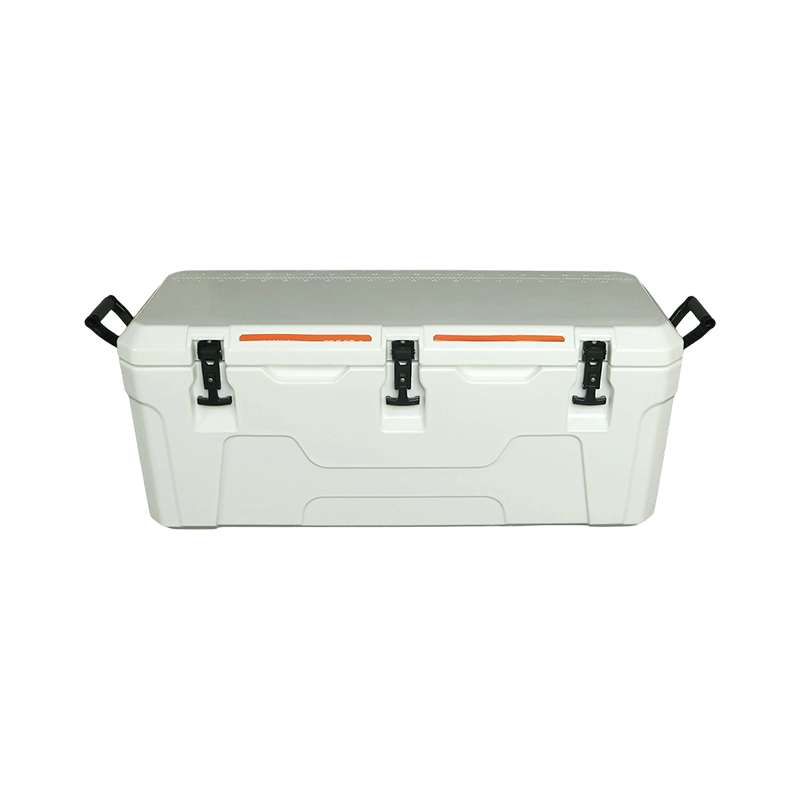
The 140QT NL-140 has an interior of about 105 × 32 × 38 cm, and its more-than-one-meter usable length is the key advantage of this model. It is better suited to larger fish, longer catch and supplies ...
See Details -

The 60QT NL-60 is defined not only by its larger capacity but also by its wheels. With an interior of about 62.7 × 32.5 × 32.8 cm, a full load of ice, drinks and food can become heavy, so the wheeled ...
See Details -
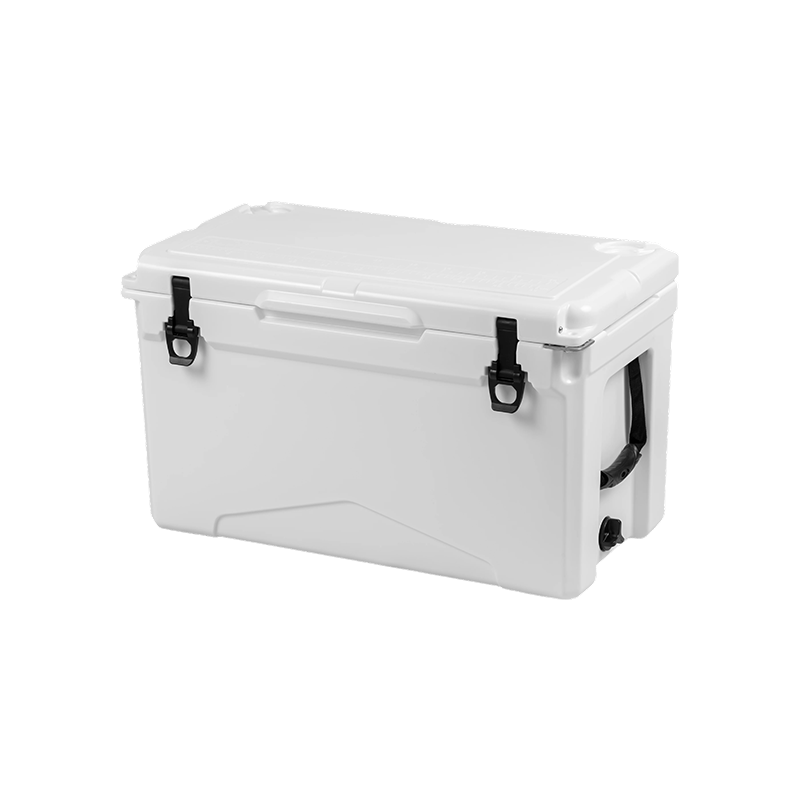
The 50QT NL-50 has an interior of about 55.1 × 27.8 × 32.5 cm and a long-body format that naturally suits marine and boat use. Longer fish, bottled drinks and rows of food packs can be arranged more e...
See Details -

The 28QT NL-28 is noticeably taller than a conventional low-profile cooler. Its interior measures about 44.5 × 22 × 38 cm, giving extra vertical room for upright bottles and taller food containers. Th...
See Details
Related News
-
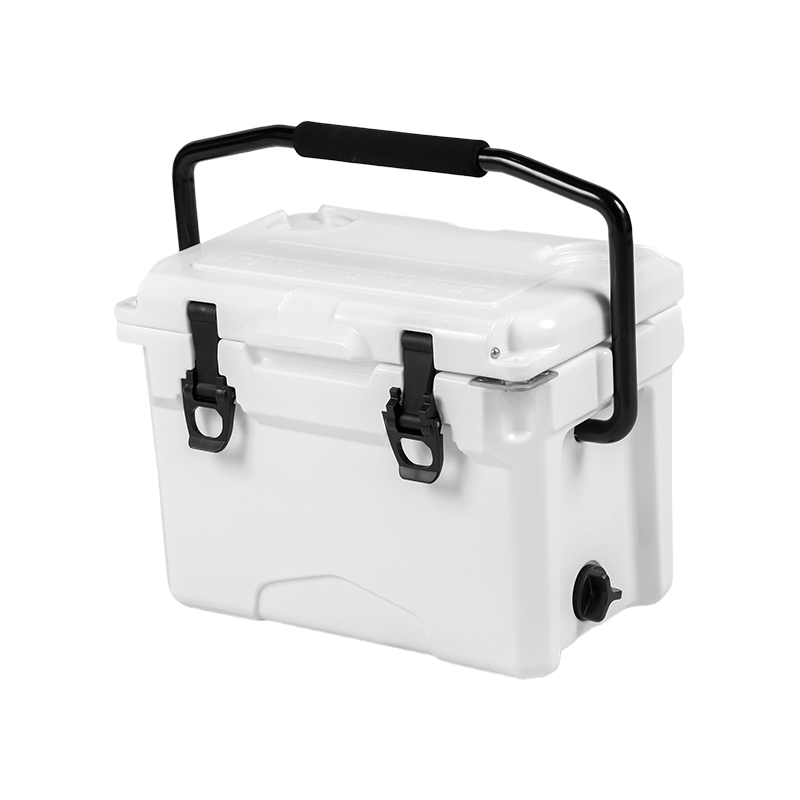
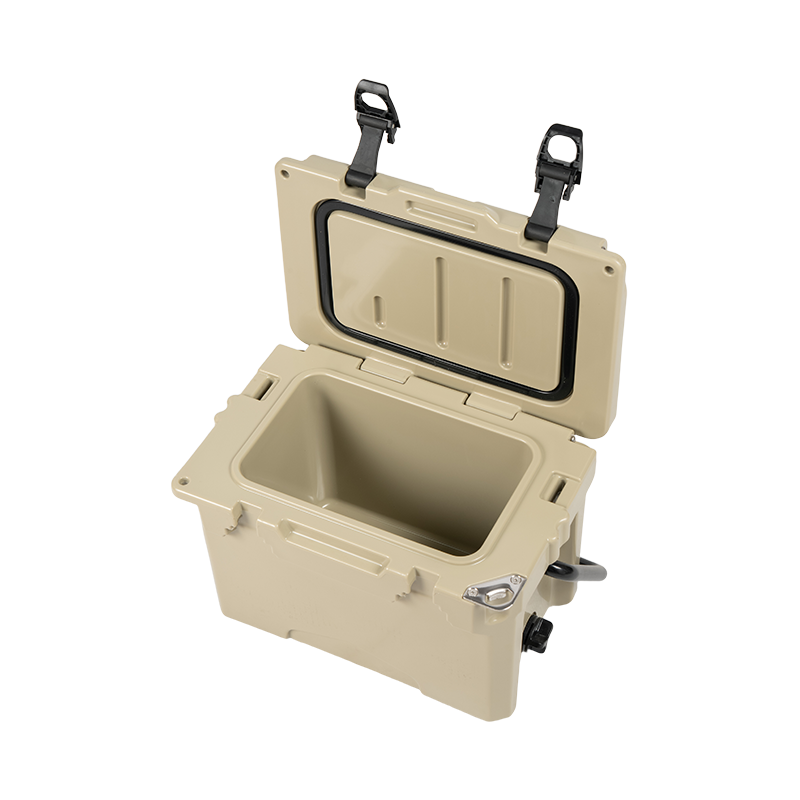
Why Choose a Rotomolded Cooler? Rotomolded Coolers: A Brief Introduction The Pinnacle of Portable Cooling Technology The modern era of outdoor recreation and de...
See Details -
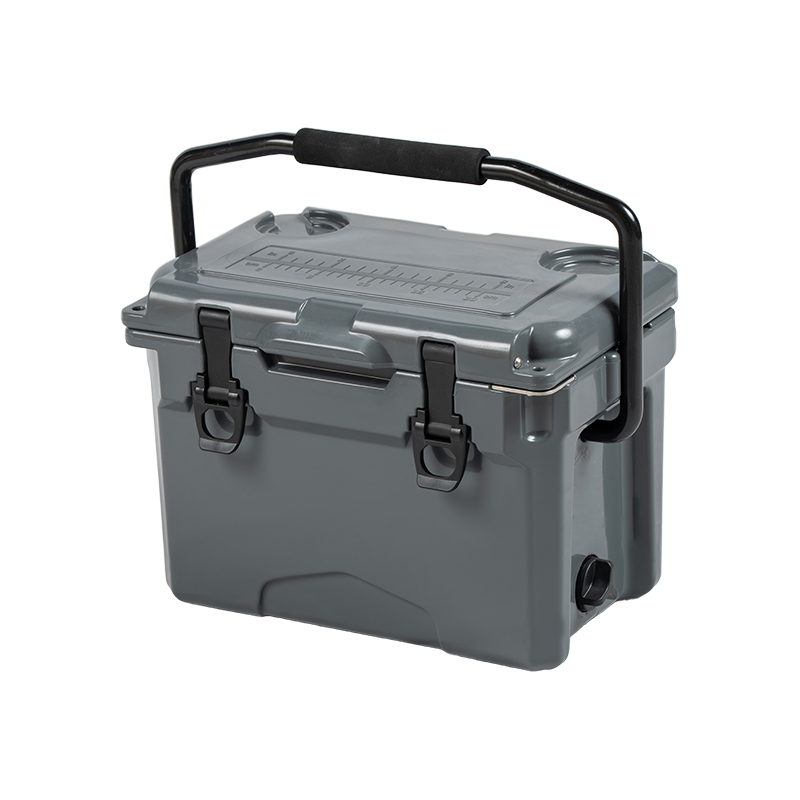
Introduction to Insulated Fish Tubs When you're out on the water, whether it's a deep-sea fishing trip or a relaxing day at the lake, the freshness of your catc...
See Details -
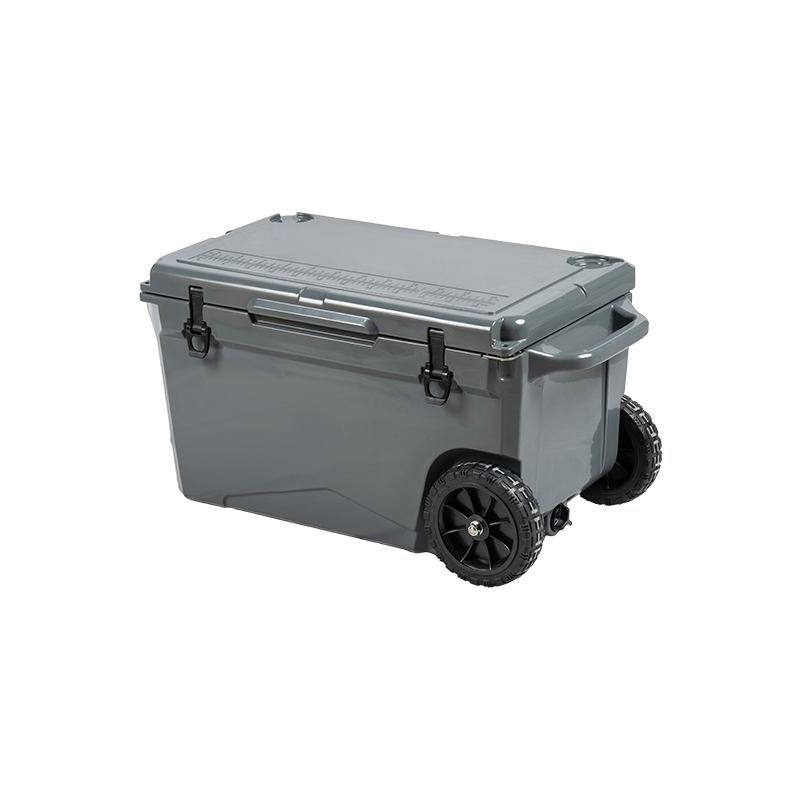
1. Insulation Quality in Outdoor Cooler Boxes When choosing an outdoor cooler box, one of the most critical factors to consider is insulation quality. The insul...
See Details -
The Unmatched Advantage of ROTOMOLDING COOLER BOX Defining the Premium Standard: What exactly is a ROTOMOLDING COOLER BOX? The ROTOMOLDING COOLER BOX is not mer...
See Details
Be the First to Know
For exclusive deals and the latest offers, sign up by entering your email address below.


Contact Info
 No. 6, Guantong Road, South Zone, Xiaocaoe Town Industrial Park, Ningbo, Zhejiang, China
 +86 13736107260
  [email protected]
 Qr Code



Copyright © Ningbo Nelgreen Outdoor Products Co., Ltd. All Rights
Reserved
 OEM/ODM Seafood Insulated Boxes Manufacturers