 EN
EN
 English
  русский
  Español
  Deutsch
  عربى
عربى 
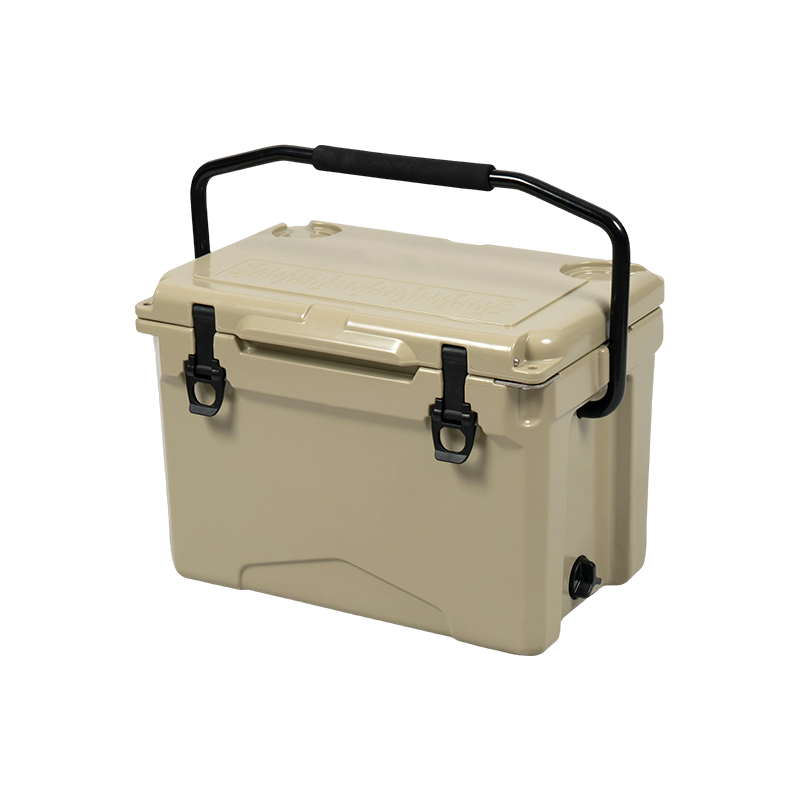
The 25QT NL-25 has an interior of about 38.5 × 23.4 × 28.3 cm, a useful size for individual anglers who need more room for catch and supplies than a 10–18QT cooler but do not want a large offshore box...
See Details
How to Use a Cooler Box: Complete Guide to Packing, Pre-Chilling, and Maintenance
2026-09-24
Picture this: you spend 30 minutes packing food and drinks into a cooler box, drive two hours to the lake, and when you open the lid, the drinks are still warm. The cooler is not broken. The problem is almost always in how it was used. A cooler box is not a magic appliance; it is a passive insulator. Its performance depends entirely on how well you prepare it, how much ice you add, how you layer the contents, and where you place it during the trip. This guide explains those steps in the order they matter most.
Understand How a Cooler Box Loses Cold
Heat enters a cooler through three main paths: conduction, convection, and radiation. Conduction happens when warmth travels from the outside air through the walls. Convection occurs when warm air is exchanged every time you open the lid, and radiation is the sun beating down on the shell. The insulation thickness and the integrity of the lid seal determine how fast that heat comes in. A roto-molded cooler with a thick LLDPE shell and a tight gasket will hold ice much longer than a thinner injection-mold unit in the same conditions. That said, even the best cooler will fail if you do not manage the variables you control: the initial temperature of the contents, the amount of ice, and the surrounding environment.
Choose the Right Size Before You Pack
Size selection is not about buying the biggest unit you can afford. An oversized cooler gives you more air volume to cool, which actually speeds up ice melt. A compact cooler with too little space forces you to pack warm drinks, which creates a huge thermal load. As a rule, allow roughly 1.5 to 2 liters of cooler capacity per person per day for drinking plus food, assuming you start with pre-chilled drinks and high-quality ice. For a one-day solo trip, a 10qt or 12qt cooler is enough. For a family of four on a weekend camping trip, plan for 60 to 75 quarts.
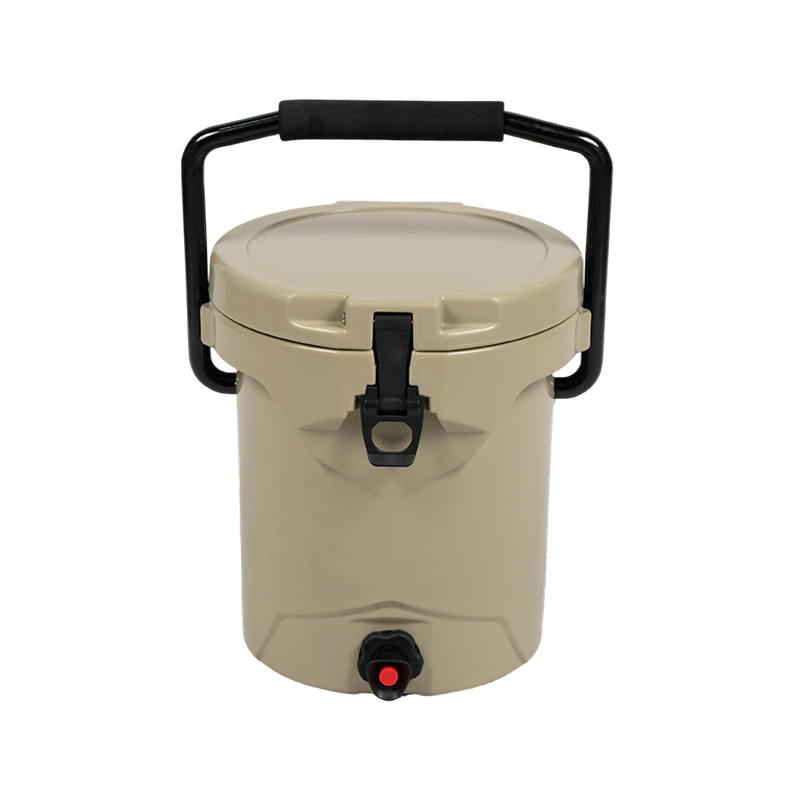 Compact 10QT Rotomolded Cooler Box for Personal Outdoor UseThis 10QT rotomolded cooler features a bucket-style body and compact footprint, ideal for solo day trips, kayaking, or personal lunches. Its rugged construction and short-term ice retention make it a practical choice for grab-and-go outdoor activities.View Product →
If you are not sure which capacity to choose, read this guide on choosing the right outdoor cooler box size before you buy. A smaller unit is easier to carry and fits in the car, but a large-capacity model will keep its temperature more stable when you add multiple days of supplies.
Pre-Chill Everything Before Putting It in the Cooler
Start with a cold box. Keep the cooler in a cool room or in a refrigerator for several hours before loading. Chill food and drinks in the fridge to at least 4°C (40°F) before they enter the box. If you place room-temperature food in a cooler filled with ice, the ice must absorb that extra heat before it can do its job. Water bottles filled with water and frozen the night before work twice: they act as ice, and they later become drinking water. Freeze them solid, not slushy. For a long trip, freeze a large block of ice inside a plastic container that fits the bottom of the cooler: a block melts slower than the same weight in small cubes. This one preparation step can add 12 to 18 hours of cold performance to a well-insulated box.
Use the Right Ice-to-Food Ratio and Packing Layers
The ideal ice-to-food ratio is about 2 parts ice for every 1 part of food and drinks by volume. Realistically, many people use a 1:1 ratio, which works for one-day outings but not for long trips. Layer from bottom to top: first a base of ice, then a row of pre-chilled food items, then another layer of ice, then more items, and finish with ice on top. Use separate waterproof containers for each item to keep food dry and to make retrieval easier. Avoid pouring large amounts of liquid into the cooler; any liquid that is already cold is fine, but if it spills, it melts ice faster because it has direct contact with the drained water. If you use dry ice for extreme duration, wrap it in paper and wear gloves, and never seal the cooler completely airtight because the sublimating gas can build pressure.
Position the Cooler Correctly During Use
Where you place the cooler matters more than most people think. Put it in the shade, on a mat or wooden surface, not on hot asphalt or sand. The sun's direct radiation can raise the heat load by a large percentage. Cover the outside with a wet towel or an insulated blanket; evaporative cooling helps a little, but the main benefit is added insulation. Do not leave the cooler in a closed car with direct sun for long periods. Try to keep the lid closed as much as possible; every open lid releases cold air and lets warm air in. During a fishing trip on a boat, keep the cooler away from the engine compartment and use a lid strap if you have one. For a serious sea fishing session, the extra wall thickness and a threaded drain plug on a large model make a real difference when the ambient temperature is high.
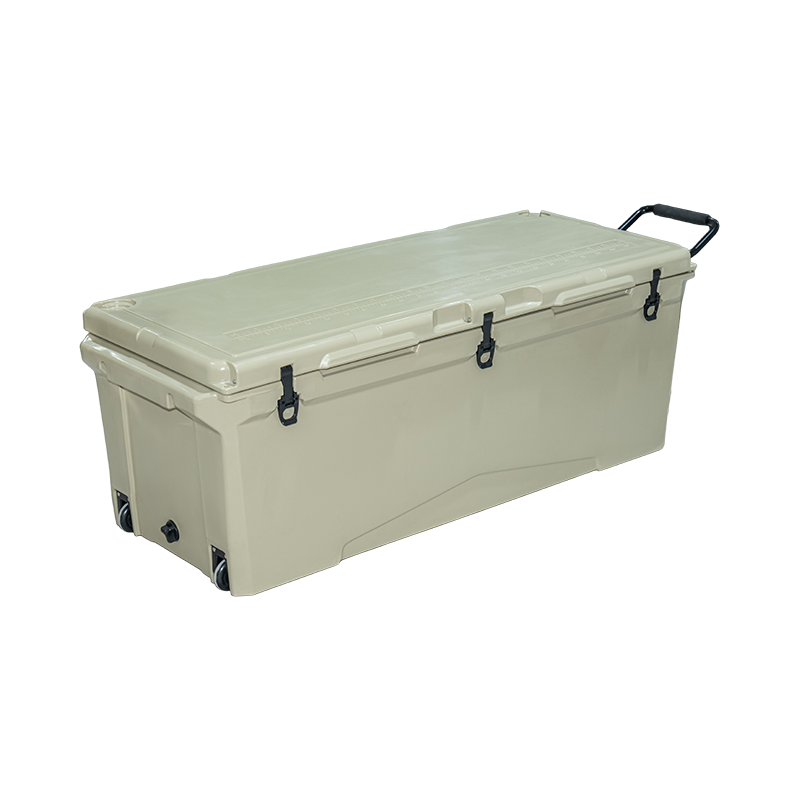 Large 240QT Rotomolded Cooler for Marine Fishing and Group TripsThe 240QT model offers extra-large capacity and thick insulated walls, suited for commercial fishing or tournament use. It consolidates large catches and supplies, while its rotomolded body withstands frequent marine handling and high ambient temperatures.View Product →
Maintain Cold Performance for Multi-Day Trips
For trips longer than 24 hours, ice management becomes a daily task. Drain the melted water at least once a day through the drain plug, because water conducts heat better than air and it takes up space that could be filled with ice. Add fresh ice as soon as the existing ice starts to liquefy, not when it is completely gone. If you notice that the food is no longer below 4°C, stop relying on the cooler and use a backup method. For commercial seafood transport or industrial use, the requirements are different: a fish tub made from rotomolded LLDPE can be used with ice or eutectic packs, and it should be drained regularly to keep the seafood fresh. An example of such a container is shown below.
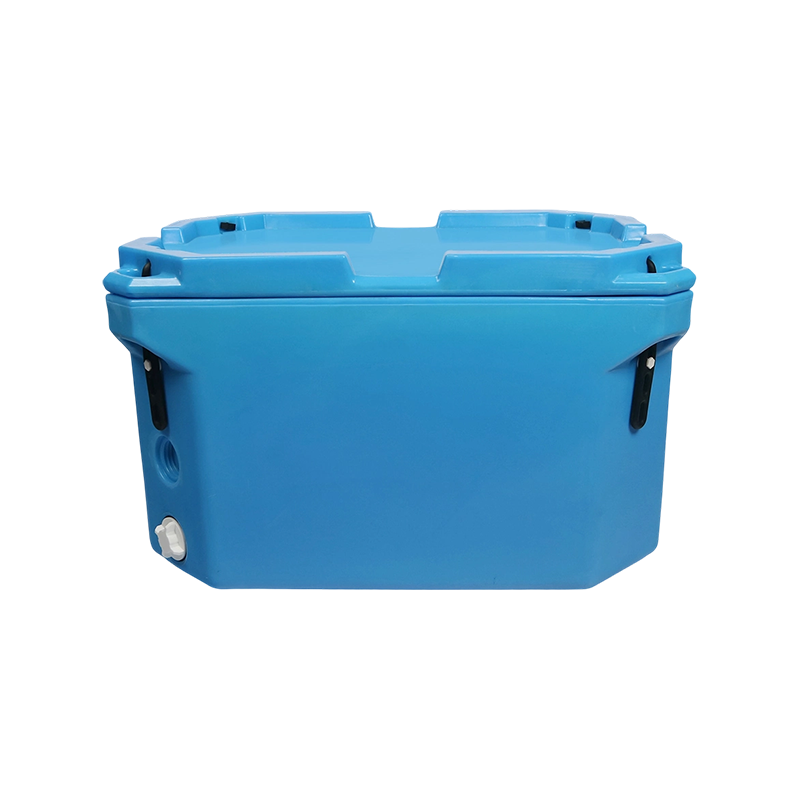 100L Rotomolded Insulated Fish Tub for Small-Batch Seafood TransportThis 100L fish tub is made of food-grade LLDPE with PU insulation, ideal for short seafood transfers or catering delivery. Its compact, easy-to-clean design helps separate products and fits tight spaces in kitchens or vehicles.View Product →
In a residential setting, you can also separate the contents into two layers: one box for frequent access items like drinks, and another for food that stays closed until lunch. This reduces the number of times you open the primary cooler.
Clean and Store Your Cooler Properly
After use, empty the cooler completely. Wash the interior with a mild dish soap and warm water, and rinse thoroughly. Do not use bleach or harsh abrasives on the LLDPE surface; they can damage the food-contact surface. Remove any lingering smell with a solution of baking soda and water. Dry the interior completely before storing with the lid slightly open to prevent mold. If the drain plug is removable, take it out to air-dry the hole. Following this routine will keep the insulation and the gasket in good condition for years.
Common Mistakes That Drain Cold Fast
Some errors appear repeatedly. They are easy to avoid once you know what they are. The table below summarizes them.
| Mistake | Why It Hurts | What to Do Instead |
|---|---|---|
| Using room-temperature items | Ice melts quickly to cool the load | Pre-chill everything before packing |
| Not enough ice | Cooler rises above safe temperature | Use 2:1 ice-to-food ratio |
| Opening the lid too often | Cold air escapes, warm air enters | Plan retrieval, use separate layers |
| Leaving the cooler in the sun | Radiation adds heat | Place in shade, cover with an insulated blanket |
| Forgetting to drain water | Melted water conducts heat and displaces ice | Drain once or twice a day |
| Overpacking | Air pockets and warm spots increase | Pack tightly in layers with ice between |
Getting the most out of a cooler box does not require expensive accessories or complicated techniques. It requires attention to the basics: pre-chilling, proper ice ratio, careful layering, and smart placement. Once you have these habits in place, you will notice that your ice lasts longer, your food stays safer, and your trips become less stressful. Choose your cooler size based on the trip you actually take, and the rest follows.
Our R&D team has over 15 years of rich experience in the field of rotational molding products and has applied for 6 product patents. The number of factory employees has exceeded 100. Strict management and quality control have enabled us to take the leading position in the industry. In addition, the experienced sales team can provide customers with a variety of solutions and high-quality services.
Related products
-
-
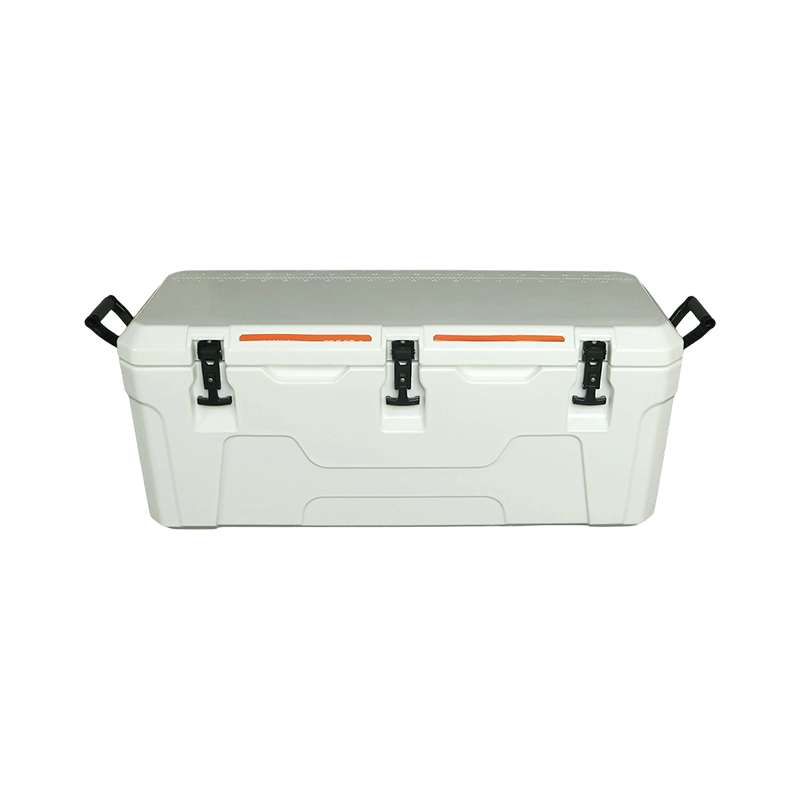
The 140QT NL-140 has an interior of about 105 × 32 × 38 cm, and its more-than-one-meter usable length is the key advantage of this model. It is better suited to larger fish, longer catch and supplies ...
See Details -
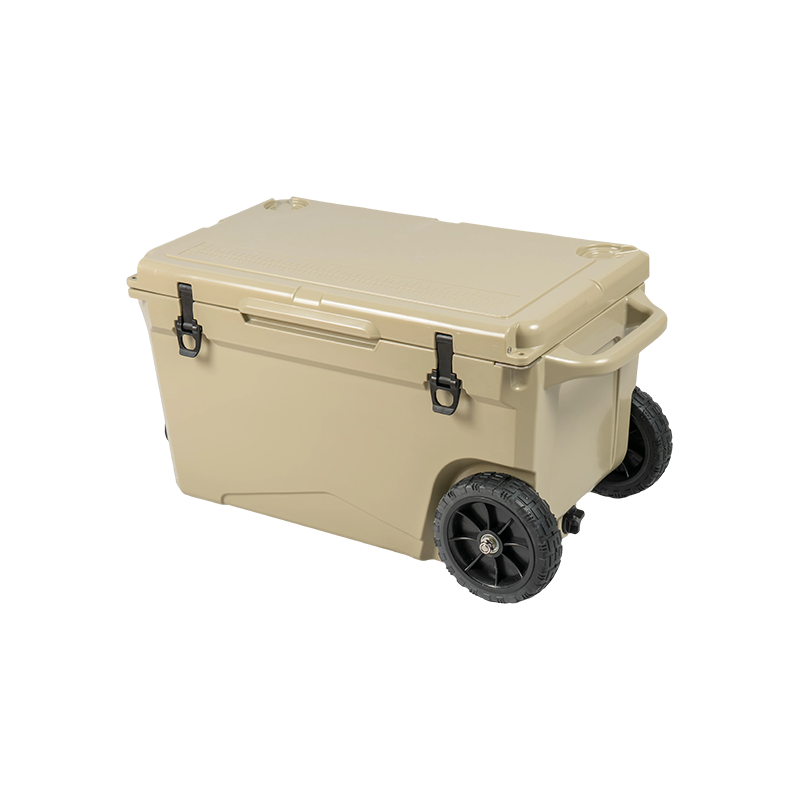
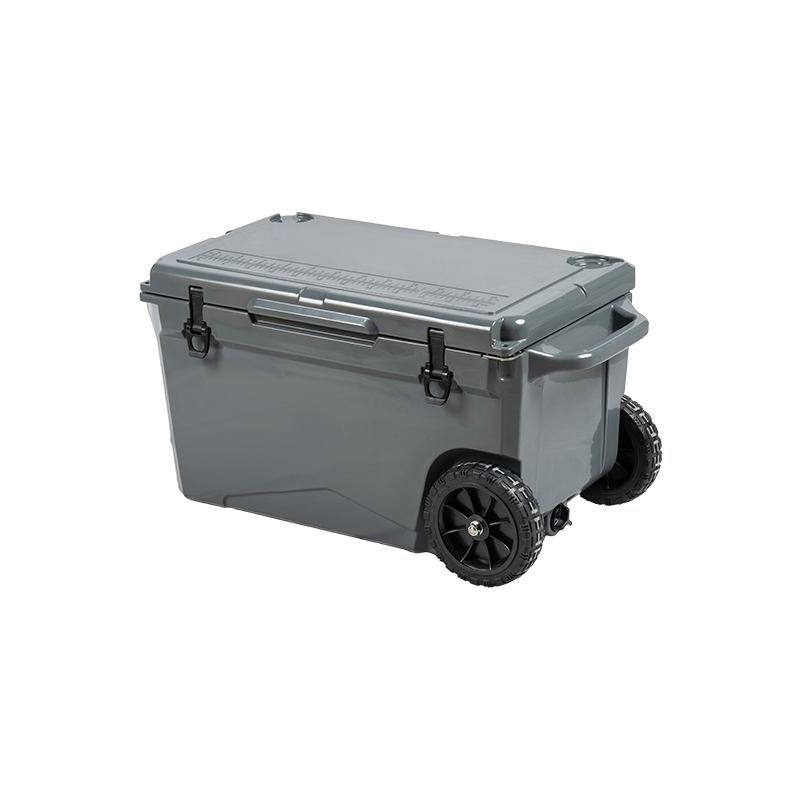
The 75QT NL-75 is a large wheeled model with an interior of about 66.2 × 34.1 × 35.8 cm. It is suited to offshore fishing, boating, family barbecues and group events where more ice, drinks, food or ca...
See Details -
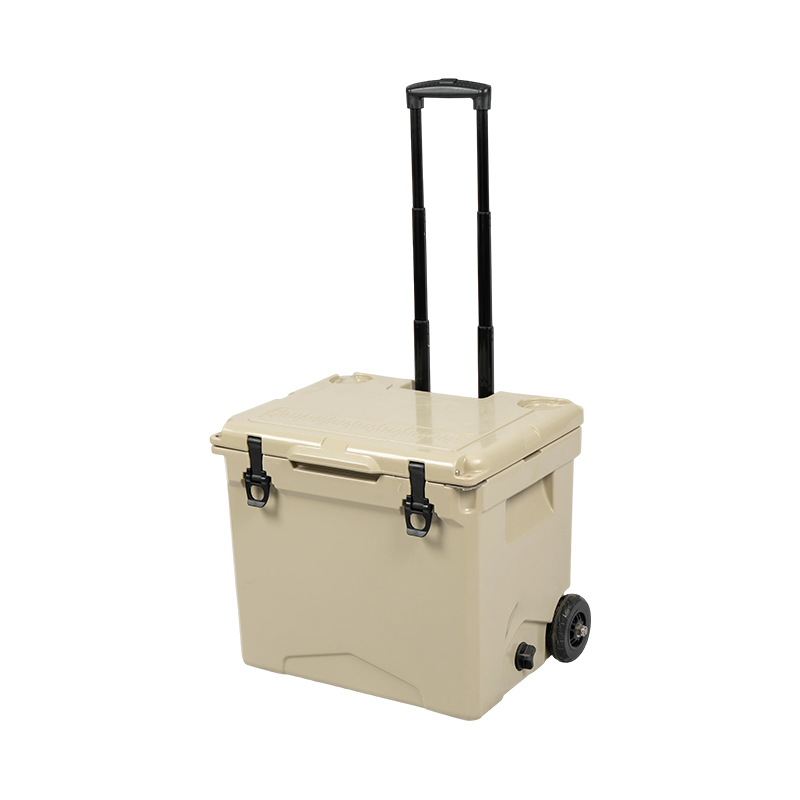
The 45QT NL-45 has a deeper interior of about 41.8 × 29.9 × 30.4 cm, making it useful when vertical storage matters. Taller food containers, bottled drinks and campsite supplies can be packed upright ...
See Details -
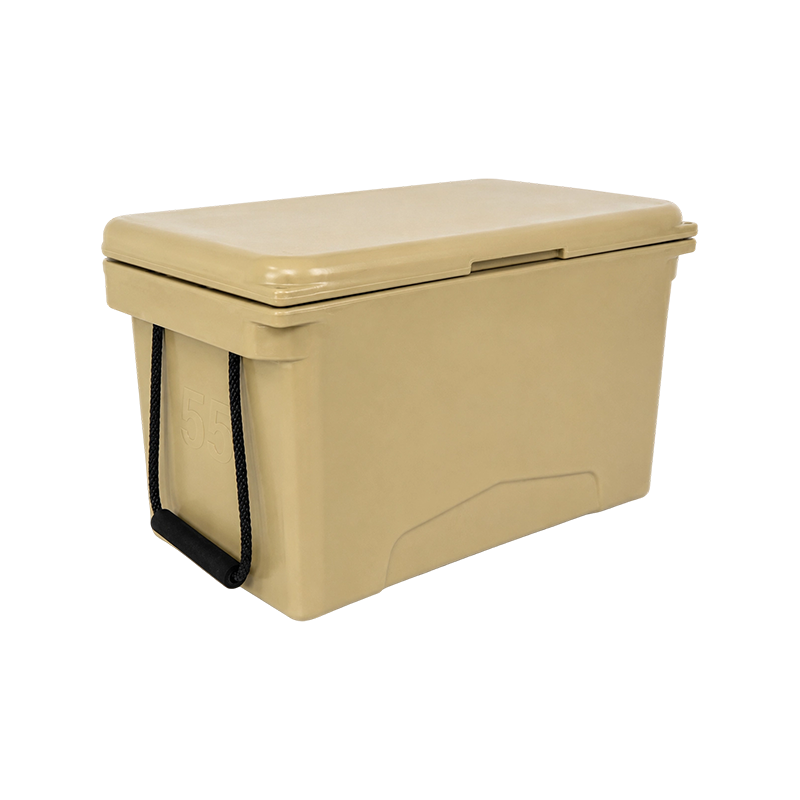
The 55QT NL-55 has a balanced interior of about 55 × 31 × 32 cm, which makes it a versatile model. It works for weekend camping, group drinks, fishing and vehicle storage, offering more room than a 40...
See Details -
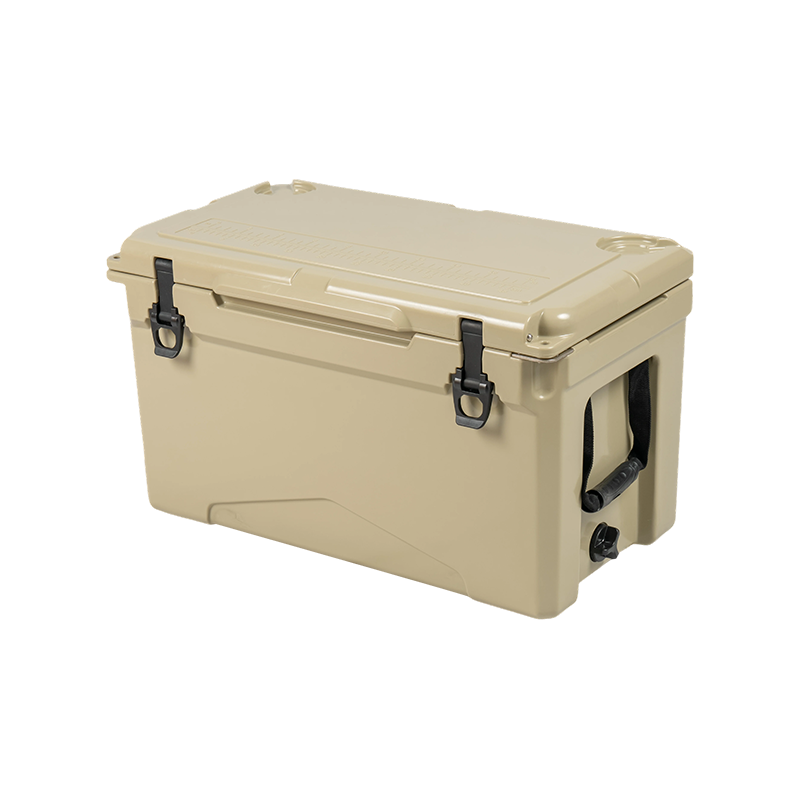
The 40QT NL-40 has an interior of about 51.8 × 26.3 × 29.9 cm and is well sized for weekend camping and family outdoor use for roughly 2–4 people. It carries more food and drinks than a personal 30QT-...
See Details
Related News
-
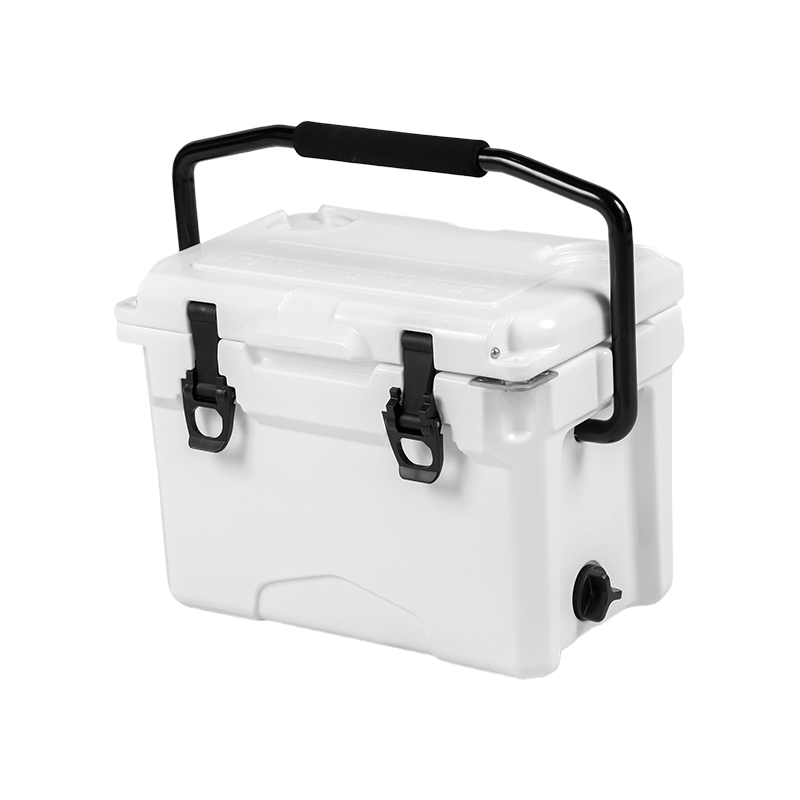
Why Choose a Rotomolded Cooler? Rotomolded Coolers: A Brief Introduction The Pinnacle of Portable Cooling Technology The modern era of outdoor recreation and de...
See Details -
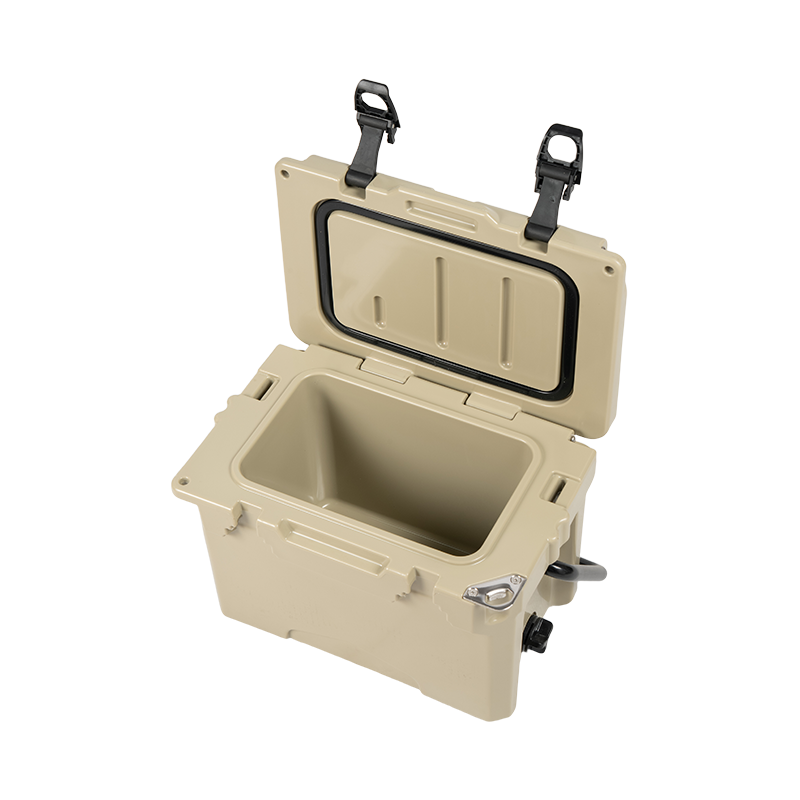
Introduction to Insulated Fish Tubs When you're out on the water, whether it's a deep-sea fishing trip or a relaxing day at the lake, the freshness of your catc...
See Details -
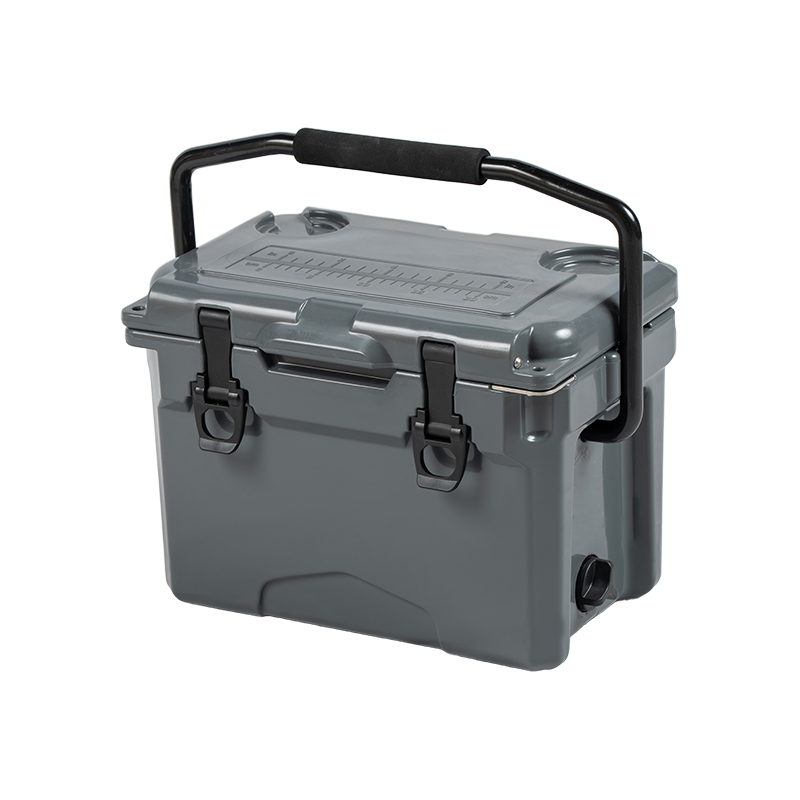
1. Insulation Quality in Outdoor Cooler Boxes When choosing an outdoor cooler box, one of the most critical factors to consider is insulation quality. The insul...
See Details -
The Unmatched Advantage of ROTOMOLDING COOLER BOX Defining the Premium Standard: What exactly is a ROTOMOLDING COOLER BOX? The ROTOMOLDING COOLER BOX is not mer...
See Details
Be the First to Know
For exclusive deals and the latest offers, sign up by entering your email address below.


Contact Info
 No. 6, Guantong Road, South Zone, Xiaocaoe Town Industrial Park, Ningbo, Zhejiang, China
 +86 13736107260
  [email protected]
 Qr Code



Copyright © Ningbo Nelgreen Outdoor Products Co., Ltd. All Rights
Reserved
 OEM/ODM Seafood Insulated Boxes Manufacturers