 EN
EN
 English
  русский
  Español
  Deutsch
  عربى
عربى 
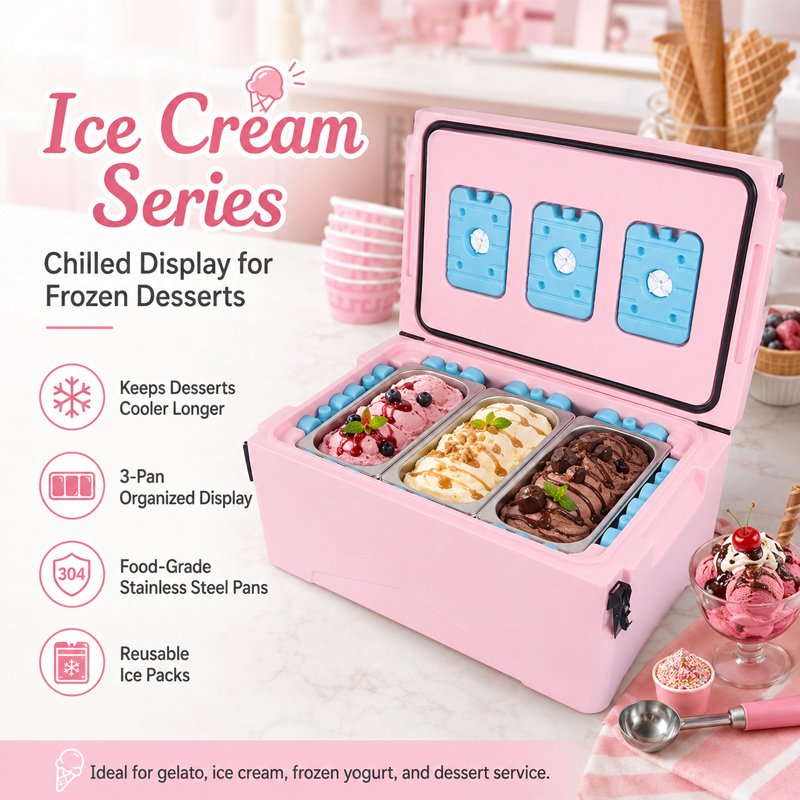
This mobile insulated ice cream display cooler is fitted with three stainless-steel pans, each approximately 6.6L / 7QT, in an overall body of about 69.5 × 44.5 × 32 cm. The separate pans allow differ...
See Details
How to Make a Cooler Box at Home: DIY Insulation, Materials, and Results
2026-10-08
A $25 foam cooler from a convenience store can keep drinks cold for an afternoon picnic. A well-built rotomolded cooler with 2 inches of polyurethane foam can still hold ice after a three-day camping trip in summer. The difference is not a secret gel or a thicker plastic skin. It comes down to insulation thickness, foam density, lid stiffness, gasket compression, and how much hot air leaks through the seam. If you plan to make a cooler box at home, start by deciding your performance target. A simple DIY box is useful for short trips, backyard parties, and emergency cold storage. It will not match a factory rotomolded cooler unless you copy the same structural logic: thick insulated walls, a rigid lid, a tight seal, and a liner that can be cleaned.
This guide covers three practical build routes, the materials that matter, realistic ice retention, and the point where buying a manufactured cooler or an insulated fish tub makes more sense than building one.
Start With the Box, Not the Ice: What Makes a Cooler Box Work
Heat reaches the ice through six main paths: conduction through the walls, conduction through the lid, air leakage at the gasket, radiation from sunlight, warm air entering when the lid opens, and heat conducted through the drain plug and hardware. A homemade cooler usually fails because of the lid and the seal, not because the foam is too thin. You can add another inch of foam, but if the lid warps and the gasket does not touch the rim, warm air will replace the cold air inside within minutes.
The practical target for a DIY cooler is a wall and lid thickness of at least 2 inches, or 50 mm. Extruded polystyrene foam board has an R-value of about 5 per inch. Polyisocyanurate board can reach roughly R-6 to R-7 per inch. Closed-cell spray foam is similar to polyiso when it cures without voids. That means a 2-inch wall gives you an R-value around 10 to 14, which is enough for a weekend if the lid seals well and the box stays out of direct sun.
- Minimum 2-inch foam in the walls, base, and lid.
- Closed-cell foam only; open-cell foam absorbs water and loses performance.
- A rigid inner liner that protects the foam from ice, food, and cleaning.
- A continuous compression gasket, not a thin strip of weather tape.
- Two over-center latches that pull the lid down evenly.
- A drain plug at the lowest point, with a cap that seals tightly.
- A light-colored or reflective outer shell to reduce solar heat gain.
Choose a Build Type: Foam Box, Bucket-in-a-Box, or Plywood Shell
There is no single best DIY cooler. The right build depends on whether you value speed, cost, capacity, or ice retention. The foam box is the fastest and lightest. The bucket-in-a-box adds a ready-made waterproof liner. The plywood shell takes more work but can accept thicker foam, stronger hardware, and a larger drain.
| Build route | Core materials | Difficulty | Expected ice retention | Best use |
|---|---|---|---|---|
| Foam box | XPS foam board, food-grade liner, silicone | Low | 12-24 hours | Drinks, picnics, short errands |
| Bucket-in-a-box | 5-gallon bucket, spray foam, plywood or plastic shell | Medium | 24-48 hours | Camping, car travel, small groups |
| Plywood shell | Plywood, polyiso foam, HDPE liner, gasket, hinges, latches | High | 2-3 days | Long weekends, tailgating, fishing trips |
The foam box is a good first project because you can cut and assemble it in an afternoon. The bucket-in-a-box is useful if you already have a food-safe bucket, because the bucket becomes the interior liner and saves you from sealing every corner. The plywood shell is the closest DIY route to a commercial cooler, but it also demands accurate cuts and a lid that stays flat.
Materials and Tolerances That Decide Ice Retention
Material choice matters, but tolerance matters just as much. A 1/16-inch gap around the lid can leak more heat than an extra half-inch of foam prevents. Cut foam slightly oversize, compress it into the cavity, and avoid gaps at corners. If you use spray foam, apply it in thin layers so it expands fully. A void inside the wall becomes a warm pocket that pulls heat toward the ice.
For the interior, do not leave bare foam exposed to food or melting ice. Use a food-grade HDPE or polypropylene sheet, a food-safe bucket, or a sealed liner. A 1 mm to 2 mm liner is enough for normal use. Seal the liner edges with food-grade silicone. For the gasket, use closed-cell EPDM or silicone bulb seal, about 1/4 inch thick. A blade-style seal can work, but it must press against a smooth rim. For hardware, stainless steel or nylon hinges resist rust. Over-center latches give you adjustable compression, which is better than a simple strap.
- Wall and lid foam: 2 inches minimum, closed-cell.
- Lid-to-rim gap: less than 1/16 inch after latching.
- Gasket compression: light, even contact around the full perimeter.
- Drain: 1/2-inch fitting with a threaded cap and rubber washer.
- Inner volume: leave roughly 10 percent free space for ice and air movement.
Step-by-Step: Building a Basic DIY Cooler Box
- Define the inner capacity. A 20-quart box holds drinks for a small group. A 40-quart box suits two people for a weekend. A 60-quart box gets heavy when full, so add handles or wheels.
- Cut the foam panels. Use a utility knife and a straightedge. For clean edges, score the foam twice and snap it. Wear gloves and a dust mask.
- Build the outer shell. Plywood, plastic panel, or a sturdy storage tote can work. Leave a 2-inch cavity between the outer shell and the inner liner.
- Set the inner liner. A food-grade bucket or HDPE sheet creates a cleanable interior. Seal seams with food-grade silicone and let it cure fully.
- Fill the cavity. Use XPS board, polyiso board, or closed-cell spray foam. Pack the corners tightly. Trim any foam that blocks the lid.
- Install the lid. Use a continuous hinge or two heavy-duty hinges. The lid should sit flat without forcing it.
- Add the gasket. Attach a closed-cell gasket to the lid rim. Close the lid and check contact with a dollar-bill test: if the bill pulls out with no drag, the seal is too loose.
- Install latches and drain. Place two over-center latches opposite each other. Drill the drain at the lowest point and seal it with a washer and cap.
- Pre-chill and test. Fill the box with ice, close it, and leave it in the shade. Check after 12, 24, and 48 hours. Record the ice remaining and the water level.
If your goal is a small portable cooler rather than a full custom shell, compare your planned dimensions with a factory 10 qt rotomolding cooler box. It shows how much foam thickness and lid seal a compact commercial unit uses.
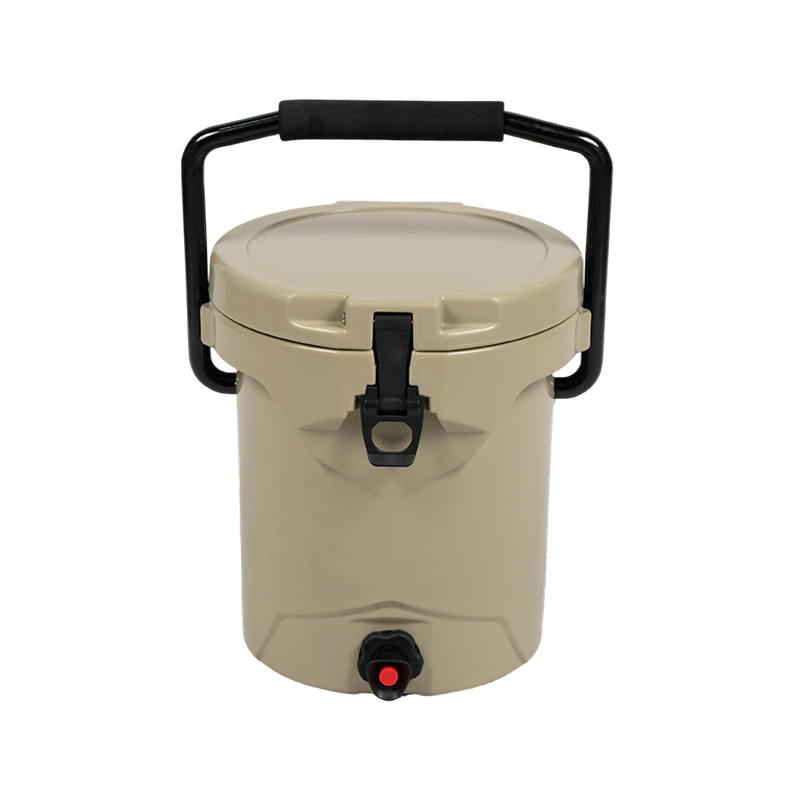 10QT Rotomolded Portable Cooler Box for Personal Outdoor UseCompact rotomolded NL-10 cooler with food-grade LLDPE and PU foam for lunches, drinks, kayaking, and short trips; compare lid seal and foam thickness.View Product →
Sealing, Drainage, and Handle Details
The lid is the weakest point in most homemade coolers. A flat plywood lid can warp when one side is warmer than the other. If the lid does not sit flat, the gasket lifts and warm air enters. Use a rigid lid with a foam core, or add a wooden frame around the lid to keep it straight. A continuous hinge helps, but it cannot fix a warped panel.
Drainage is another detail that separates a useful box from a wet mess. Meltwater should collect at the lowest point and leave through a drain plug. If the floor is flat, tilt the box slightly during use or build a shallow sump. A drain without a sealing cap will drip and let warm air in. Handles should be through-bolted or molded into the shell. Rope handles are cheap, but they can sag and pull the box out of shape when it is full. For a heavy 60-quart build, add wheels or a removable dolly.
Realistic Performance: How Long Will Ice Last?
Ice retention depends on ice type, starting temperature, fill ratio, ambient temperature, sun exposure, and how often the lid opens. Block ice melts more slowly than cubed ice because it has less surface area. A cold box and cold food help. Fill the cooler about two-thirds full with ice and leave some air space for cold air to circulate. Keep the box in shade and cover it with a blanket or reflective tarp.
A cheap foam box with thin walls may hold ice for 12 to 24 hours in mild weather. A well-sealed 2-inch XPS or polyiso DIY cooler can reach 2 to 3 days if you use block ice, pre-chill everything, and open the lid rarely. A factory rotomolded cooler with 2 to 3 inches of polyurethane foam can reach 5 to 7 days under similar conditions. The gap is not only foam thickness. Rotomolded coolers have seamless walls, tightly controlled foam density, a rigid lid, and a gasket that compresses evenly.
When DIY Stops Making Sense: Rotomolded Coolers and Insulated Fish Tubs
DIY is practical when you need a custom size, a one-off box, or a low-cost build for occasional use. It stops making sense when you need repeatable performance, food-contact compliance, long transport routes, or a product you can sell under a brand. Rotomolding creates a seamless, thick-walled shell with foam injected between the inner and outer layers. The result resists impact, sun, and saltwater better than most assembled boxes. LLDPE is also food-safe and easy to clean when it is molded into a liner.
For car travel, a 40-quart cooler is often the largest size one person can lift when loaded. It fits behind a seat or in a trunk and still holds enough ice for a weekend. For seafood, the requirements change. An insulated fish tub needs thick walls, a large drain, and a smooth interior that will not trap fish waste. These products are built for repeated commercial use, not a single picnic season.
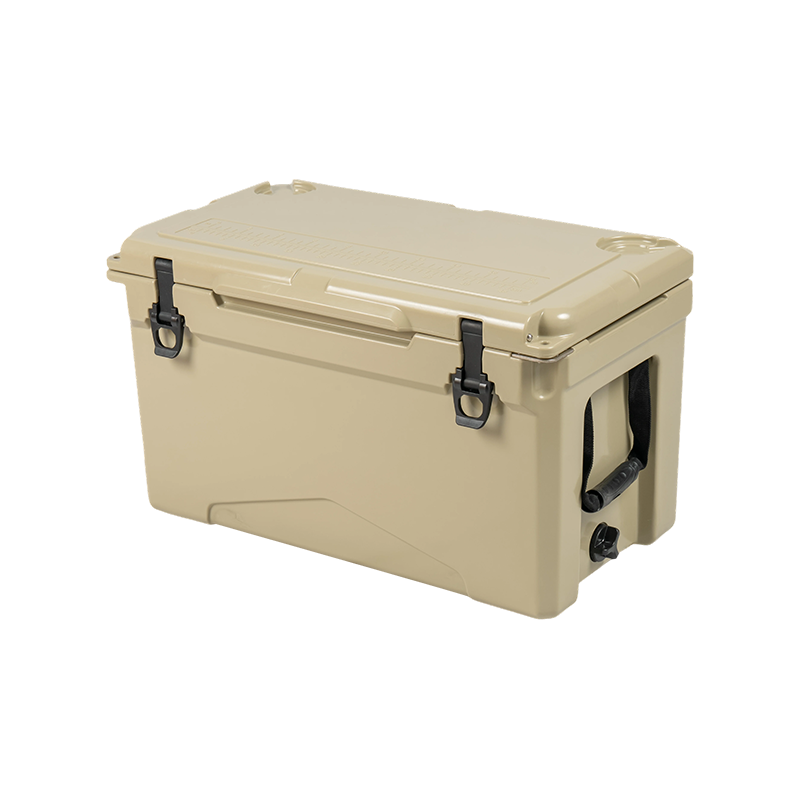 40QT Rotomolded Car Cooler Box for Camping and Road TripsNL-40 rotomolded cooler for 2-4 person weekend camping, road trips, and tailgates, with LLDPE body and PU foam insulation; fits everyday vehicles.View Product →
If seafood transport is the goal, this insulated fish box buying guide explains how wall thickness, drain placement, and LLDPE grade affect freshness. For brands that need repeatable wall thickness, sealed lids, and food-contact materials, Nelgreen’s outdoor cooler box range includes injection-molded and rotomolded models from 10 qt to 240 qt.
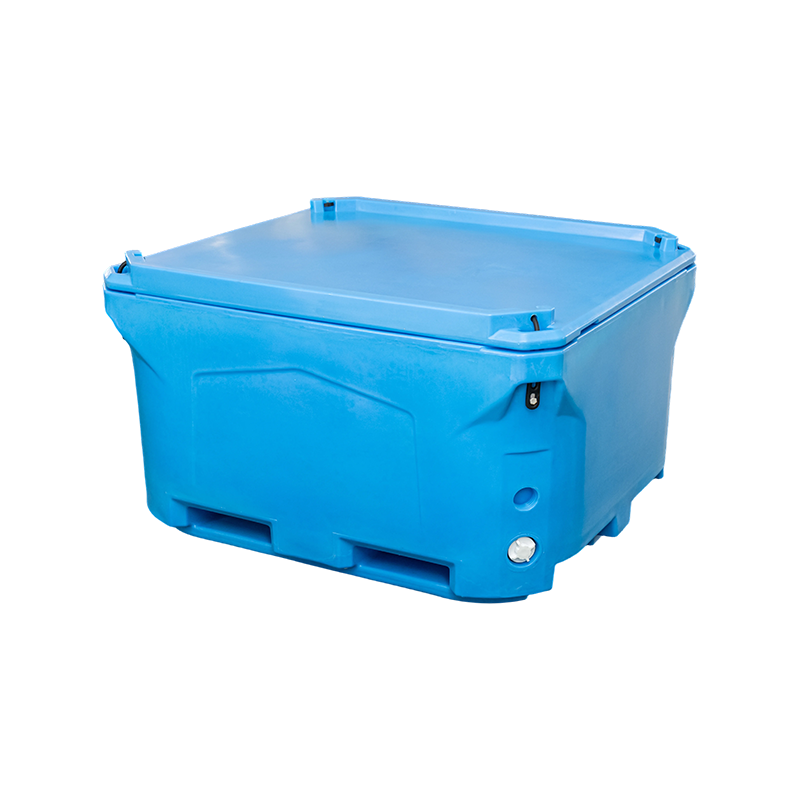 480L LLDPE Insulated Fish Tub for Seafood ProcessingNL480L rotomolded seafood tub with food-grade LLDPE and PU insulation for processing, dockside loading, wholesale markets, and cold-chain transport; stackable loaded, nestable empty.View Product →
Safety, Food Contact, and Cleaning
Do not let food or drinks touch bare foam. Foam crumbs can break off, and open foam can absorb spills, fish juice, and bacteria. Use a food-grade liner, a food-safe bucket, or a molded HDPE interior. If you build with plywood, seal the wood or cover it so moisture does not reach the glue line. After each trip, drain the cooler, wipe it with mild soap and warm water, and dry it with the lid open. Baking soda and water can remove odors. Vinegar can help with mildew, but check it against the gasket and hardware first.
Never store a cooler closed while it is wet. Trapped moisture leads to mold, especially in a homemade box with wood or fabric parts. Leave the drain open and the lid ajar between uses. If you use a removable liner, take it out and clean both the liner and the foam cavity. A clean cooler also performs better because ice can spread evenly and meltwater can drain away from the food.
Cost, Sourcing, and Brand Considerations
A basic foam DIY cooler may cost $20 to $50 in materials. A plywood-shell cooler with a liner, gasket, latches, hinges, and drain can reach $80 to $150, depending on hardware and foam. At that point, compare the cost with a standard manufactured cooler. A factory unit gives you tested ice retention, a warranty, and a known food-contact liner. It also saves the weekends you would spend sealing corners and adjusting latches.
For brands and distributors, the calculation is different. A custom cooler program involves mold design, wall thickness, color, logo, structure, and accessories. The upfront tooling cost only makes sense when volume and repeat orders are realistic. Buyers should ask for foam density, wall thickness, gasket material, hinge cycle testing, and food-contact documentation. Those details decide whether a cooler performs for one season or survives years of rental, retail, and transport use.
Before you cut foam or order a custom mold, write down four numbers: internal volume in quarts, wall thickness in inches, expected ice retention in days, and maximum loaded weight. Those four numbers tell you whether a homemade box is enough or whether a rotomolded cooler or insulated fish tub is the better tool. Build the simple version first, test it with ice, and measure the result. A cooler box is only as good as its weakest seal, and the test data will tell you more than any label.
Our R&D team has over 15 years of rich experience in the field of rotational molding products and has applied for 6 product patents. The number of factory employees has exceeded 100. Strict management and quality control have enabled us to take the leading position in the industry. In addition, the experienced sales team can provide customers with a variety of solutions and high-quality services.
Related products
-
-
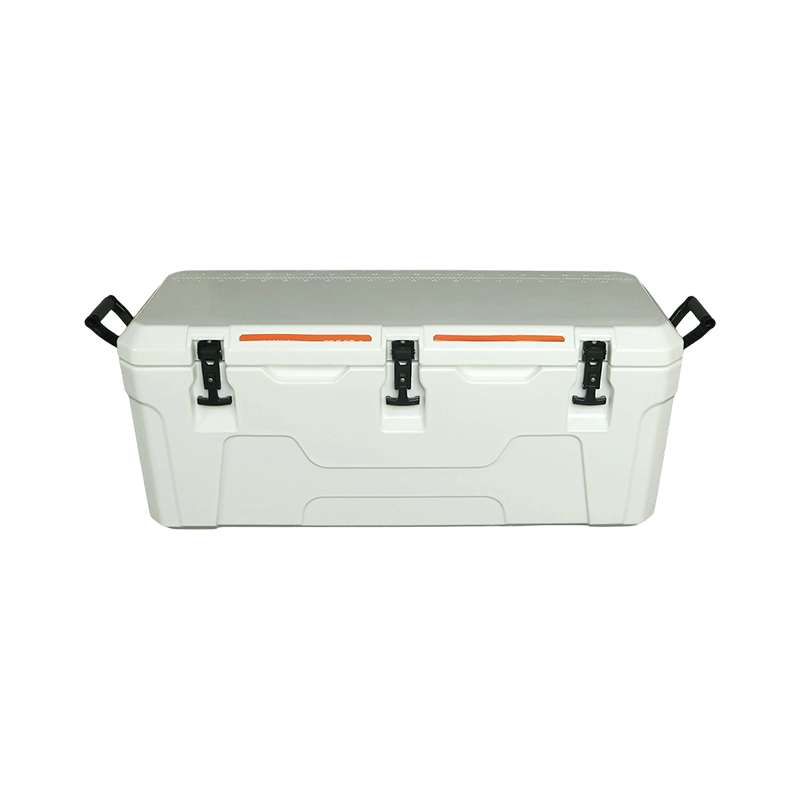
The 140QT NL-140 has an interior of about 105 × 32 × 38 cm, and its more-than-one-meter usable length is the key advantage of this model. It is better suited to larger fish, longer catch and supplies ...
See Details -
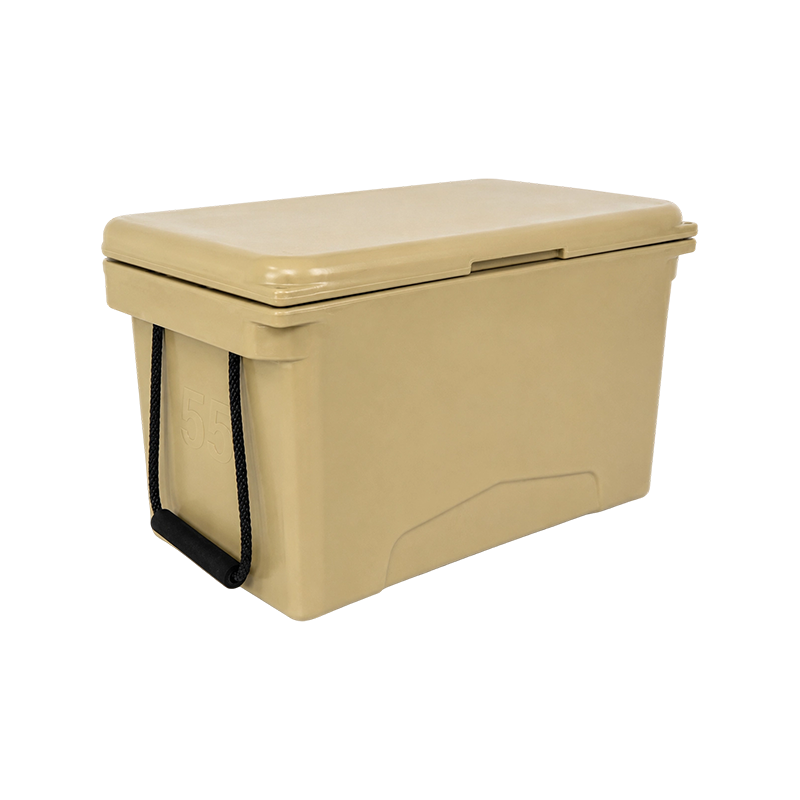
The 55QT NL-55 has a balanced interior of about 55 × 31 × 32 cm, which makes it a versatile model. It works for weekend camping, group drinks, fishing and vehicle storage, offering more room than a 40...
See Details -
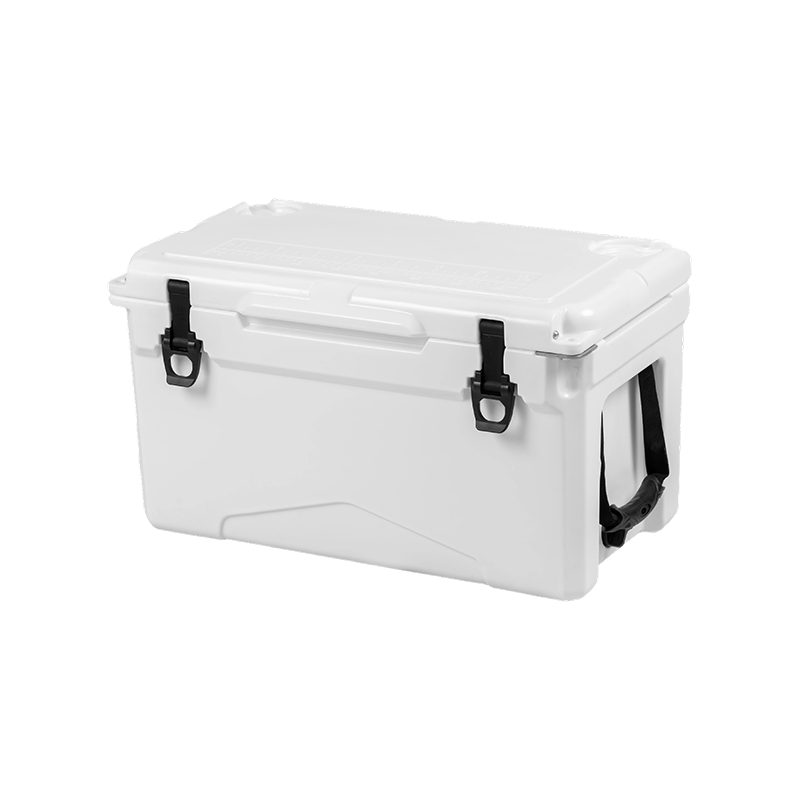
The 30QT NL-30 stands out for its elongated body, with an interior of about 46.2 × 23.6 × 26.1 cm. At this capacity, the extra usable length is particularly helpful for fish, long bottles and elongate...
See Details -
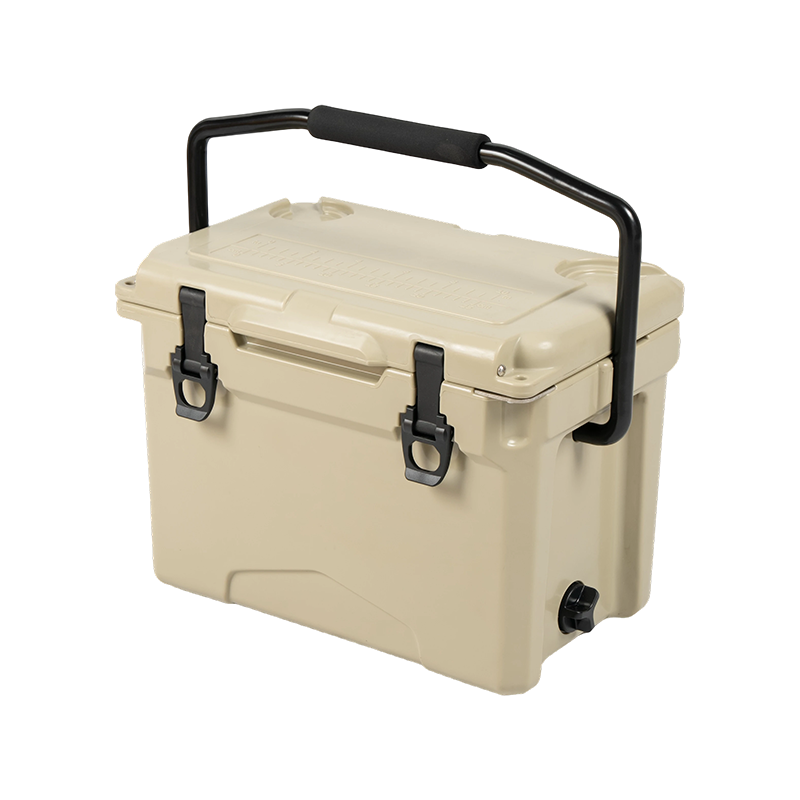
The 18QT NL-18 has an interior of about 35.3 × 21.7 × 25.8 cm, giving it noticeably more room than a personal lunch cooler without moving into bulky territory. It can carry ice, drinks and food for a ...
See Details -
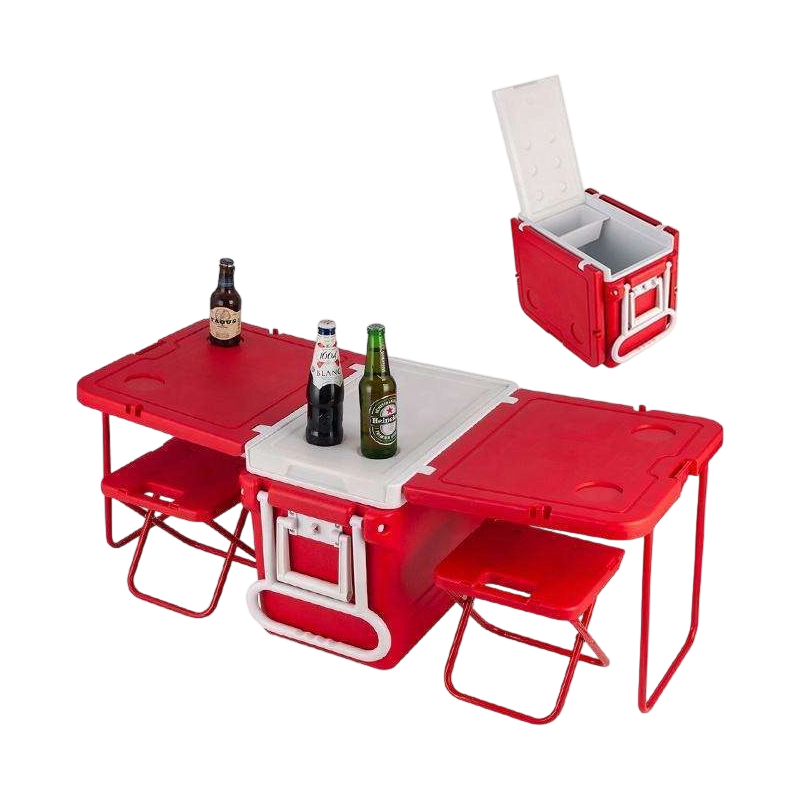
The 28QT NL-28 is noticeably taller than a conventional low-profile cooler. Its interior measures about 44.5 × 22 × 38 cm, giving extra vertical room for upright bottles and taller food containers. Th...
See Details
Related News
-
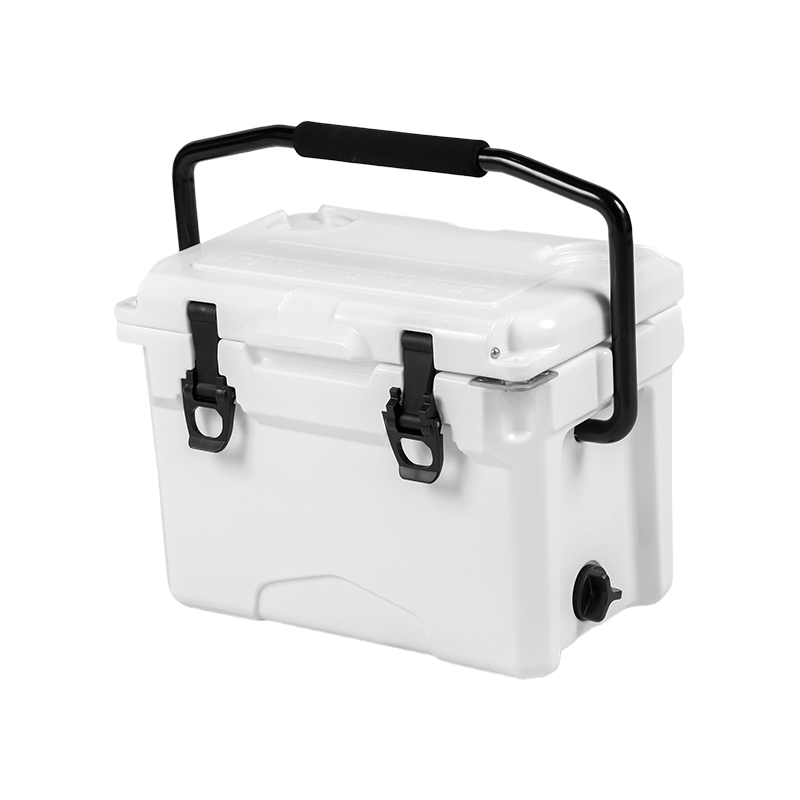
Why Choose a Rotomolded Cooler? Rotomolded Coolers: A Brief Introduction The Pinnacle of Portable Cooling Technology The modern era of outdoor recreation and de...
See Details -
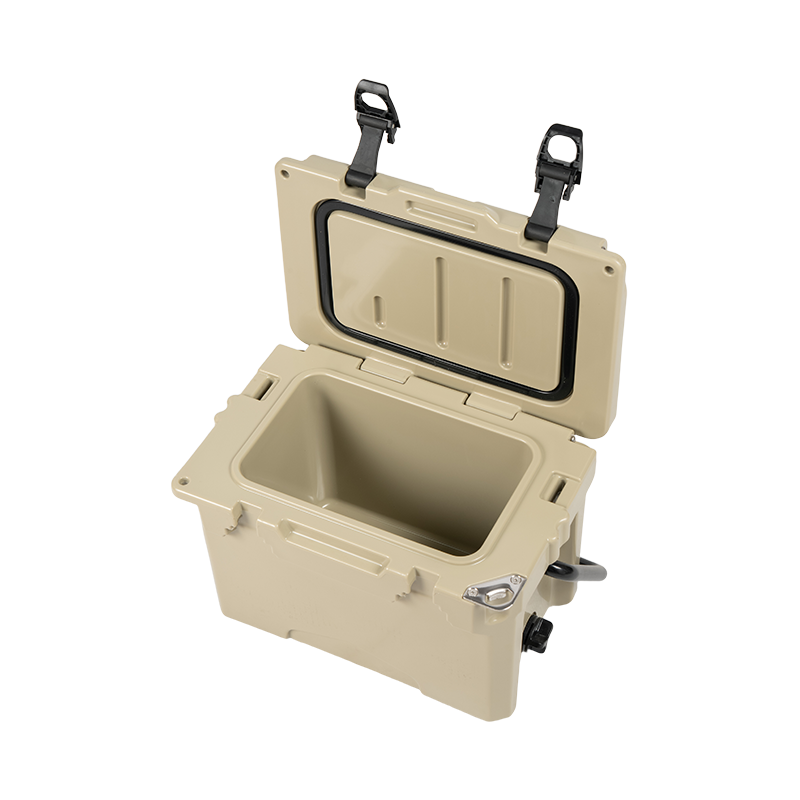
Introduction to Insulated Fish Tubs When you're out on the water, whether it's a deep-sea fishing trip or a relaxing day at the lake, the freshness of your catc...
See Details -
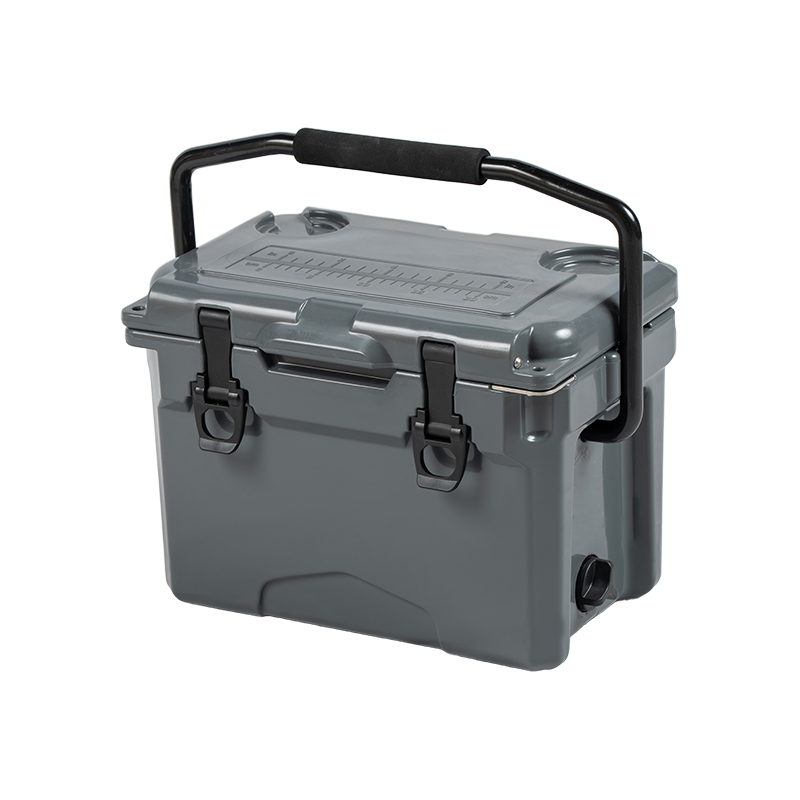
1. Insulation Quality in Outdoor Cooler Boxes When choosing an outdoor cooler box, one of the most critical factors to consider is insulation quality. The insul...
See Details -
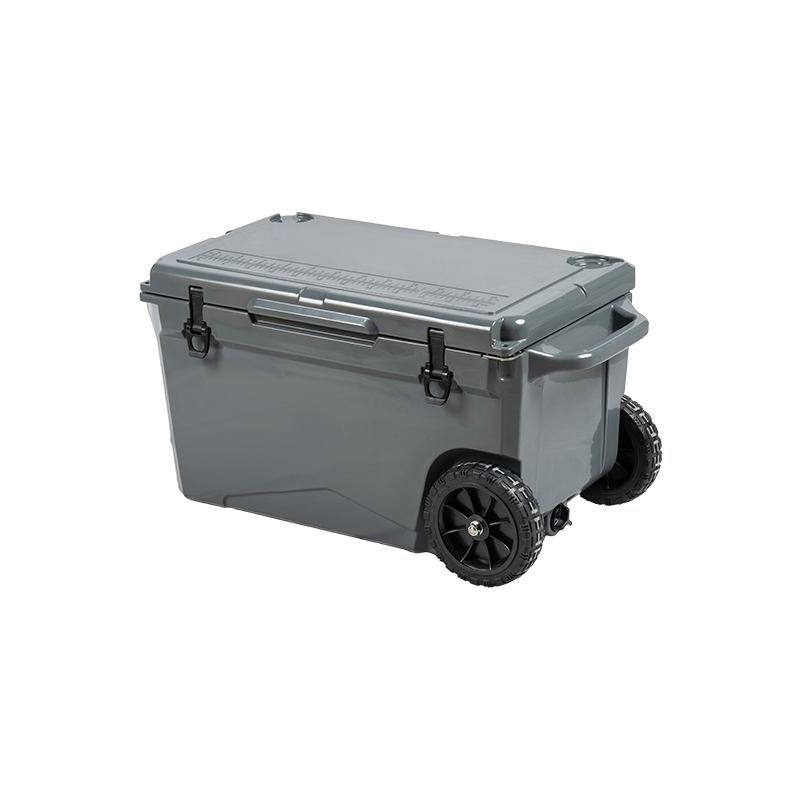
The Unmatched Advantage of ROTOMOLDING COOLER BOX Defining the Premium Standard: What exactly is a ROTOMOLDING COOLER BOX? The ROTOMOLDING COOLER BOX is not mer...
See Details
Be the First to Know
For exclusive deals and the latest offers, sign up by entering your email address below.


Contact Info
 No. 6, Guantong Road, South Zone, Xiaocaoe Town Industrial Park, Ningbo, Zhejiang, China
 +86 13736107260
  [email protected]
 Qr Code



Copyright © Ningbo Nelgreen Outdoor Products Co., Ltd. All Rights
Reserved
 OEM/ODM Seafood Insulated Boxes Manufacturers