 EN
EN
 English
  русский
  Español
  Deutsch
  عربى
عربى 
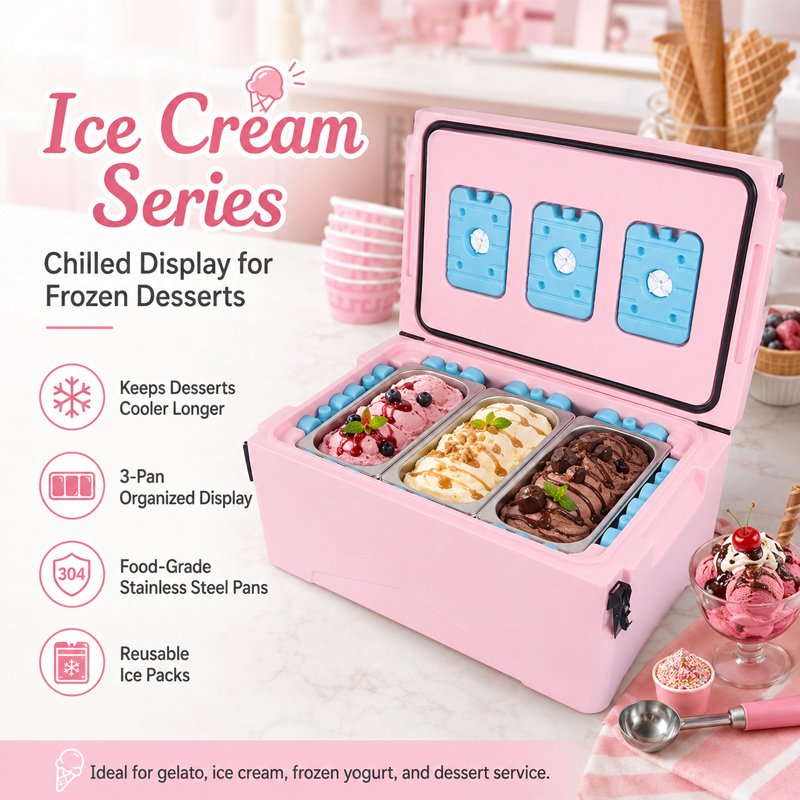
This mobile insulated ice cream display cooler is fitted with three stainless-steel pans, each approximately 6.6L / 7QT, in an overall body of about 69.5 × 44.5 × 32 cm. The separate pans allow differ...
See Details
How to Make an Ice Box Cooler: DIY Guide vs. Professional Rotomolded Coolers
2026-10-15
If you want to know how to make an ice box cooler, the short answer is: you can build a functional one with foam board, a sturdy outer shell, and a good seal. But if you need ice to last more than 24 to 36 hours in summer heat, or you plan to use it for fishing, camping, or road trips, a professionally rotomolded cooler will outperform a homemade box on every measure that matters. The reason comes down to insulation thickness, gasket quality, and how evenly the cold stays inside the box.
The core physics behind any ice box cooler
An ice box cooler is not complicated. It slows down heat transfer. Heat enters through the walls, the lid seam, and the drain plug. Ice melts because it absorbs that heat. So the goal is to reduce heat gain as much as possible. Three factors matter most: insulation R-value, air sealing, and the ratio of ice to empty space.
Polyurethane foam and expanded polystyrene (EPS) are common DIY insulators. A 2-inch EPS wall gives roughly R-8 to R-10. A rotomolded cooler with 2.5 to 3 inches of polyurethane foam can reach R-15 or higher. That difference sounds small, but in 90°F weather it can mean the difference between ice lasting one day and ice lasting four or five days.
Sealing is just as important. A lid that does not compress evenly lets warm air leak in and cold air leak out. This is why DIY coolers often fail at the lid gasket, not at the walls. A simple foam strip may work at first, but it compresses, cracks, or peels off after a few trips.
Materials and step-by-step build
What you need
- 1.5-inch to 2-inch rigid foam insulation board, such as polyiso or XPS
- A sturdy outer box: plywood, plastic crate, or an old cooler shell
- Aluminum foil tape or reflective radiant barrier
- Weatherstripping or closed-cell foam gasket tape
- Marine-grade silicone or construction adhesive
- Plastic liner or food-safe epoxy for the interior
- Drain plug, hinges, and a latch or bungee cord
- Utility knife, straightedge, and gloves
Build steps
- Measure the outer box and cut foam panels for the bottom, four walls, and lid. Aim for at least 2 inches of foam on every side, including the lid.
- Line the inside of the outer box with reflective tape or a radiant barrier. This reduces radiant heat gain.
- Glue the foam panels in place. Use adhesive that does not melt foam. Fill any gaps with expanding foam or silicone.
- Install a plastic liner or coat the foam with food-safe epoxy. Bare foam absorbs water, smells, and becomes a bacterial problem after a few uses.
- Add a continuous gasket around the lid opening. Test the seal by closing the lid on a dollar bill. If you can pull the bill out easily, the seal is too loose.
- Install a drain plug at the lowest point. Without drainage, melted ice turns into standing water that speeds up remaining ice melt.
- Attach hinges and a latch that pulls the lid down firmly. A bungee cord can work, but it rarely applies even pressure.
When built carefully, this DIY cooler can hold ice for 24 to 48 hours in moderate weather. In direct sun or a hot car, expect closer to 12 to 24 hours.
Common failure points and realistic performance limits
Most homemade ice box coolers fail for one of four reasons. First, the foam is too thin. A 1-inch wall loses cold quickly. Second, the lid seal is weak or inconsistent. Third, there is no drainage, so meltwater pools around the ice. Fourth, the interior is not food-safe or moisture-resistant, which leads to mold and odor.
Even a well-built DIY cooler has a performance ceiling. The insulation value is fixed once you glue the panels. You cannot easily add thickness later. The corners and edges usually have thermal bridges where foam panels meet the outer shell. And the lid is often the weakest point because it is hard to compress a homemade gasket evenly.
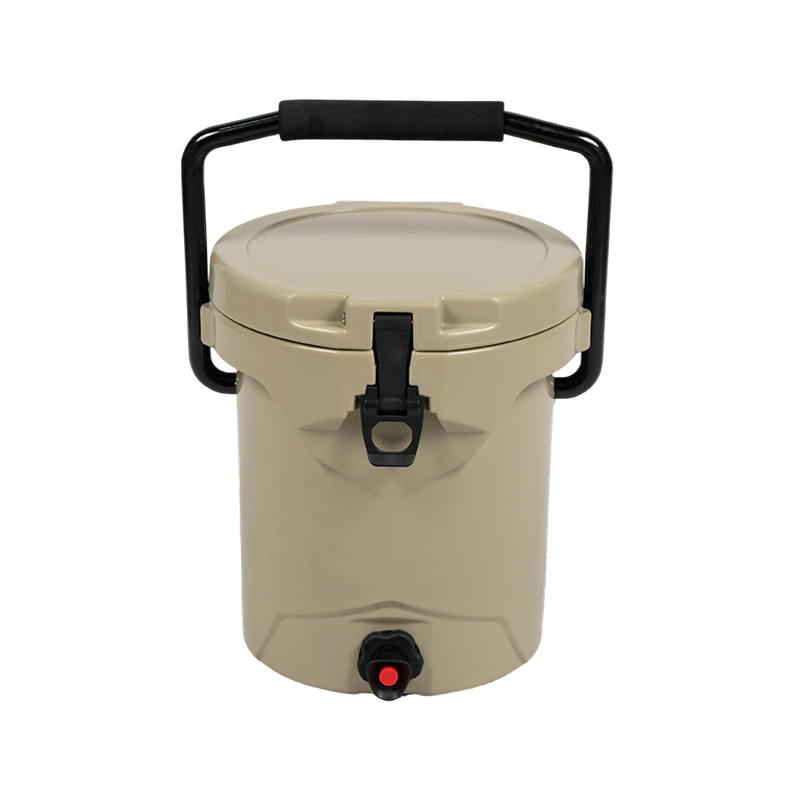 NL-10 10QT Rotomolded Personal Cooler Box for Day TripsFor compact day trips, the NL-10 rotomolded cooler uses a seamless shell, PU foam, and lid gasket for repeated use.View Product →
If your goal is a compact cooler for day trips, a small rotomolded box solves those problems out of the box. It uses a seamless single-piece shell, a thick polyurethane core, and a lid gasket that is designed to seal under pressure. That is not a knock on DIY. It is just the difference between a weekend project and a product engineered for repeated use.
Rotomolded cooler vs. homemade ice box: key comparison
| Factor | DIY ice box cooler | Rotomolded cooler |
|---|---|---|
| Insulation thickness | 1 to 2 inches, often uneven | 2.5 to 3 inches, uniform |
| Ice retention in 90°F | 12 to 36 hours | 3 to 7 days |
| Seal quality | Depends on gasket install | Compression-molded gasket |
| Durability | Foam cracks, liner peels | Impact-resistant LLDPE shell |
| Food safety | Requires careful liner work | Food-grade materials available |
| Cost for first build | $30 to $80 | $80 to $300+ |
The table shows why many people build a DIY cooler once, then buy a rotomolded cooler for serious trips. The upfront cost of a manufactured cooler is higher. But if you value your time, food safety, and multi-day ice retention, the cost per use drops quickly.
Choosing the right cooling solution for your use case
For a tailgate, beach day, or short picnic, a homemade ice box cooler can be enough. Use block ice instead of cubed ice. Pre-chill the cooler with a bag of ice for 30 minutes before loading. Keep it in the shade and avoid opening the lid more than necessary.
For car camping and road trips, size and portability matter. A 25-quart rotomolded cooler fits behind a seat, holds enough food for two people for a weekend, and can take a beating in a truck bed. Outdoor cooler boxes in this range often include molded handles, non-slip feet, and a drain channel that is easy to empty.
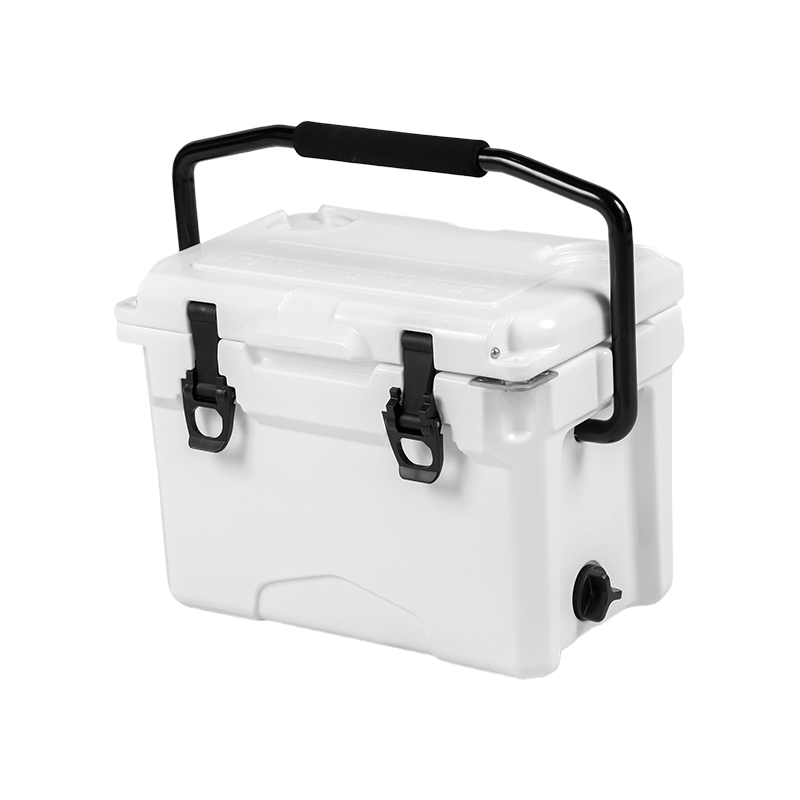
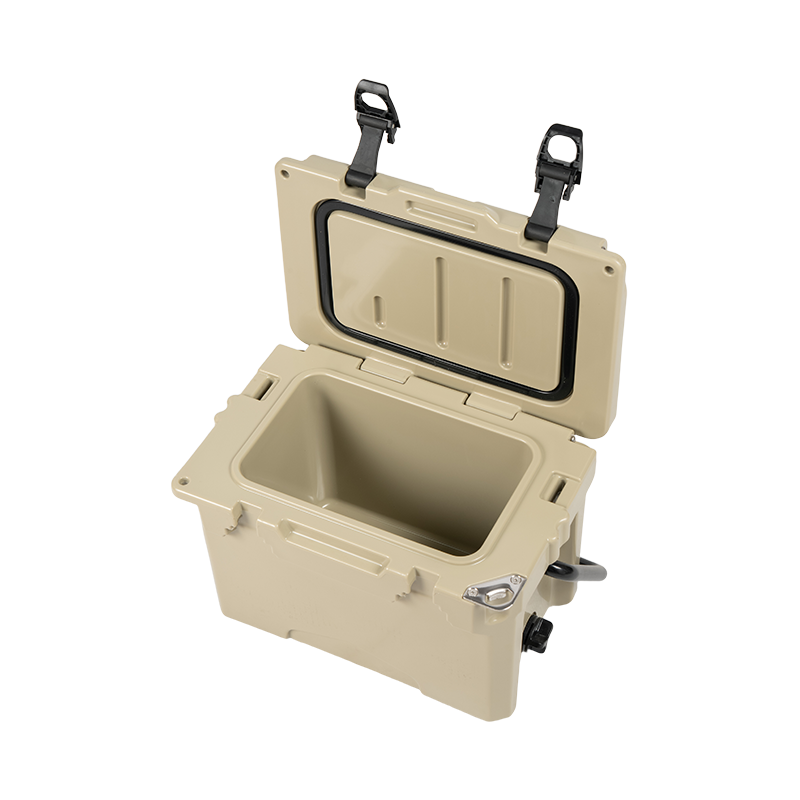
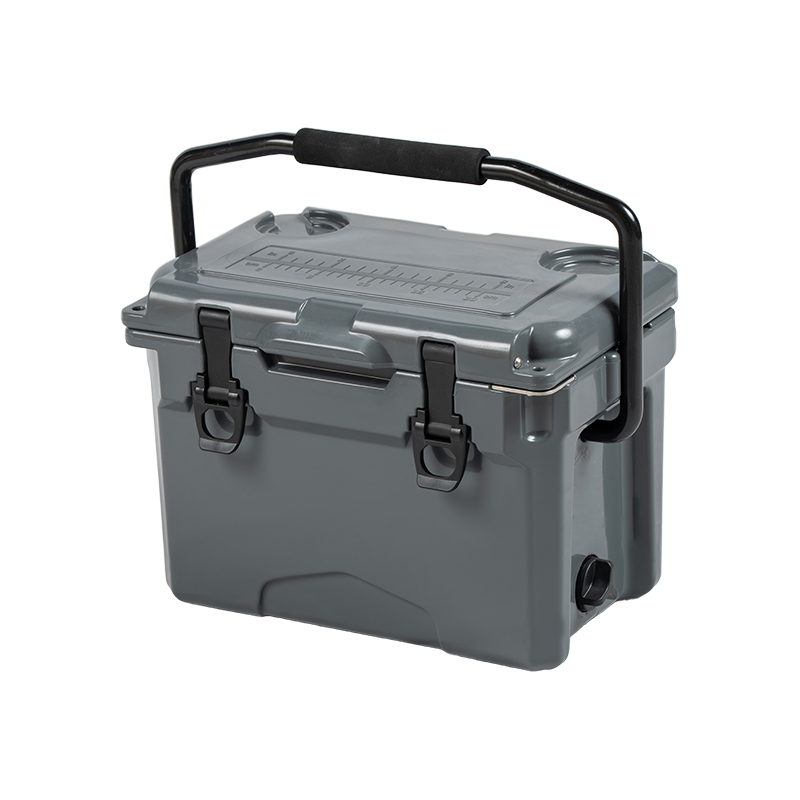
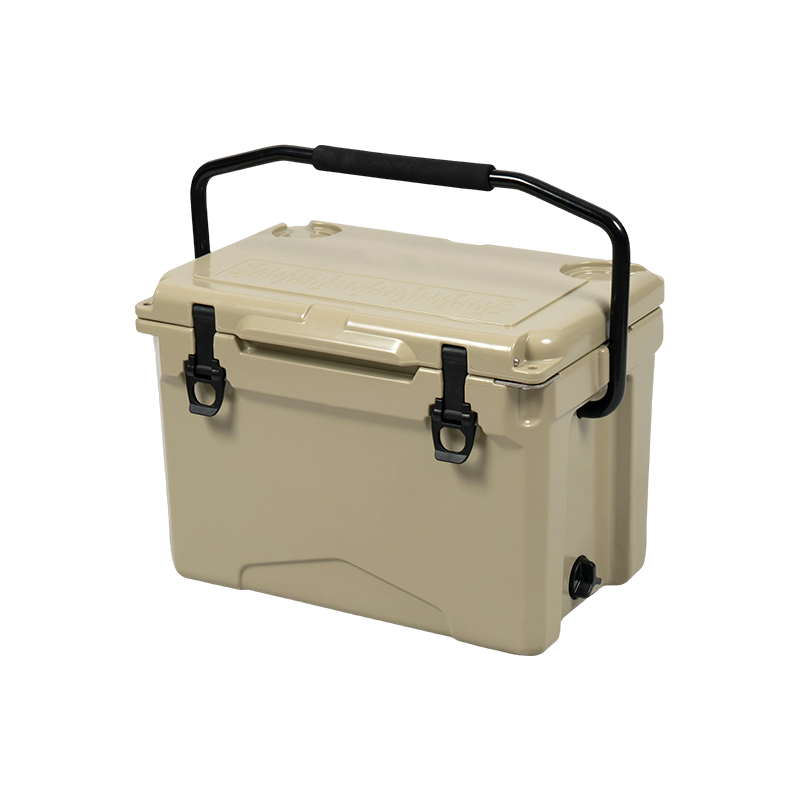 25QT Car Portable Rotomolded Cooler Box for Camping and FishingThe NL-25 rotomolded cooler with food-grade LLDPE and PU insulation fits one to two people for car camping, road trips, and bank or kayak fishing.View Product →
For fishing trips, the calculation changes. You need a cooler that can handle slime, salt, and fish odors without absorbing them. A smooth, food-grade LLDPE interior is much easier to rinse than a foam-lined DIY box. If you are comparing manufacturing methods, this article on rotomolding vs. injection mold cooler boxes explains why rotomolded models usually win on impact strength and ice retention.
From DIY project to OEM production: what changes at scale
If you are building one cooler for personal use, a DIY approach is reasonable. But if you are a brand, distributor, or retailer looking to offer a cooler line, the requirements change. You need consistent wall thickness, repeatable gasket compression, food-safe materials, and a shell that survives shipping and retail handling. That is where rotomolding and OEM manufacturing come in.
Companies like Nelgreen, based in Yuyao, Ningbo, specialize in rotomolded coolers and insulated fish tubs. Their product range covers small car-mounted coolers, medium camping models, large sea-fishing boxes, and industrial seafood transport tubs. Because they control mold design, foam filling, and final assembly, they can adjust insulation thickness, latch tension, and drain placement for a specific use case. That level of control is difficult to achieve with a homemade box.
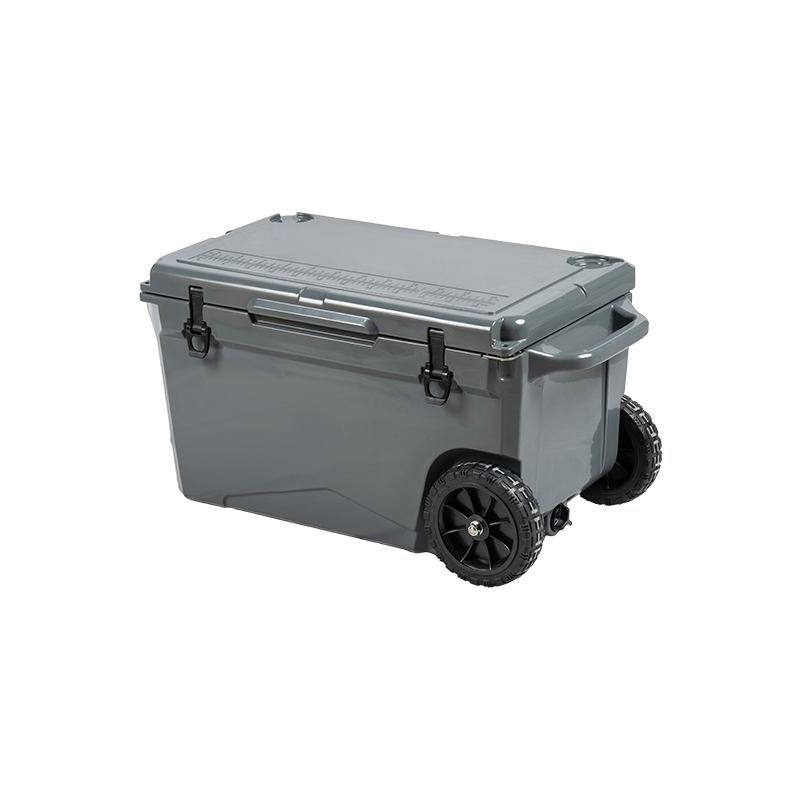
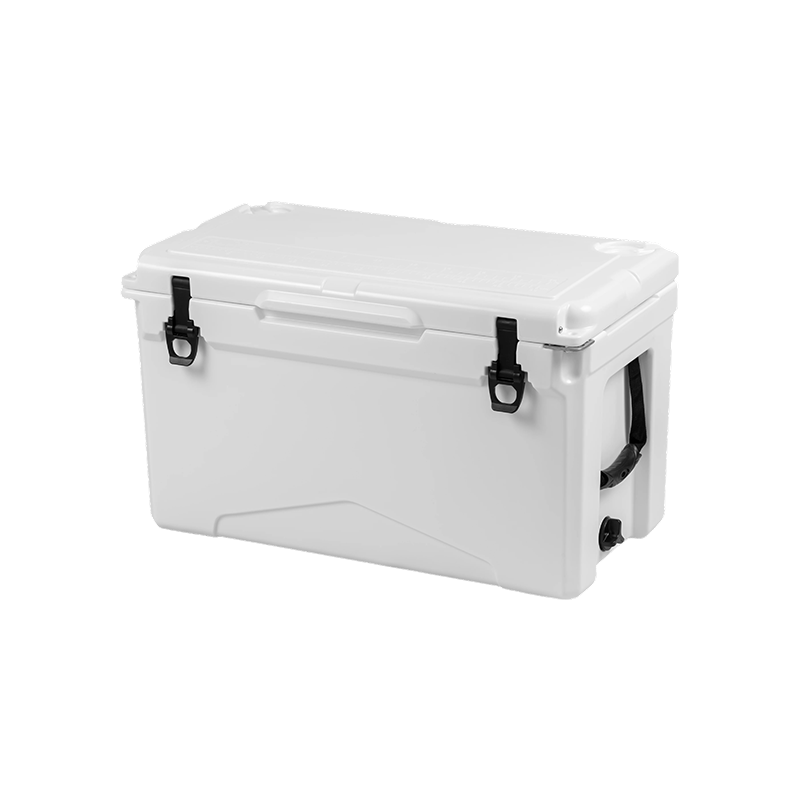 NL-50 50QT Long-Body Rotomolded Fishing Cooler for Boats and DocksThe long-body NL-50 rotomolded cooler with LLDPE shell and PU insulation suits boat, dock, offshore, camping, road trip, beach, and boating use.View Product →
For buyers who need custom logos, colors, or structural changes, OEM/ODM programs make sense once volume justifies tooling. The key is to start with a clear use case: how many days of ice retention, what ambient temperature, how many people, and whether the cooler will be carried, wheeled, or strapped to a boat. Those answers determine wall thickness, capacity, and hardware far more than a generic "best cooler" list ever will.
To sum up, learning how to make an ice box cooler is a good weekend project if you need a light-duty box for picnics or short trips. Use thick foam, seal the lid carefully, add a drain, and line the interior. But if you need reliable multi-day ice retention, better durability, and food-safe performance, a rotomolded cooler is the more practical choice. Match the tool to the job, and you will waste less ice, less food, and less time.
Our R&D team has over 15 years of rich experience in the field of rotational molding products and has applied for 6 product patents. The number of factory employees has exceeded 100. Strict management and quality control have enabled us to take the leading position in the industry. In addition, the experienced sales team can provide customers with a variety of solutions and high-quality services.
Related products
-
-
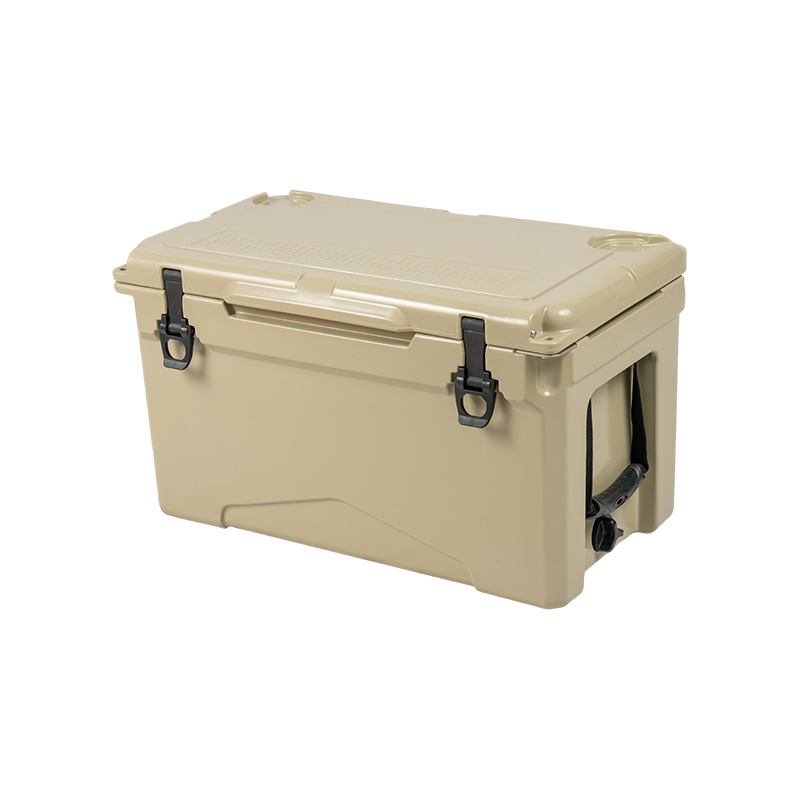
This 35QT model combines a one-piece rotomolded body with PU foam insulation for buyers who want a tougher cooler with additional outdoor features. It measures approximately 62 × 35.5 × 37.5 cm extern...
See Details -
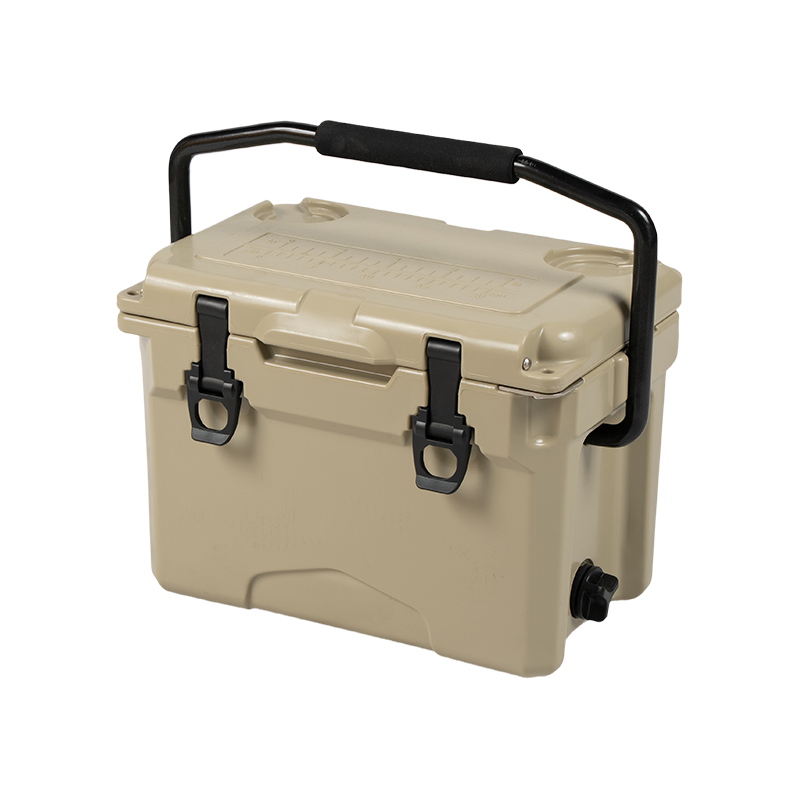
The 12QT NL-12L has an interior of about 28.5 × 17.4 × 22.3 cm and is sized for everyday carrying and light outdoor trips. It holds lunch, drinks, fruit or supplies for a short fishing trip without be...
See Details -
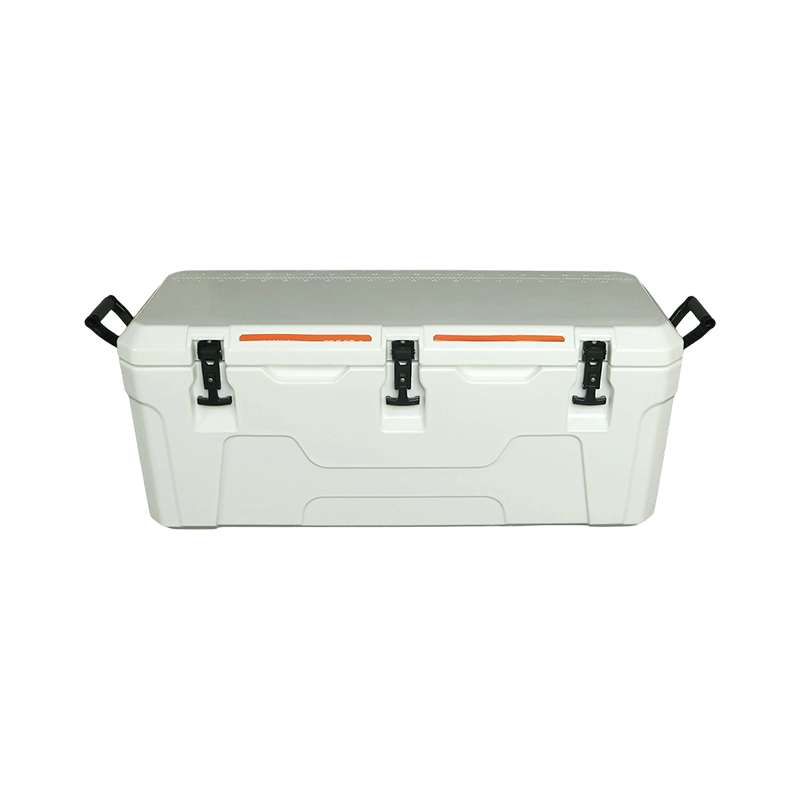
The 140QT NL-140 has an interior of about 105 × 32 × 38 cm, and its more-than-one-meter usable length is the key advantage of this model. It is better suited to larger fish, longer catch and supplies ...
See Details -

The 25QT NL-25 has an interior of about 38.5 × 23.4 × 28.3 cm, a useful size for individual anglers who need more room for catch and supplies than a 10–18QT cooler but do not want a large offshore box...
See Details -
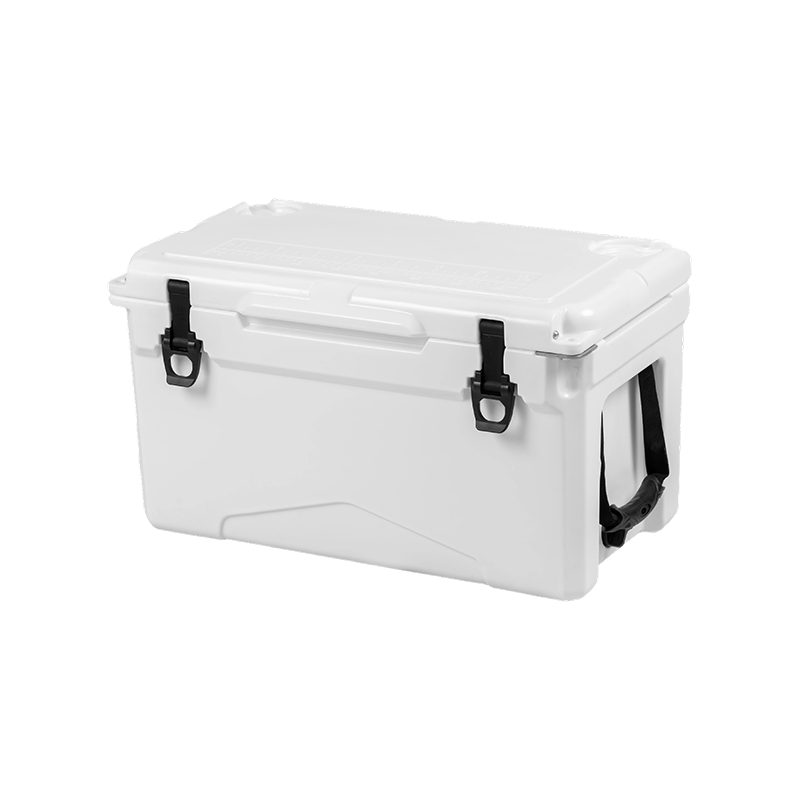
The 30QT NL-30 stands out for its elongated body, with an interior of about 46.2 × 23.6 × 26.1 cm. At this capacity, the extra usable length is particularly helpful for fish, long bottles and elongate...
See Details
Related News
-
Why Choose a Rotomolded Cooler? Rotomolded Coolers: A Brief Introduction The Pinnacle of Portable Cooling Technology The modern era of outdoor recreation and de...
See Details -
Introduction to Insulated Fish Tubs When you're out on the water, whether it's a deep-sea fishing trip or a relaxing day at the lake, the freshness of your catc...
See Details -
1. Insulation Quality in Outdoor Cooler Boxes When choosing an outdoor cooler box, one of the most critical factors to consider is insulation quality. The insul...
See Details -
The Unmatched Advantage of ROTOMOLDING COOLER BOX Defining the Premium Standard: What exactly is a ROTOMOLDING COOLER BOX? The ROTOMOLDING COOLER BOX is not mer...
See Details
Be the First to Know
For exclusive deals and the latest offers, sign up by entering your email address below.


Contact Info
 No. 6, Guantong Road, South Zone, Xiaocaoe Town Industrial Park, Ningbo, Zhejiang, China
 +86 13736107260
  [email protected]
 Qr Code



Copyright © Ningbo Nelgreen Outdoor Products Co., Ltd. All Rights
Reserved
 OEM/ODM Seafood Insulated Boxes Manufacturers