 EN
EN
 English
  русский
  Español
  Deutsch
  عربى
عربى 
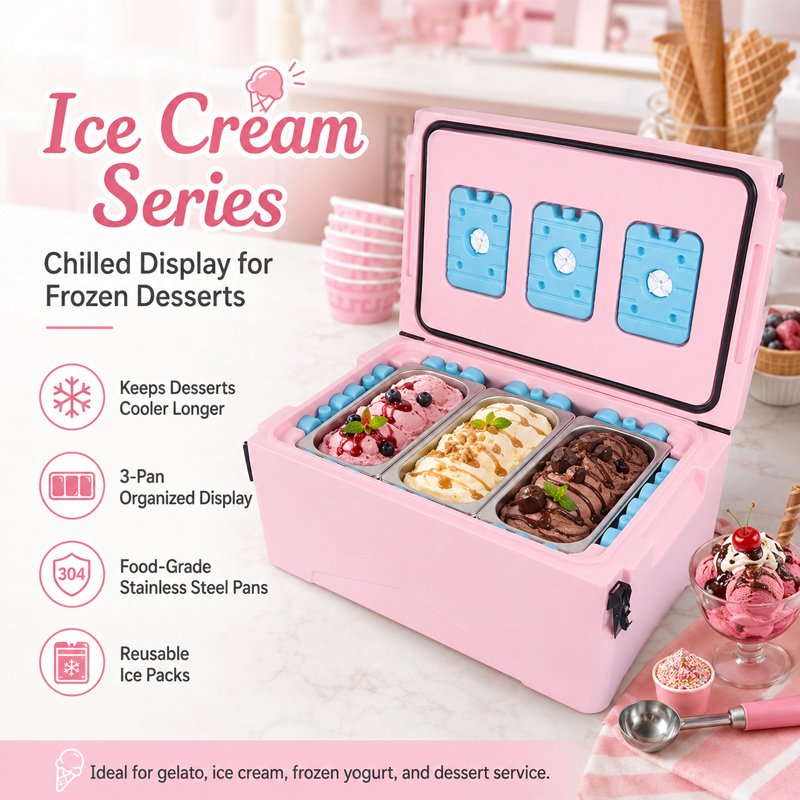
This mobile insulated ice cream display cooler is fitted with three stainless-steel pans, each approximately 6.6L / 7QT, in an overall body of about 69.5 × 44.5 × 32 cm. The separate pans allow differ...
See Details
Best Cooler for a Week of Camping: Size, Ice Retention, and What Actually Matters
2026-08-13
The Best Cooler for a Week of Camping: A Direct Answer
You are not planning a weekend. You are planning seven days, maybe eight, with the car loaded to the roof, a campsite two hours from the nearest reliable ice supply, and several people who expect cold drinks and safe food from the first morning to the final pack-up. That changes the cooler question completely.
Here is the conclusion up front: the best cooler for a week of camping is a rotomolded hard cooler in the 50 to 75 quart range, with thick polyurethane insulation, a continuous sealing gasket, sturdy latches, and a practical drain plug. Nothing else combines the ice retention, durability, and usable capacity that a multi-day trip demands. Injection-molded coolers are too thin-walled for dependable week-long performance, and soft coolers, however convenient, simply do not hold ice long enough.
This guide explains why that conclusion holds, how to pick the right size, which features actually matter once the trip stretches past day three, and how to manage ice so your food and drinks stay cold for the full week. It is written from the perspective of a manufacturer that molds both rotomolded and injection-molded coolers every day, so the focus stays on construction facts and field behavior rather than marketing claims.
Who is this guide for? It is for car campers, overland travelers, anglers on week-long trips, and families who want one reliable cooler instead of a shelf of cheap ones. If you backpack or paddle to your campsite, you are in a different weight class and these recommendations do not apply; you will need a lightweight soft cooler or a bear canister instead.
Why "One Week" Is the Breaking Point for Most Coolers
A weekend trip is forgiving. You pack the cooler on Friday morning, drop in two bags of ice, and by Sunday afternoon the ice is gone but the drinks are still acceptably cold. A week-long trip is a different animal. By day four a marginal cooler has become a lukewarm tub of meltwater. By day six you are either paying campground prices for bagged ice or eating shelf-stable meals you never planned for.
Most budget coolers follow the same pattern. The first 24 to 48 hours are fine. The third day is borderline. By the fourth day, the interior temperature starts creeping above the 40°F (4°C) threshold that food-safety authorities recommend for perishable items. For a seven-day trip, you need a cooler that keeps contents at or below that limit for at least five days, with a realistic allowance for warm food going in, afternoon sun hitting the shell, and repeated openings.
What "Ice Retention" Claims Actually Mean
Manufacturers rate ice retention under idealized conditions: a sealed cooler, minimal openings, moderate shade, and a controlled ambient temperature around 90°F. Real camping involves sunshine, warm hands opening the lid, and items going in faster than they go out. A cooler rated for five days of ice retention may deliver four strong days in practice, which is exactly why you need to buy for more than the advertised number.
The honest way to evaluate a cooler for a week is to demand a five-day minimum under the manufacturer's own test protocol, then add one day of margin. If the product page says "three to four days of ice retention," it is not a week-long cooler. If it says "five to seven days," it can work, provided the rest of the box supports that claim: thick walls, a real gasket, and a lid that seals completely.
Temperature, not the presence of ice, is the real measure. Melted ice is a clear sign you have lost the battle, but a cooler with some ice remaining can still be well above 40°F at the top if it has been opened often. A cheap wireless thermometer with a probe inside the cooler costs little and tells you exactly what is happening without lifting the lid. For a week-long trip, it is the single best accessory you can buy.
How We Judge a Week-Long Cooler
Our assessment starts with the wall construction, the seal, the latch engagement, and the drain, then moves to controlled ice-retention tests that include regular openings and warm ambient temperatures. We also deliberately abuse the shell, because a cooler that fails on day two of a seven-day trip is worse than no cooler at all. A cooler that survives a week of loading, strapping, dropping, and sitting on will earn its place in the car for a decade.
Rotomolded, Injection-Molded, or Soft: Which Type Can Handle Seven Days?
The cooler market separates into three broad categories. For a week of camping, only one of them is a dependable answer.
Rotomolded Hard Coolers: The Week-Long Standard
Rotational molding, usually shortened to rotomolding, is the process behind the premium hard coolers you see at every serious campsite. A mold filled with plastic powder is rotated in two planes while heated, so the material coats the inner surface evenly and fuses into one seamless shell. The result is a cooler with thick, uniform walls, typically 1.5 inches or more, with polyurethane foam locked inside.
The practical benefits for a seven-day trip are direct. Thick walls reduce heat transfer, so ice lasts longer. The one-piece construction leaves no weak seam where a shell can split under load. The outer plastic, usually food-grade linear low-density polyethylene (LLDPE), survives being dropped off a tailgate, used as a chair, or strapped against sharp gear in the trunk.
The rotomolding process also allows for features that are difficult or impossible in injection molding: molded-in handles that are part of the wall rather than bolted on, tie-down slots, recessed latches, and even integrated rulers or bottle openers. These details matter less in the showroom than they do on day five, when the cooler has been bounced across the back of a truck and used as a prep surface.
Good rotomolded coolers hold ice for five to seven days under real camping conditions, and the largest models stretch beyond that. The trade-offs are weight and price. A 60 to 75 quart rotomolded cooler weighs 30 to 50 pounds empty, and quality units cost several hundred dollars. For a full week without reliable ice access, that is a fair exchange. If you want the technical breakdown, our comparison of rotomolding versus injection molding covers durability and thermal performance in more detail.
Injection-Molded Hard Coolers: The Budget Compromise
Injection molding forces molten plastic into a closed mold under high pressure. It is faster and cheaper than rotomolding, which is why injection-molded coolers are so affordable. The catch is that the process cannot produce the same wall thickness at a reasonable cost, so these coolers are insulated with a thinner foam layer or, in the cheapest cases, hollow walls that offer little thermal resistance.
An injection-molded cooler is perfectly fine for a three-day weekend, tailgating, a beach day, or camping where you can restock ice. For a seven-day trip, ice retention is usually two to four days, meaning you will be draining water and hunting for ice halfway through the week. If you plan to camp for a week on a limited budget, this is the category you should upgrade out of before the trip, not during it.
Soft Coolers: Convenient but Short-Lived
Soft coolers have improved dramatically, with vacuum-insulated panels and welded zippers. Even so, their insulation is thinner than a quality hard cooler, and the flexible shell compresses over time, degrading the insulating layer. Most soft coolers hold ice for one to two days, occasionally three if you are careful. They are excellent for day hikes, boat trips, and backpacking, but they are the wrong tool for a week of car camping.
Cooler Types at a Glance
| Feature | Rotomolded hard | Injection-molded hard | Soft cooler |
|---|---|---|---|
| Typical ice retention | 5 to 10 days | 2 to 4 days | 1 to 3 days |
| Wall construction | Seamless, thick (1.5 in. or more) | Thin, seams possible | Flexible, compressible |
| Durability | Very high | Moderate | Low to moderate |
| Empty weight (60 to 75 qt class) | 30 to 50 lb | 15 to 25 lb | 5 to 15 lb |
| Typical price range | $150 to $500+ | $40 to $150 | $30 to $200 |
| Best use | Week trips, harsh conditions | Weekends, car camping | Day trips, backpacking |
For a seven-day camping trip, the table points one direction: rotomolded construction is the only type that comfortably clears the five-day mark.
What Size Cooler Do You Really Need for a Week of Camping?
Choosing the right size is where most people make their first mistake. A cooler that is too small means restocking ice every other day and cramming food wherever it fits. A cooler that is too large means carrying empty air, which adds weight and leaves more warm volume for the ice to cool.
The Sizing Rule That Works
A practical rule of thumb is 1.5 to 2.5 quarts of cooler capacity per person per day, using the higher end when you are carrying fresh meat, dairy, and a serious supply of cold drinks. For a week:
- 2 people x 7 days x 2 quarts = 28 quarts of food and drink volume
- 4 people x 7 days x 2 quarts = 56 quarts
- 6 people x 7 days x 2 quarts = 84 quarts
That calculation covers the contents, but not the ice. A week-long trip needs roughly one to two pounds of ice per person per day, and ice occupies real volume. The practical move is to choose a cooler one size larger than your pure food-and-drink volume. A family of four usually lands in the 60 to 75 quart range. A couple can manage with 45 to 60 quarts. A larger group, or a family with teenagers, needs 75 quarts or more.
For more detail on the math behind capacity planning, our guide to choosing the right camping cooler size walks through real packing examples and different trip lengths.
Small Coolers: 10 to 35 Quarts
Small coolers handle a long day out, an overnight stay, or a dedicated drinks box at the campsite. For a week of camping with more than one person, they cannot hold enough food volume. Their best role in a multi-day setup is as a secondary drinks cooler, kept separate so the main food cooler stays sealed. A compact rotomolded unit in the 25 to 35 quart class offers real insulation rather than thin plastic walls for that supporting role.
Medium Coolers: 40 to 50 Quarts
Medium rotomolded coolers suit a couple on a week-long trip, or a small family on a long weekend. They are easier to lift, fit in most SUV trunks, and still deliver several days of honest ice retention. For two people with moderate food needs, a 50-quart outdoor fishing rotomolding cooler offers a strong balance of capacity and manageable weight.
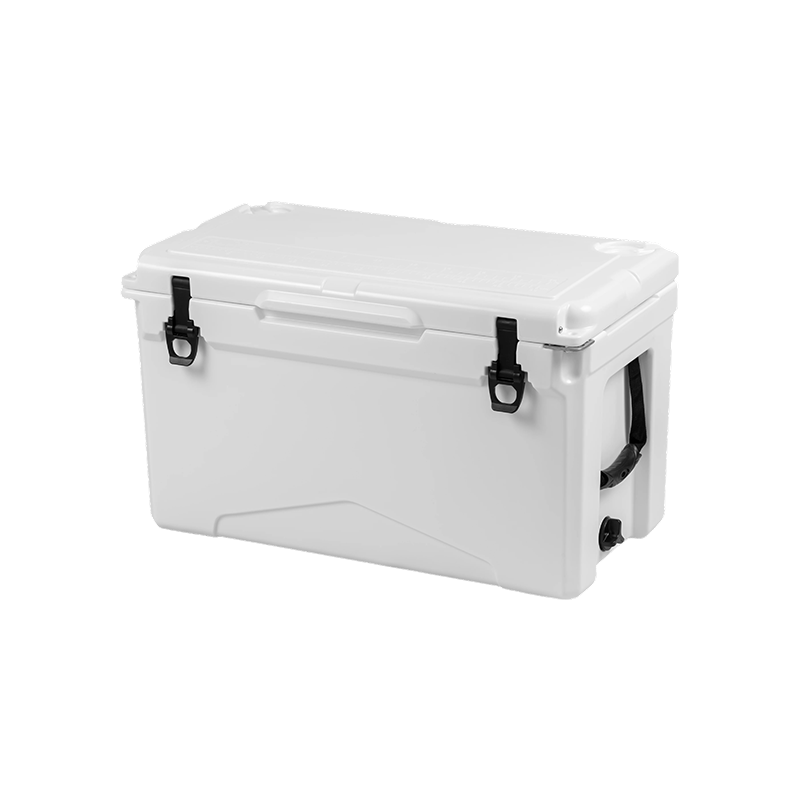 OEM/ODM 50QT Outdoor Fishing Rotomolding Cooler Box Suppliers, FactoryNingbo Nelgreen Outdoor Products Co., Ltd is top China OEM/ODM 50QT Outdoor Fishing Rotomolding Cooler Box suppliers and factory. The 50Q...View Product →
Large Coolers: 60 to 140 Quarts
Large coolers are the sweet spot for most week-long family trips. They hold enough food and ice for several days without restocking, and their larger thermal mass keeps the interior at a more stable temperature. For a family of four to five, a 60-quart rotomolded outdoor cooler box is often the most practical choice: large enough for two or three days of perishables plus block ice, yet not so heavy that two adults cannot lift it comfortably. For a bigger group, the next step up adds roughly 25 percent more internal volume.
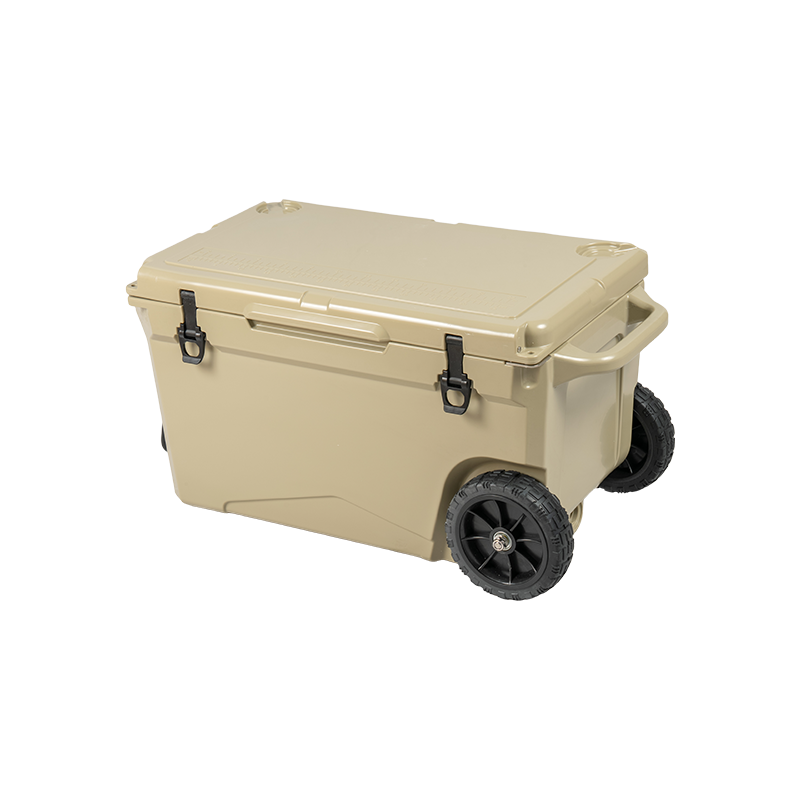 OEM/ODM 60QT Outdoor Rotomolding Cooler Box Suppliers, FactoryNingbo Nelgreen Outdoor Products Co., Ltd is top China OEM/ODM 60QT Outdoor Rotomolding Cooler Box suppliers and factory. 60QT Outdoor Ro...View Product →
Practical Packing Order for a Week
Once you know the size, the packing sequence matters as much as the volume. Follow this order on the morning of departure:
- Pre-chill the cooler for at least 12 hours with a sacrificial bag of ice.
- Place block ice at the bottom, or stand it on end against one wall where it melts more slowly.
- Pack the food that must stay coldest, such as meat, dairy, and cooked dishes, directly against the ice.
- Add a dry layer with vegetables, fruit, and condiments above the perishables.
- Put drinks in the top layer or, better, in a separate drinks cooler so the main food cooler stays closed.
This layering does two things: it keeps the most sensitive food in the coldest zone, and it delays the moment when meltwater reaches items that should stay dry.
Capacity Reference for a Seven-Day Trip
| Group size | Food style | Recommended size | Class |
|---|---|---|---|
| 1 to 2 people | Mostly dry and canned food | 45 to 50 qt | Medium |
| 2 to 3 people | Fresh meat and produce | 50 to 60 qt | Medium to large |
| Family of 4 | Full meals plus drinks | 60 to 75 qt | Large |
| Family of 5 to 6 | Full meals, extra drinks | 75 to 100 qt | Large to extra large |
| 6 or more people | Bulk food, longer resupply | 100 to 140 qt | Extra large |
Remember that manufacturer capacity ratings are nominal volumes derived from external dimensions. A 60-quart rotomolded cooler with thick walls may hold only 45 to 50 quarts of actual contents because the insulation takes up interior space. Use the rating as a rough guide, and always size up when in doubt.
Cooler Features That Matter Most When the Trip Lasts a Week
Not every feature on a spec sheet makes a real difference over seven days. These are the ones that do.
Insulation Thickness and Foam Quality
The single most important factor in ice retention is the insulation. Look for wall thickness of at least 1.5 inches on the sides and lid, and polyurethane foam rather than hollow air cavities. Some manufacturers publish wall thickness; if they do not, treat the claim with suspicion. A rotomolded cooler builds insulation into the wall itself, which is why it outperforms an injection-molded unit of the same external size. The way thick walls translate into field performance is explained in our guide to rotomolded cooler durability.
Gasket Quality and Latch Design
Cold air escapes wherever the lid meets the body. A cooler with a weak gasket or flimsy latches loses cold fast, no matter how thick the walls are. Check that the gasket is continuous, soft, and forms a complete seal when the lid is closed. Latches must stay sealed under load, in hot weather, and after being opened dozens of times over a week. Cheap plastic latches are the first failure point on budget coolers; a broken latch on day three is a problem you cannot easily fix at a campsite.
Drain Plug Design
A functional drain plug is more than a convenience. On a week-long trip, you will remove melted ice water without opening the lid, because every opening admits warm air. A large-diameter drain with an internal strainer prevents food bits from clogging it. Test the drain before you buy: can you open and close it easily with cold, wet hands? Does it seal tightly when closed? A leaking drain turns your trunk into a puddle by the end of the drive home.
Handles, Wheels, and Lifting
A 75-quart rotomolded cooler full of food and ice can easily weigh 80 to 100 pounds. That is fine when the cooler stays at the campsite, but moving it from the car to the picnic table, or around a busy campground, is another story. Comfortable, well-positioned handles are a must on any cooler above 40 quarts. For the largest sizes, wheels take most of the strain, though they add complexity and reduce usable interior space slightly. If the cooler rides on a vehicle roof rack, choose models with molded-in tie-down points rather than relying on the handles.
Bear-Country Considerations
If you camp where bears are active, a cooler with padlock-compatible latches and a lid that resists prying is worth the extra cost. No standard cooler is truly bear-proof unless it is certified by the Interagency Grizzly Bear Committee. Many campsite regulations require certified bear canisters or electric fencing instead of any cooler. Still, a rotomolded cooler with reinforced latches resists animal attempts far better than a thin plastic unit, and it survives being dropped, sat on, and packed roughly.
Small Features with Real Value Over a Week
The details become more noticeable as the trip goes on. A molded-in ruler helps when measuring fillets or portions. Non-slip feet keep the cooler from sliding in the car. A dry tray or basket keeps food out of the meltwater. Tie-down loops let you secure the load inside the vehicle. And a flat lid works as an extra table or a seat, which earns its place on any week-long campsite. Look for these details in the product images and descriptions before you buy, because they are hard to add later.
Materials and Construction: What the Factory Knows
Understanding construction helps you read between the lines of any spec sheet. As a manufacturer that molds both rotomolded and injection-molded coolers, we can point out where the real differences hide.
Plastic Grade: Food-Grade LLDPE
The best coolers use virgin food-grade linear low-density polyethylene (LLDPE). This material stays tough at low temperatures, does not become brittle when frozen, and is safe for direct contact with food. Look for an explicit food-grade statement in the product documentation. Some budget coolers use recycled or blended resins that are structurally adequate but less predictable in temperature extremes, and they may contain colorants or additives you do not want near your food.
Molding Process Determines Wall Consistency
In rotomolding, plastic fuses into a single seamless part with no weak points. In injection molding, walls are thinner, and the part may carry molded-in seams or stress points that crack on impact. For a week-long trip where the cooler is loaded, strapped, and handled roughly, the structural advantage of rotomolding matters.
Here is a simple factory-floor test: tap the side of an empty cooler. A well-insulated rotomolded cooler sounds dull and solid. A hollow, thin-walled cooler sounds like plastic sheeting. The sound corresponds to thermal mass, and it translates directly to ice retention in the field.
The Lid Is Part of the Insulation System
Many rotomolded coolers use a flat, insulated lid sealed by a gasket on all four edges. Cheaper designs use a thin lid or a partial overlapping lip that does not seal completely. Confirm that the lid has the same insulation as the walls and that the gasket runs around the entire perimeter, not just along the hinge side.
Why the Same Engineering Applies to Fish Tubs and Coolers
The engineering that goes into a week-long camping cooler also appears in the insulated fish tubs and seafood transport containers we build. The requirements are similar: thick walls, a reliable seal, food-safe materials, and the ability to hold temperature for days. If a manufacturer cannot produce a container that keeps seafood at safe temperatures during transport, their camping cooler claims deserve skepticism. The reverse is also true: a factory that builds industrial-grade insulated containers understands quite well what it takes to keep a family's food cold for a week.
What to Ask When Buying from Any Brand or Factory
Because we manufacture for our own line and for OEM and ODM partners, we recommend asking three questions before paying a premium for any cooler. First, is the liner food-grade? Second, what is the wall thickness in the body and the lid? Third, what protocol was used to measure ice retention, and was it a sealed-cold-box test or a real-world test with controlled openings? If the seller cannot answer these, the cooler is probably not worth the price.
Ice Strategy: How to Make Any Cooler Last a Full Week
The cooler is only half the equation. The most effective week-long campers run a deliberate ice strategy. Here is the sequence we recommend from years of field experience.
Pre-Chill Everything Before You Pack
A cooler full of warm food is a cooler full of heat. Coolers slow heat transfer; they do not refrigerate. If you put room-temperature cans and meat into the cooler, the ice must first pull that warmth out of the contents, which burns through your ice supply quickly. The night before the trip, chill the cooler itself with a small bag of ice, and put everything that will go inside into the refrigerator or freezer. Drinks can go in frozen.
Use the Right Ice-to-Contents Ratio
For a week, target one part ice to one part food by volume, moving to two parts ice in hot weather. That sounds like a lot, but it is the biggest single factor in ice retention. Prefer block ice over cubes. Block ice melts more slowly because it has less surface area per pound, and you can make your own in clean milk jugs or freezer containers. A large block can last two to three times longer than the same weight of cubes.
Layer for Temperature Zones
The bottom of the cooler is the coldest part because cold air settles. The top, closest to the lid, is the warmest. Place meat and other highly perishable items at the bottom, directly under or against the ice, then layer produce and drinks above. Foods you will eat earlier go near the top; foods meant for day six or seven go deepest. Use a dry tray or a plastic bin as a barrier to keep vegetables and dairy out of the meltwater.
Drain Meltwater Through the Plug, Not the Lid
Draining meltwater feels like throwing away cold energy, but it actually protects the cooling system. Meltwater has already absorbed heat from the interior; leaving it in place raises the average temperature and speeds the melting of remaining ice. More importantly, draining through the plug costs no cold air, while every lid opening swaps cold interior air for warm ambient air. On hot days, drain the cooler twice daily.
Thermal Mass: Why Bigger Coolers Stay Colder Longer
A cooler that is nearly full stays cold longer than one that is half empty, because the food and ice inside act as thermal mass. A large cooler for a small group is not automatically better; empty space means warm air that needs cooling every time the lid opens. That is why sizing matters, and why a dedicated drinks cooler keeps the main food cooler efficient. If the main cooler is only half full, fill the empty volume with extra block ice or sealed bottles of water that you can drink as they thaw.
Track Opening Frequency
Every time the lid opens, cold air escapes and warm air enters. A cooler opened ten times per hour will clearly show less ice by evening than one opened three times a day. For week trips, use a separate drinks cooler so the main food cooler stays sealed. Even a cheap secondary unit is worth the cargo space if it protects the main cooler's cold chain.
Common Mistakes That Waste Ice
- Packing warm or room-temperature food directly into the cooler.
- Using only bagged cubes when block ice is available.
- Opening the lid to "check" what is inside instead of draining through the plug.
- Leaving the cooler in direct sun or against hot ground for hours.
- Keeping a separate warm-drinks cooler in the car and repeatedly moving items between boxes, which doubles the warm-air exchange.
Keep the Cooler Shaded and Elevated
A cooler sitting in direct sun absorbs heat through its shell all day. Park it on the north side of the tent, under a tarp, or cover it with a reflective blanket. Raising it off the hot ground on a piece of wood or a camp table prevents ground heat from conducting into the bottom.
Budget and Value: What You Are Actually Paying For
Price differences between coolers come down to three things: manufacturing process, insulation quality, and brand. You can skip the brand premium and still get a well-built rotomolded cooler, which is why our products are sold both under our own name and through OEM and ODM partnerships with brands around the world.
An entry-level injection-molded cooler costs roughly $40 to $100. It is fine for weekend trips. For a week of camping, plan on $150 to $400 for a quality rotomolded unit in the 50 to 75 quart class. The higher price buys five to seven days of ice retention, a shell that lasts a decade or more, and a useful second life as a storage bin, seat, or workshop box.
Think in terms of cost per trip. A $300 rotomolded cooler used for five trips per year over ten years costs about $6 per trip. A $60 injection-molded cooler that must be replaced every two years is not actually cheaper, and it will fail on a week-long trip just when you need it most. For larger families that routinely camp for a week or more, the 75-quart large-capacity outdoor rotomolding cooler pushes the per-trip cost only slightly higher while providing the extra volume that prevents a second ice run mid-week.
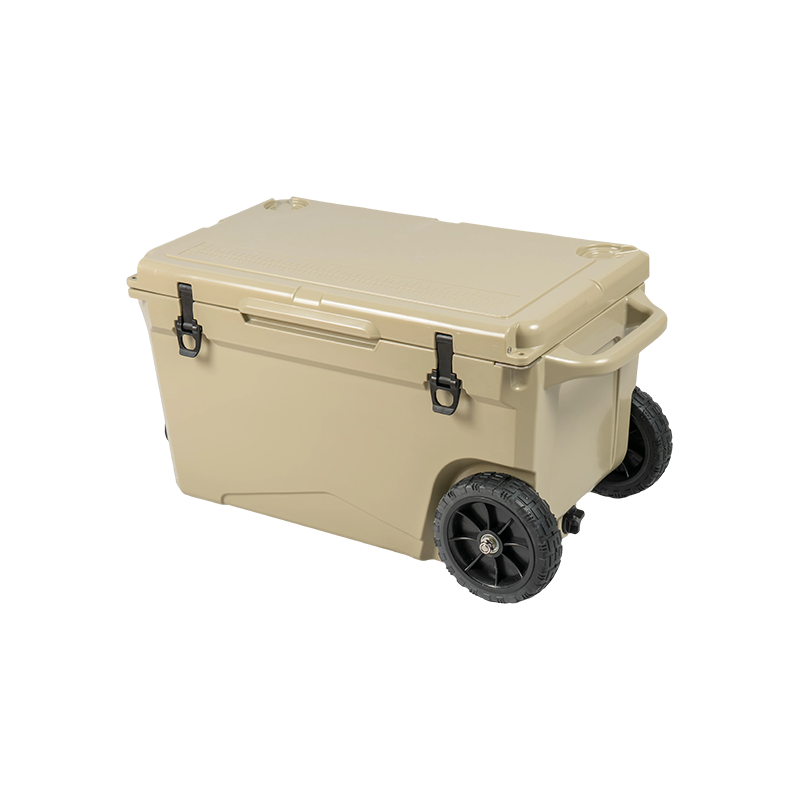 OEM/ODM 75QT Large Capacity Outdoor Fishing Rotomolding Cooler Box Suppliers, FaNingbo Nelgreen Outdoor Products Co., Ltd is top China OEM/ODM 75QT Large Capacity Outdoor Fishing Rotomolding Cooler Box suppliers and f...View Product →
Buying directly from a manufacturer also removes the retail markup, which is why many outdoor brands source their rotomolded coolers through OEM and ODM agreements. When you buy a cooler from a brand that does not own a molding factory, part of the price covers logistics and warehousing, not better insulation. That is not a reason to avoid brands, but it is a reason to compare construction details rather than logos.
One more value consideration: a rotomolded cooler does not only serve camping. It works for fishing, beach trips, tailgating, road trips, and emergency preparedness. The same cooler that keeps a week of camping food safe will hold drinks at a backyard party or keep provisions cool during a power outage. That broad utility makes the upfront investment easier to justify.
Keeping Your Cooler Ready for the Next Trip
A week of heavy use leaves spills, food residue, and sometimes fish odors. A quality rotomolded cooler is among the easiest camping gear to maintain, but it needs a consistent routine.
Cleaning After a Long Trip
Rinse the interior with warm water and a mild dish soap. Avoid bleach and abrasive pads; they scratch the food-grade surface and give bacteria places to collect. For stubborn odors, leave a baking soda and water solution inside overnight, then rinse thoroughly. Dry the cooler completely with the lid open before storing. A closed, damp cooler grows mold quickly.
Caring for the Gasket and Latches
The gasket is the most maintenance-sensitive part. Wipe it clean after every trip and inspect it for splits or permanent compression. A gasket that has lost its shape lets cold air escape even when the latches are closed. Apply a small amount of silicone-based lubricant once a year to keep it supple; petroleum products can degrade the rubber. Also inspect the drain plug; a cheap o-ring that wears out can let water seep into your trunk on the drive home.
Storage That Protects the Seal
Store the cooler with the lid slightly ajar, using a small piece of paper towel between the gasket and the rim to prevent the gasket from being compressed in one spot for months. In freezing climates, keep the cooler off bare concrete floors. Although LLDPE handles cold well, repeated freeze-thaw cycles with trapped moisture can stress-crack thin lids over time.
The Bottom Line for a Week of Camping
The best cooler for a week of camping is not the most expensive one, and it is not the one with the loudest marketing. It is the combination of three things: rotomolded construction, a capacity of at least 50 quarts for a couple or 60 to 75 quarts for a family, and an owner who understands ice management.
Buy for the insulation first. A cooler with five to seven days of genuine ice retention turns a week of camping from a logistics problem into a real vacation. Buy for the size with a buffer, because insulation eats into internal volume and empty space is easier to live with than a cooler that cannot hold both food and ice. Then commit to the habits that protect your cold chain: pre-chill the cooler and its contents, use block ice, drain through the plug, keep the lid closed, and park the cooler in the shade.
A quality rotomolded cooler in the $150 to $400 range will serve a decade of trips. Look for thick walls, a continuous gasket, heavy-duty latches, and food-grade LLDPE. For most families planning a seven-day trip, that means a rotomolded cooler in the 60 to 75 quart class: large enough to feed everyone, not so large that lifting it becomes a two-person project, and insulated well enough that ice from day one still has something left on the final morning. Choose the construction first, size honestly, manage the ice, and you will be the one with cold food and cold drinks on day seven while everyone else is making a run to the gas station.
Our R&D team has over 15 years of rich experience in the field of rotational molding products and has applied for 6 product patents. The number of factory employees has exceeded 100. Strict management and quality control have enabled us to take the leading position in the industry. In addition, the experienced sales team can provide customers with a variety of solutions and high-quality services.
Related products
-
-
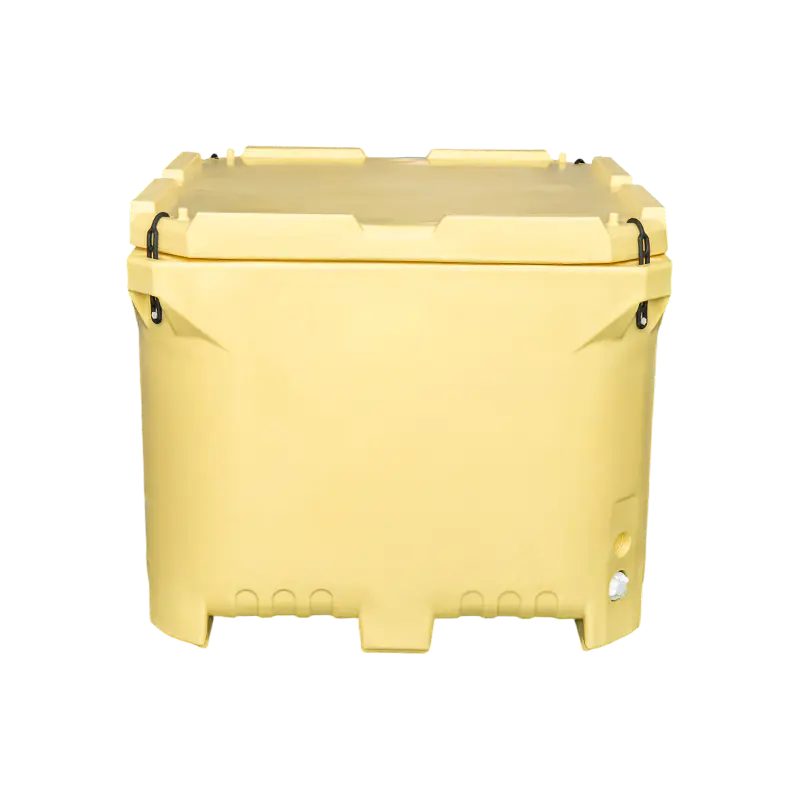
The NL-800 800L has an interior of about 106.5 × 96.5 × 74 cm and is deeper than the 700L model, making it useful when more load is needed in each tub. Larger fish, bulk seafood and processing-plant s...
See Details -
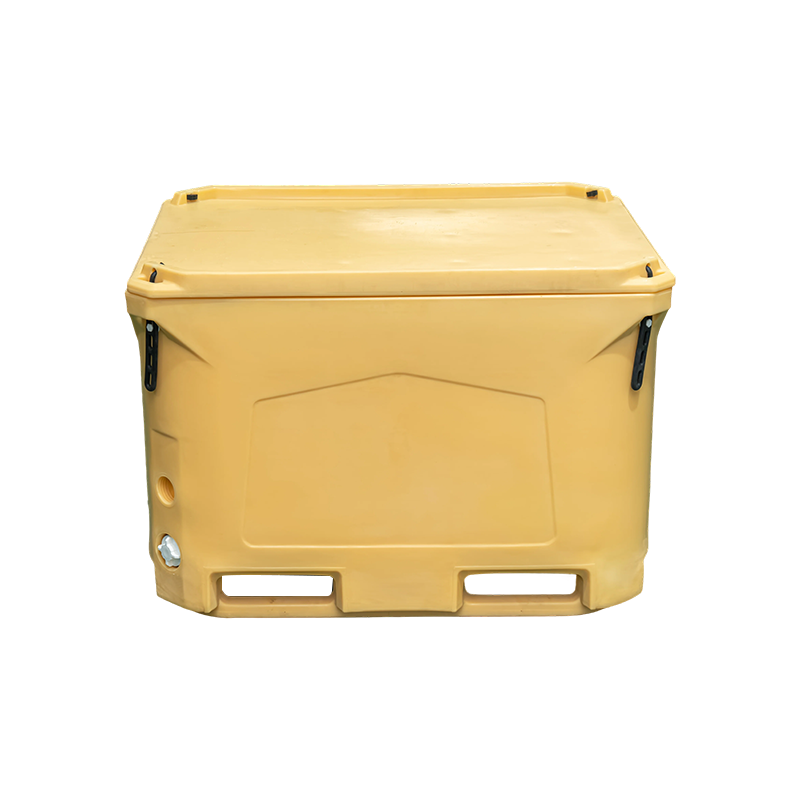
The NL-330 330L has an interior of about 92 × 68 × 53 cm and is particularly useful for sorting after vessel landing and handling medium seafood batches. Its food-grade LLDPE rotomolded body with PU i...
See Details -
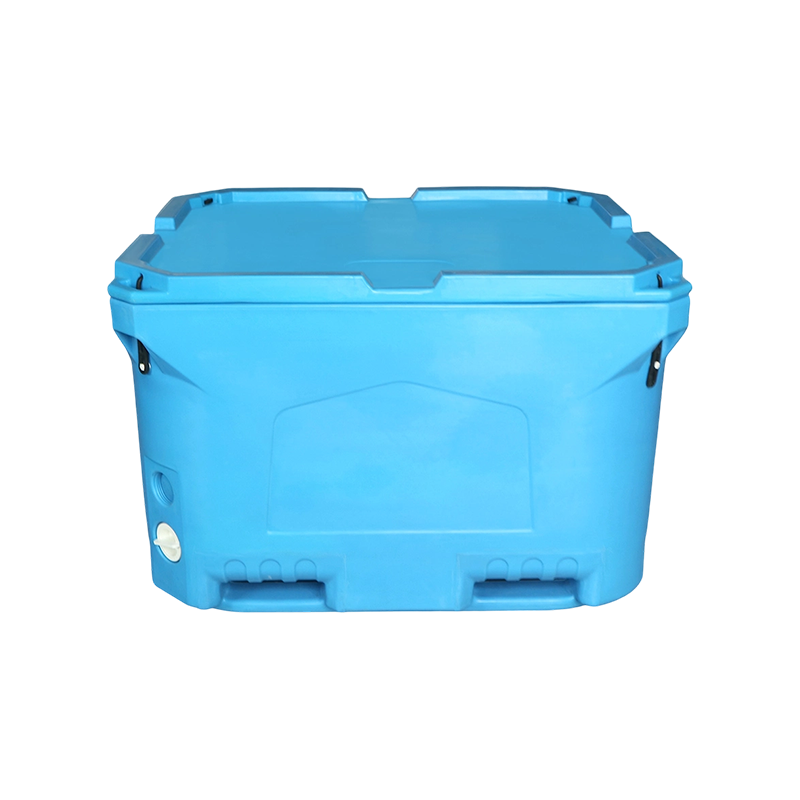
The NL-660 660L has an interior of about 114 × 94 × 63 cm, with a broad footprint suited to seafood distribution, dock loading and batch handling in processing plants. The wider floor area can accommo...
See Details -
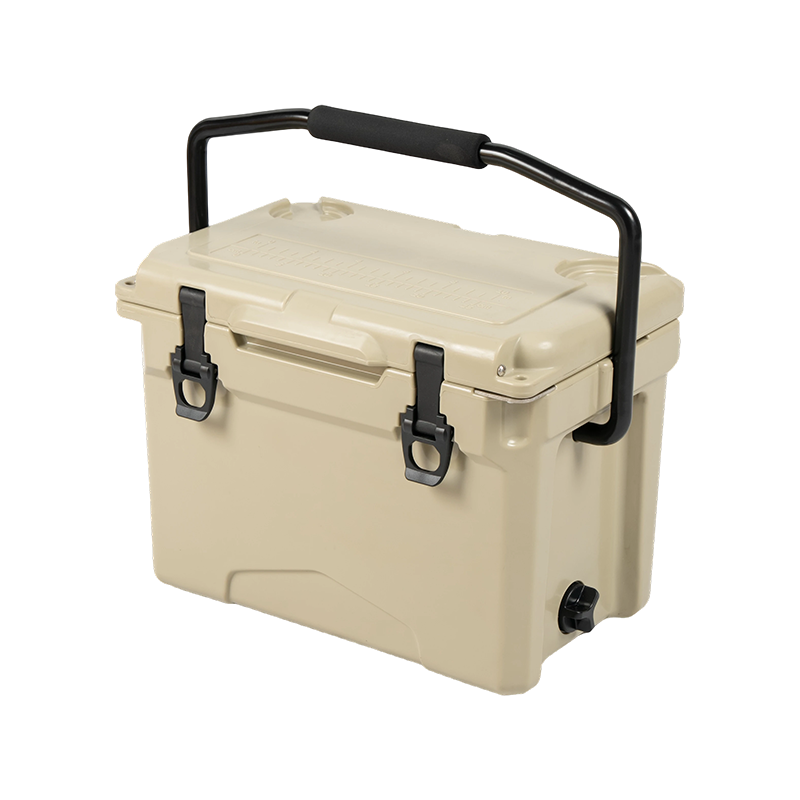
The 18QT NL-18 has an interior of about 35.3 × 21.7 × 25.8 cm, giving it noticeably more room than a personal lunch cooler without moving into bulky territory. It can carry ice, drinks and food for a ...
See Details -
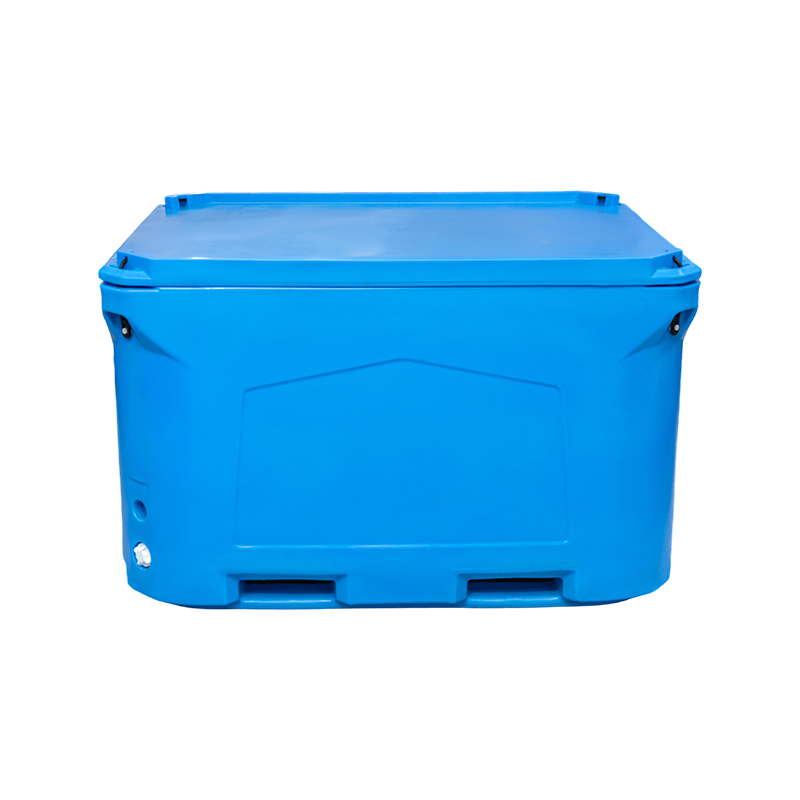
The NL-1000 A uses a high-profile body with an interior of about 140 × 108 × 73 cm and is designed for operations that handle large seafood volumes at one time. Processing plants, aquaculture harvests...
See Details
Related News
-
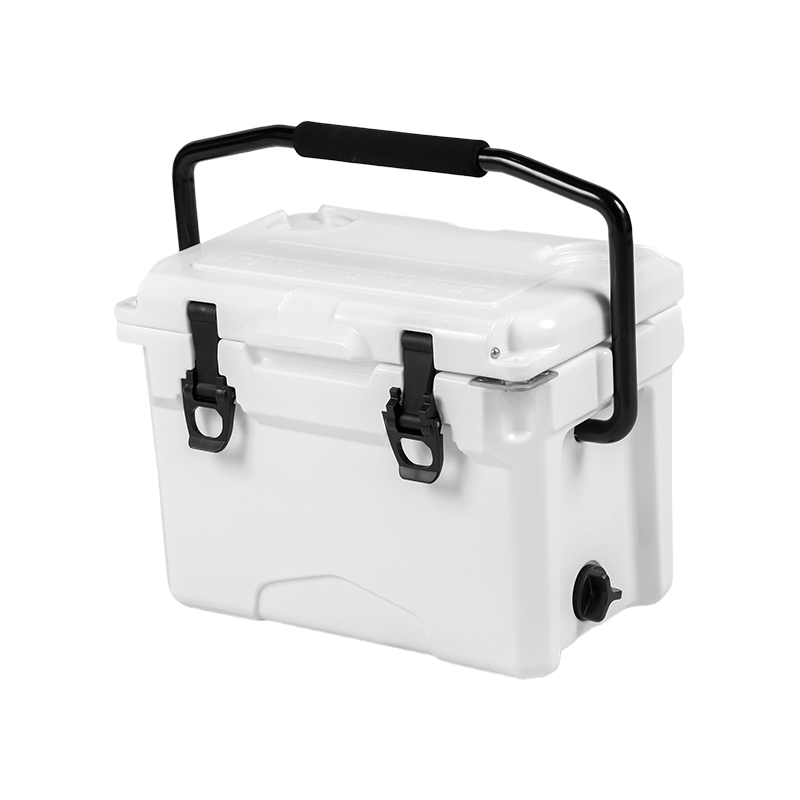
Why Choose a Rotomolded Cooler? Rotomolded Coolers: A Brief Introduction The Pinnacle of Portable Cooling Technology The modern era of outdoor recreation and de...
See Details -
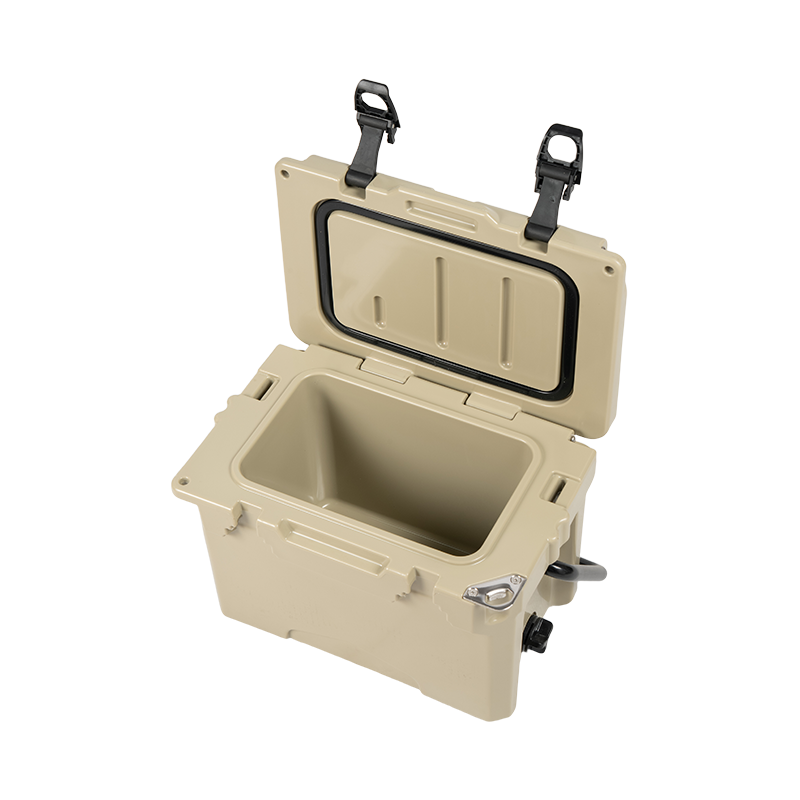
Introduction to Insulated Fish Tubs When you're out on the water, whether it's a deep-sea fishing trip or a relaxing day at the lake, the freshness of your catc...
See Details -
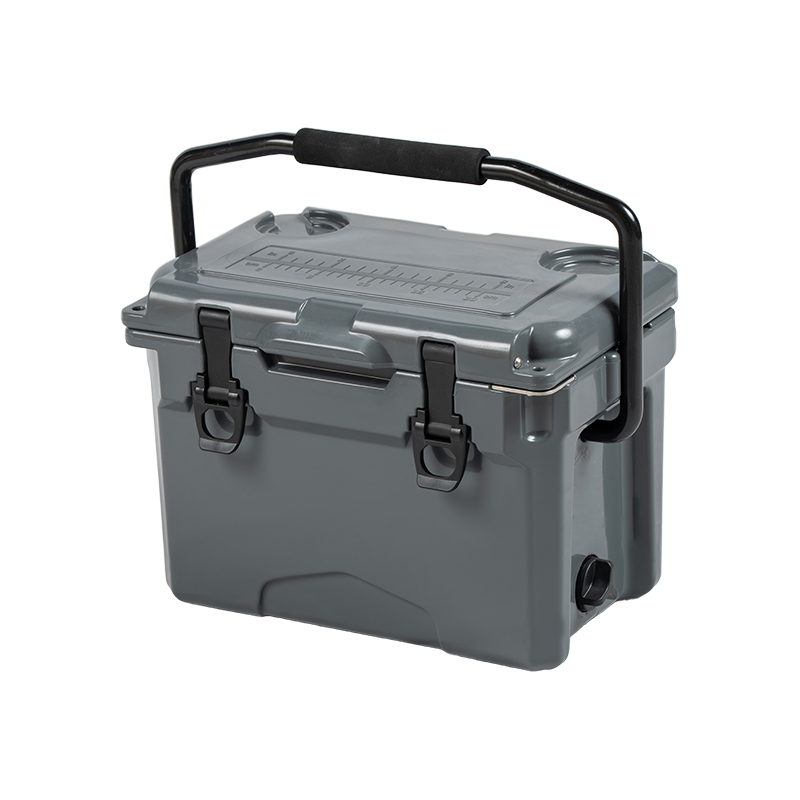
1. Insulation Quality in Outdoor Cooler Boxes When choosing an outdoor cooler box, one of the most critical factors to consider is insulation quality. The insul...
See Details -
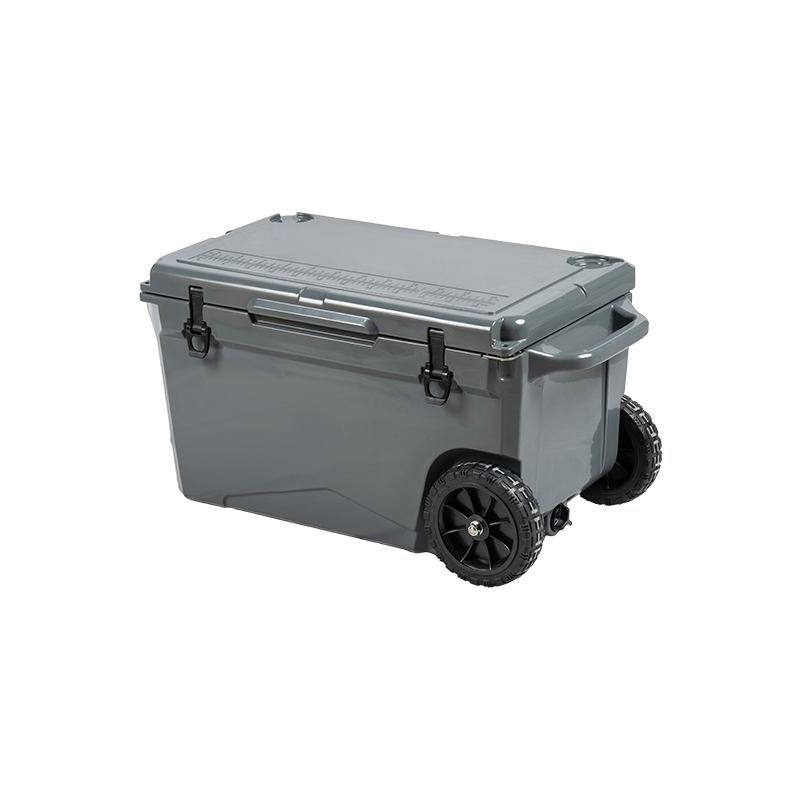
The Unmatched Advantage of ROTOMOLDING COOLER BOX Defining the Premium Standard: What exactly is a ROTOMOLDING COOLER BOX? The ROTOMOLDING COOLER BOX is not mer...
See Details
Be the First to Know
For exclusive deals and the latest offers, sign up by entering your email address below.


Contact Info
 No. 6, Guantong Road, South Zone, Xiaocaoe Town Industrial Park, Ningbo, Zhejiang, China
 +86 13736107260
  [email protected]
 Qr Code



Copyright © Ningbo Nelgreen Outdoor Products Co., Ltd. All Rights
Reserved
 OEM/ODM Seafood Insulated Boxes Manufacturers